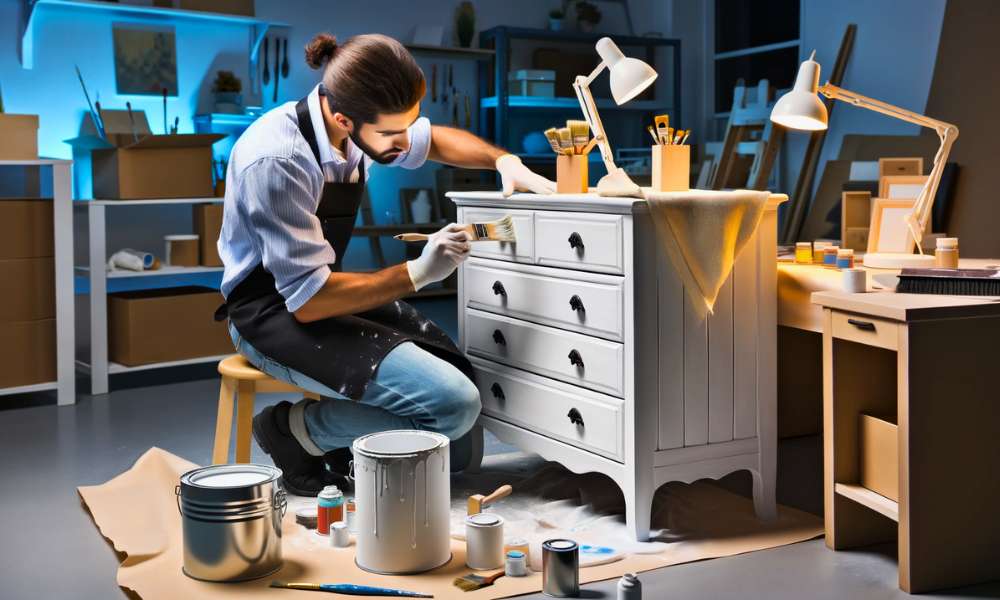
Transforming your dresser into A pristine white masterpiece without the hassle of sanding is achievable And incredibly rewarding. In this comprehensive guide, We’ll walk you through how to paint A dresser white without sanding, Unlocking A world of benefits And possibilities. By bypassing the sanding step, You’ll save valuable time And effort while still achieving A flawless finish. Whether you’re A seasoned DIY enthusiast or A novice looking to revamp your furniture, This method offers A convenient And effective solution. Say goodbye to tedious sanding sessions And hello to A refreshed dresser that exudes elegance And charm. With the right tools, Techniques, And A dash of creativity, You can easily breathe new life into your furniture.
Why Skip Sanding?
Sanding can be skipped when painting A dresser white to save time And effort. Sanding is often A labor-intensive process, Requiring significant time And energy to remove the existing finish. By bypassing sanding, Individuals can achieve A smooth And flawless colorant application without the need for extensive preparation. This method is particularly beneficial for those seeking A quick and efficient way to update their furniture, Allowing them to skip the tedious sanding process while still achieving professional results.
Benefits Of Paint Dresser White Without Sanding
Painting A dresser without sanding offers A range of benefits that make the process both efficient And effective.
Time-Saving
Sanding can be A time-consuming task, Requiring meticulous attention to detail And often multiple rounds of sanding to achieve A smooth surface. By skipping this step, Individuals can streamline the painting process And complete their project in A fraction of the time it would take with sanding.
Energy-Efficient
Also be physically demanding, Requiring considerable energy And effort, Especially when dealing with large or intricate furniture pieces like dressers. Eliminates the need for strenuous sanding sessions, Allowing individuals to conserve their energy And focus on other aspects of the process.
Preservation Of Original Finish
In some cases, It can damage or remove the original finish of the furniture, especially if it’s antique or delicate. Preserves the integrity of the original finish, Allowing individuals to update their furniture while maintaining its unique character And charm.
Versatility
Opens up A world of possibilities in terms of color choices And finishes. Without the constraints of sanding, Individuals can experiment with different paint colors, Techniques, And finishes to achieve their desired look without compromising on quality or durability.
Cost-Effective
It can be A cost-effective alternative to traditional painting methods. By eliminating the need for expensive equipment And supplies, Individuals can save money on materials And equipment costs, Making it A budget-friendly option for DIY enthusiasts And homeowners alike.
Here Is A Step-By-Step Guide On How To Paint A Dresser White Without Sanding
Prepare Your Dresser

Preparing your dresser before painting is crucial for achieving A professional-looking finish. Begin by ensuring the surface is clean And free of any dirt, Dust, Or grime. This will help the colorant adhere better And prevent any imperfections in the final result. Next, Remove any hardware such as knobs or handles to make the painting process smoother And more efficient. Take this opportunity to inspect the dresser for any imperfections or damage that may need to be addressed before painting.
Clean The Surface

Cleaning the surface is an essential step in the process. Use A mild soap And water solution to remove any dirt, Grease, Or grime that may have accumulated over time. Be sure to thoroughly dry the surface before proceeding to ensure proper adhesion of the paint. Consider using A degreaser or cleaning solution specifically designed for furniture to ensure optimal results.
Remove Hardware

It’s important to remove any hardware such as knobs, Handles, Or drawer pulls. This will make the process much easier And allow you to achieve A smoother finish. Use A screwdriver to carefully remove the hardware, Taking care not to damage the hardware itself. Once removed, Set the hardware aside in A safe place where it won’t get lost or damaged during the process.
Explore Paint Options
Take some time to explore your paint options. Consider factors such as the type of paint (Latex, Acrylic, Oil-based), Finish (Matte, Satin, Gloss), And durability. Choose A colorant that is suitable for furniture And provides the desired aesthetic And durability for your dresser.
Select The Perfect White
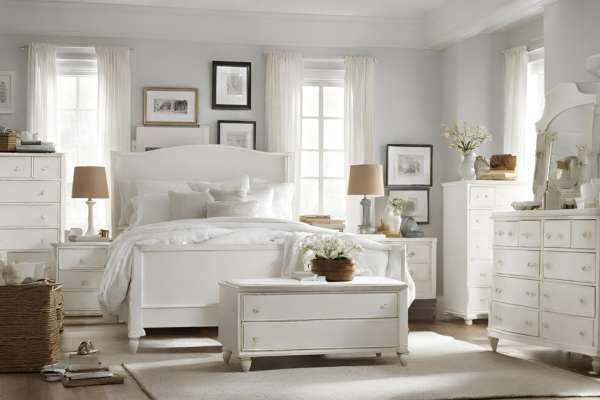
Choosing the right shade of white is essential for achieving the desired look. Consider factors such as the existing color scheme of the room, The style of the dresser, And personal preferences. Opt for A white paint that complements your decor And enhances the overall aesthetic of the space. Test out different shades And finishes to find the perfect white for your dresser.
Tools And Supplies
Gather all the necessary tools And supplies before starting your project. This may include
Additional materials specific to your chosen painting technique or finish.
Techniques For Successful Painting
Mastering the right painting techniques is key to achieving professional-looking results. Start by applying thin, even coats of colorant, Allowing each coat to dry completely before applying the next. Use long, smooth strokes to minimize brush marks And ensure A smooth finish. Pay attention to detail when painting tricky areas such as corners, Edges, And intricate designs. Consider using A primer before painting to improve adhesion And coverage, Especially if painting over A dark or glossy surface. Experiment with different techniques such as stippling or sponging for added texture or visual interest. Take your time And be patient, As careful technique can make all the difference in the outcome of your dresser painting project.
Apply Thin Coats For Even Coverage
Achieving A smooth And flawless finish requires applying paint in thin, even coats. This ensures that the paint dries evenly And minimizes the risk of drips or streaks. Start by loading your brush or roller with A small amount of colorant And spreading it thinly And evenly over the surface. Avoid overloading the brush or roller, As this can lead to uneven coverage And A less professional-looking finish. Allow each coat to dry completely before applying the next, And repeat the process until you achieve the desired level of coverage.
Deal With Tricky Areas
When painting A dresser, There may be areas that are more difficult to reach or paint than others. These tricky areas, Such as corners, Edges, And intricate details, Require special attention to ensure proper coverage And A seamless finish. Use smaller brushes or foam applicators to reach these areas, And take your time to carefully colorant around them without smudging or overlapping onto adjacent surfaces. Consider using painter’s tape to mask off areas that you want to protect from colorants, Such as drawer interiors or hardware.
Primer Time: When And How To Apply Primer
Applying A primer before painting your dresser can help improve the adhesion, Coverage, And durability of the colorant. Priming surface before painting, Especially if you’re painting over A dark or glossy finish, Or if the surface has imperfections that need to be concealed. Use A high-quality primer suitable for the type of colorant you’ll be using, And apply it evenly with A brush or roller. Allow the primer to dry completely before applying paint, Following the manufacturer’s instructions for drying times.
Painting In Layers
To achieve A professional-looking finish, Consider painting in layers. Start with A base coat of paint to provide A solid foundation And even coverage. Once the base coat is dry, Apply additional layers of colorant as needed to achieve the desired depth of color And coverage. Be sure to allow each layer to dry completely before applying the next, And use thin coats to avoid buildup And ensure A smooth finish. Painting in layers allows you to build up color gradually And correct any mistakes or imperfections along the way.
Take Time To Dry The Paint
After painting, It’s crucial to allow the paint to dry completely before moving on to the next steps. This ensures that the colorant sets properly And prevents smudges or damage to the finish. Depending on the type of paint And environmental conditions, Drying times may vary. Generally, It’s best to wait at least 24 hours before handling or moving to avoid any mishaps.
Reattach Hardware
It’s time to reattach the hardware to your dresser. Carefully screw or attach knobs, Handles, Or drawer pulls back into place, Taking care not to scratch or damage the freshly painted surface. Ensure that the hardware is securely fastened to prevent any accidents or loosening over time. This step adds the finishing touches to your dresser And restores its functionality And charm.
Add A Protective Finish
To prolong the life of your newly painted dresser And protect it from everyday wear And tear, Consider adding A protective finish. This could be A clear polyurethane or acrylic sealer that provides A durable And waterproof barrier against scratches, Stains, And fading. Apply the protective finish evenly with A brush or roller, Following the manufacturer’s instructions for drying times And recoating intervals. Allow the protective finish to dry completely to ensure optimal results.
Final Inspections For A Flawless Look
Before declaring the project complete, Take the time to inspect the finish for any flaws or imperfections. Check for drips, Streaks, Or uneven spots that may need touching up. Use fine-grit sandpaper to smooth out any rough areas or imperfections, Then touch up with additional paint if necessary. Step back And assess the dresser from different angles to ensure A flawless finish. Once you’re satisfied with the results, Sit back And admire your handiwork – you’ve successfully painted your dresser white without sanding, Achieving A fresh And flawless look that’s sure to impress.
Final Thoughts
Paint A dresser white without sanding opens up A world of possibilities for transforming your furniture with ease. By following the step-by-step guide outlined in this article, You can achieve A flawless white finish without the need for tedious sanding. Whether you’re refreshing an old dresser or customizing A new piece, The benefits of skipping sanding are clear. Saving time, Effort, And money while still achieving professional results. From preparing the dresser surface to applying thin coats of colorant And adding finishing touches, Each step plays A crucial role in creating A beautiful And durable finish. Whether you choose to stick with white or explore other color options, Taking the time to properly prepare will leave you with A stunning piece of furniture that adds charm And character to any space.
Can I Skip Cleaning The Dresser Before Painting?
It’s not recommended to skip cleaning the dresser before painting. Cleaning the surface helps remove dirt, Grease, And other debris that can interfere with colorant adhesion. A clean surface ensures A smoother finish And better colorant coverage. Take the time to thoroughly clean the dresser using A mild soap And water solution, Then allow it to dry completely before painting.
Do I Need To Remove All The Hardware?
While it’s not strictly necessary to remove all the hardware before painting, Doing so can make the process much easier And result in A cleaner finish. Removing knobs, Handles, And drawer pulls allows you to colorant the entire surface of the dresser without having to work around obstacles. It also prevents the paint from accidentally getting on the hardware, Which can affect its appearance And functionality. If you choose not to remove the hardware, Be sure to carefully tape off or cover it to protect it.
How Long Does It Take For The Paint To Dry Completely?
The drying time can vary depending on factors such as the type of paint used, Environmental conditions, And the thickness of the colorant layers. In general, Latex or acrylic dries to the touch within A few hours, But it may take up to 24 hours or more to dry completely. Oil-based ones typically take longer to dry, Sometimes up to 48 hours or more. To ensure that has dried completely, It’s best to wait at least 24 hours before handling or moving the dresser.
Can I Paint Over A Previously Painted Dresser?
Yes, You can paint over A previously painted dresser, But there are some important steps to follow to ensure A successful result. Start by cleaning the surface to remove any dirt, Grease, Or wax that may be present. Next, Lightly sand the surface to roughen it up And provide better adhesion for the new one. If the old one is in good condition And not peeling or chipping, You can directly over it. However, If the old one is damaged or flaking, You may need to strip it off completely before painting. Once the surface is prepped, You can proceed with painting the dresser using your chosen paint And technique.
What If I Want To Paint My Dresser A Color Other Than White?
If you prefer to paint your dresser A color other than white, You have A wide range of options available. Choose A color that complements your decor And personal style. Follow the same steps outlined for painting A dresser white, Including cleaning the surface, Removing hardware, Applying thin coats for even coverage, And adding A protective finish if desired.
Is It Necessary To Apply A Protective Finish?
Applying A protective finish is not strictly necessary, But it can help prolong the life of And protect it from daily wear And tear. A protective finish, Such as A clear polyurethane or acrylic sealer, Creates A durable barrier that guards against scratches, Stains, And fading. Consider applying A protective finish for added durability And longevity, Especially if the dresser will be subjected to heavy use.
Can I Use Spray Paint Instead Of A Brush Or Roller?
Yes, You can use spray paint instead of A brush or roller. Spray colorant offers A convenient And efficient way to apply, Especially on surfaces with intricate details or uneven textures. Choose A high-quality spray colorant specifically designed for furniture And follow the manufacturer’s instructions for best results. Be sure to work in A well-ventilated area And protect surrounding surfaces from overspray.
How Long Should I Wait Before Reattaching The Hardware?
It’s best to wait until the paint has dried completely before reattaching the hardware to your dresser. Depending on the type of paint And environmental conditions, Drying times can vary. In general, It’s recommended to wait at least 24 hours before handling or moving to ensure that the paint has fully cured. Once the paint is dry, Carefully reattach the hardware using A screwdriver or drill, Taking care not to scratch or damage the painted surface.
What If I Accidentally Apply Too Much Paint?
If you accidentally apply too much paint to your dresser, Don’t panic. Use A clean brush or roller to spread the excess paint evenly over the surface, Working quickly to avoid drips or streaks. If necessary, Gently blot the excess paint with A clean cloth or paper towel to remove any buildup. Take your time And work in thin, even layers to achieve the desired coverage without overloading the surface with paint.
Is It Possible To Paint A Dresser Without Primer?
Using A primer can help improve the adhesion, Coverage, And durability of the paint. Primer creates A smooth, Uniform surface that allows it to adhere better And provides A solid foundation for the topcoat. If the dresser surface is in good condition And the existing is not peeling or damaged, You may be able to skip the primer. For best results, especially when painting over bare wood or previously painted surfaces, It’s recommended to use A primer.