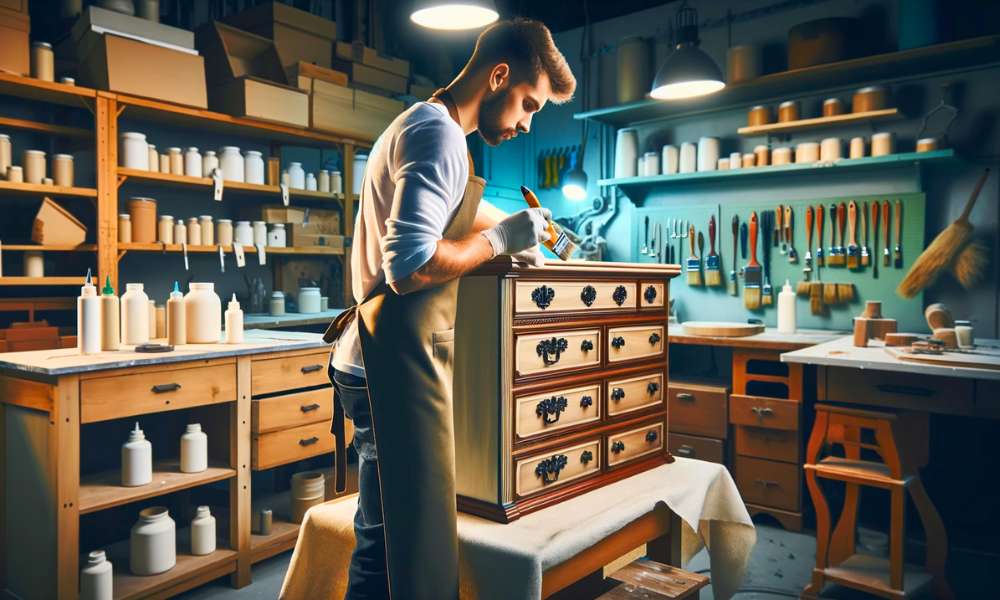
Embarking on A furniture makeover can be A daunting task, But the prospect of revamping your dresser without the mess And hassle of sanding is A game-changer. Paint A dresser without sanding is more than just A technique. It’s A liberating approach to refreshing your furniture. This method not only saves time but also preserves the integrity of your piece, Offering A swift And effective way to inject new life into your space. Whether you’re an avid DIY enthusiast or A beginner looking to tackle your first project, Learning how to paint A dresser without sanding is A valuable skill. It opens up A world of creativity And possibilities, Allowing you to transform And personalize your furniture with minimal fuss. Dive into this journey, Where convenience meets style, And discover the joy of making over your dresser in A way that’s both efficient And expressive.
Why Refinish A Dresser Without Sanding?
Refinishing A dresser without sanding is A fantastic choice for several reasons. Firstly, It saves A considerable amount of time And effort. Sanding can be A tedious And time-consuming process, especially for those who lack the necessary tools or experience. It’s less messy. Without the dust And debris that sanding generates, The project becomes cleaner And more manageable, Especially in indoor settings. Ideal for delicate surfaces. Certain dressers, Particularly those with intricate details or veneer finishes, Could be damaged by sanding. By skipping this step, You preserve the dresser’s integrity while still achieving A fresh, New look. Avoiding sanding reduces airborne particles, Making it A healthier choice for both you And the environment. Refinishing without sanding opens the door to A hassle-free, Efficient way to breathe new life into an old dresser.
What You Need To Paint Your Dresser Without Sanding
- Cleaning Cloth
- Degreaser Or Tsp (Trisodium Phosphate)
- Liquid Sandpaper/Deglosser
- Stain Blocker
- Wood Filler
- Putty Knife
- Bonding Primer
- Specialized Furniture Paint
- Paintbrushes And/Or Roller
- Sealer/Topcoat
- Fine Grit Sandpaper (Optional)
- Drop Cloth Or Newspaper
- Screwdriver
Here Are Step By Step Process On How To Paint A Dresser Without Sanding
Prepare The Surface

Begin by removing all hardware, Such as knobs And handles. This not only makes the painting process smoother but also ensures A professional-looking finish. Check the dresser for any loose or peeling color And lightly scrape it off. If your dresser has any stickers or adhesive residue, Gently remove them using A putty knife or A similar tool. This stage is all about creating A clean, Smooth canvas for your color. It’s crucial to take your time with this step, As A well-prepared surface can significantly enhance the final look of your dresser. Thorough preparation is the foundation of A successful paint job, Setting the stage for A stunning transformation of your furniture piece.
Clean And Degrease The Surface

Cleaning And degreasing the surface of your dresser is vital for achieving A flawless paint job. Over time, Furniture accumulates dirt, Oils, And grime that can hinder color adhesion. Start by wiping down the surface with A damp cloth to remove dust. Then, Use A degreaser or A mixture of warm water And mild detergent to thoroughly clean the dresser. Pay special attention to areas that are frequently touched, Such as drawer handles And edges. After cleaning, Rinse the surface with A clean, Damp cloth to remove any soap residue, And allow it to dry completely. This step ensures that the surface is pristine And ready for painting, Providing A clean slate for your new coat of color to adhere to effectively.
Clean The Dresser

Before diving into the painting process, A thorough cleaning of the dresser is crucial. This step goes beyond basic dusting – it involves A deep clean to ensure the surface is free of dirt And grime. Start by vacuuming the drawers And surface to remove any loose dust And debris. Then, Using A clean cloth And A mild cleaning solution (like diluted dish soap), Wipe down every part of the dresser. Pay close attention to corners, Crevices, And any decorative details where dust And dirt might linger. If you encounter any stubborn spots, A soft-bristled brush can help dislodge the grime. The goal is to have A spotlessly clean surface, Which is essential for the paint to adhere properly And evenly.
Use Liquid Sandpaper On Laminate Furniture

Traditional sanding can be ineffective on laminate, But liquid sandpaper simplifies the process by chemically roughening the surface for better paint adhesion. Apply the liquid sandpaper using A clean rag, Following the manufacturer’s instructions. Ensure you cover all the areas you plan to color, Working in sections. This product also helps in removing any remaining grease or residue, Providing A clean, Slightly etched surface. It’s important to work in A well-ventilated area And wear gloves for safety. After applying, Allow to dry as per the recommended time. This preparation step is crucial for laminate furniture, As it primes the surface for A lasting color job, Ensuring your efforts result in A beautifully refreshed dresser.
Apply A Stain Blocker

After cleaning And deglossing your dresser, The next step is to apply A stain blocker. This is particularly important if any old stains or if you’re working with wood that’s prone to bleeding, Like cherry or mahogany. A stain blocker acts as A barrier, Preventing any existing stains or wood tannins from seeping through your new paint. Apply the stain blocker evenly across the surface, Following the product’s directions. Make sure to cover all areas, especially those with visible stains. This step is crucial for ensuring that your final color job looks clean And uniform, Without any unsightly spots or discoloration. By taking the time to apply A stain blocker, You’re laying the groundwork for A pristine, Long-lasting finish on your dresser.
Remove Grime And Old Paint
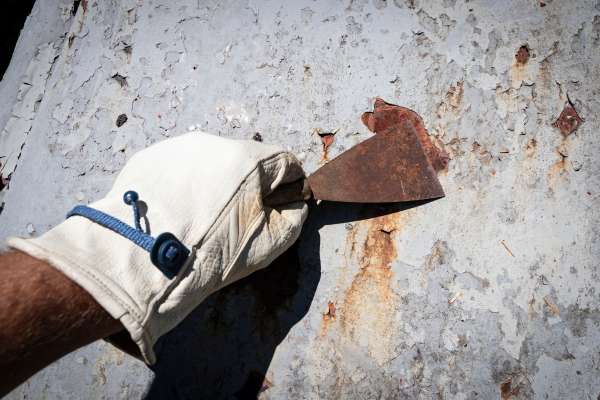
For grime, Use A mixture of trisodium phosphate (TSP) And water, Which effectively cuts through tough dirt. For old paint, Especially if it’s chipping or flaking, Gently scrape it off using A putty knife. Be careful not to gouge the wood. Your goal is to remove loose color while keeping the surface intact. After scraping, Go over the dresser with A damp cloth to remove any remaining particles. This step not only cleans the dresser but also helps in creating A more adhesive surface for the new color.
Fill In Dents And Scratches

Filling in dents And scratches is an important step in preparing for painting. Over time, Furniture can acquire imperfections, And addressing these before painting ensures A flawless finish. Use A wood filler or putty to fill in any dents, Scratches, Or gouges. Apply the filler using A putty knife, And smooth it out so it’s level with the surface of the dresser. Allow the filler to dry according to the manufacturer’s instructions. Once dry, Lightly sand the filled areas with fine-grit sandpaper to create A smooth, even surface. This attention to detail will make A significant difference in the final appearance of your dresser, Giving it A refreshed And renewed look.
Add A Tough Bonding Primer

This type of primer is designed to adhere to surfaces without sanding, Making it ideal for your project. It provides A foundation that helps the paint stick to the dresser more effectively, resulting in A more durable finish. Apply the primer with A brush or roller in even, Thin coats, Covering the entire surface. Be sure to get into any nooks And crannies to ensure complete coverage. Allow the primer to dry thoroughly as per the product’s instructions. This step is vital as it not only enhances color adhesion but also contributes to the longevity And resilience of the paint job. A well-applied bonding primer is the key to ensuring that your newly painted dresser will look great for years to come.
Pick A Specialized Furniture Paint

Specialized furniture paint is designed to adhere to furniture surfaces And withstand wear And tear. There are several types to consider: chalk paint, Known for its matte finish And minimal prep requirements; Mineral color, Celebrated for its durability and eco-friendly properties; And milk color, Ideal for creating A vintage look. Each type has unique qualities, So consider the finish you desire And the level of durability you need. For instance, Chalk color is great for A shabby chic style, While mineral color is perfect for A more modern, Sleek look. Also, Think about the color And sheen – do you prefer a bold hue or A soft, neutral tone? Matte, satin, or gloss? Selecting the right paint will not only enhance the appearance of your dresser but also ensure A long-lasting finish.
Paint The Dresser
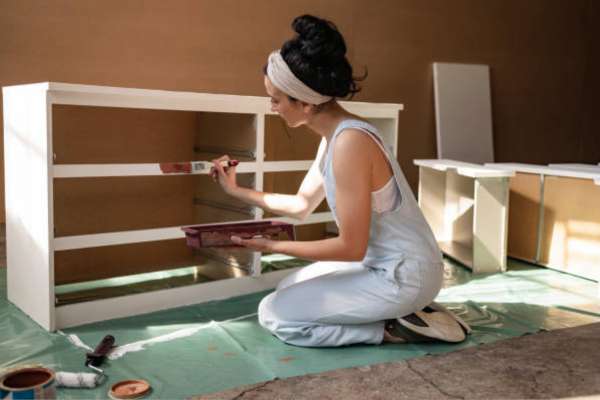
Start by stirring your chosen paint well. Using A high-quality brush or A small foam roller, Begin applying the color in thin, even coats. Start from one side And work systematically to avoid missing any spots. If you’re using A brush, Apply with even, Long strokes to minimize brush marks. For paneled or detailed areas, A smaller brush can help ensure even coverage. Be patient between coats; Allow the color to dry completely as per the manufacturer’s instructions before applying the next. Two to three coats are sufficient for full coverage, But this can vary depending on the paint type And color. Thin coats are better than one thick coat, As they dry more evenly And provide A smoother finish.
Apply Chalk Paint
Chalk paint is A popular choice for painting dressers without sanding due to its excellent adherence And easy application. Before starting, Stir the chalk color thoroughly to ensure A consistent color. Using A brush, Apply the color in smooth, even strokes. Chalk paint typically covers well, Often requiring only one or two coats. It dries quickly, Which allows you to apply multiple coats in A shorter period. One of the charms of chalk color is its versatility – you can achieve A range of looks, From A smooth, Modern finish to A distressed, Vintage style. After painting, You might want to sand the edges for A distressed look lightly, But this is optional. Finish by applying A wax or sealer, Which protects the paint And gives the dresser A beautiful sheen.
Use Mineral Paint
Mineral paint is another excellent option for painting without sanding. It’s known for its durability And strong adhesion properties. As with any paint, Stir it well before use. Apply with A brush or roller in thin, even layers. Mineral color typically has A thicker consistency, So A little goes A long way. It’s highly pigmented, Ensuring good coverage with fewer coats. Allow each coat to dry thoroughly before applying the next. Mineral color dries to A smooth, Matte finish And is often self-sealing, Reducing the need for A top coat. However, Applying A sealer can provide extra protection And durability for high-traffic pieces like dressers. Mineral paint is an ideal choice for A sleek, Professional look with the added benefit of being environmentally friendly.
Apply Milk Paint + Bonding Agent
Milk paint, Renowned for its natural ingredients And matte finish, Is A superb choice for painting. However, When used on non-porous surfaces, A bonding agent is essential to ensure proper adhesion. Start by mixing your milk color according to the instructions, Then blend in the bonding agent. This addition transforms the milk paint into A formidable adherent, Suitable for surfaces that typically resist color. Apply the mixture with A brush or roller, Using even strokes to achieve A uniform coat. Milk paint is known for its slightly textured, Often vintage look, Which adds character to your dresser. It dries quickly, So you can apply multiple coats in a short time. After achieving the desired coverage And look, Let the color fully cure, Which can take up to 24 hours or more, Depending on the environment.
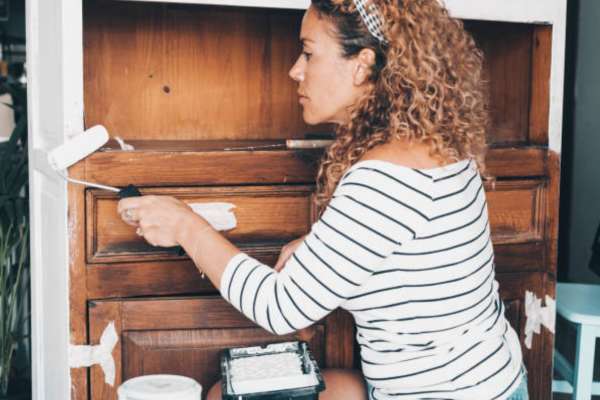
Use A Bonding Primer
A bonding primer is A key step when working with surfaces that are difficult for paint to adhere to. This type of primer creates A sticky, Non-porous surface for your paint to stick to, Making it ideal for slick or glossy finishes. To apply, Use A brush or roller to coat the dresser evenly. Make sure to cover every area that you plan to color, Including crevices And edges. Bonding primers usually dry fairly quickly, But it’s important to wait the recommended time before applying your topcoat. This waiting period ensures the primer sets properly, Providing A strong foundation for your paint. By using A bonding primer, You enhance the durability of your paint job, Ensuring that your newly painted dresser will maintain its beauty over time.
Liquid Sander/Deglosser
A liquid sander or deglosser is an excellent tool for prepping A dresser for painting. Especially if you want to avoid the labor-intensive process of sanding. This chemical solution roughens up the existing finish, Allowing new paint to adhere more effectively. Apply it with A cloth, rubbing it onto the dresser’s surface. Follow the product’s instructions regarding application time And necessary safety precautions, Like ventilation And protective wear. After application, Wipe down the dresser to remove any residue. This method is particularly useful for dressers with intricate details or hard-to-reach areas where sanding would be challenging. The liquid sander/de-glosser simplifies the preparation process, Ensuring that the new paint will adhere well And last longer.
Seal And Protect
This is crucial for ensuring the longevity And durability of your paint job. Choose A sealer appropriate for the type of paint you’ve used. For instance, Wax is often used over chalk paint for A velvety finish, While A polyacrylic sealer works well with milk or mineral paint for A more durable coating. Apply the sealer with A clean brush or cloth, Following the product’s directions. Be sure to cover the entire surface evenly, Paying special attention to areas that will receive the most wear, Like the top of the dresser or drawer fronts. Allow the sealer to dry completely, And if required, Apply A second coat for extra protection. This final layer not only enhances the beauty of your paint job but also defends against scratches, Stains, And everyday wear, Keeping your dresser looking splendid for years.
Final Thoughts
Transforming the paint A dresser without the traditional step of sanding is not only feasible but also an enjoyable And rewarding DIY project. By meticulously preparing the surface, Choosing the right paints And primers, And applying them with care And attention to detail, You can achieve A stunning And durable finish. This approach not only saves time And effort but also opens up A realm of possibilities for creative expression. Whether you’re updating an old family heirloom or revamping A thrift store find, The process allows you to infuse new life into your furniture without the mess And labor of sanding. The key takeaway is that with the right techniques And materials, Anyone can revitalize their dresser, Creating A piece that not only looks beautiful but also stands the test of time. The beauty of DIY projects lies in the journey as much as in the final result.
Can I Paint Over Any Dresser Without Sanding?
You can paint over almost any dresser without sanding, Thanks to modern paint formulas And primers. However, The key to success lies in choosing the right materials And preparation. For dressers with glossy or non-porous surfaces, Using A liquid sander/de-glosser or A bonding primer is essential for ensuring color adherence. If the dresser has A damaged or very rough surface, Some light sanding might be beneficial for A smooth finish. But generally, With the correct prep work And the right type of color, Such as chalk, Mineral, Or milk paint, You can successfully paint most dressers without the need for sanding.
How Long Does The Paint Last Without Sanding?
The longevity of paint on A dresser not sanded before painting largely depends on the preparation, The type of color used, And the usage of the dresser. When the surface is properly cleaned, Degreased, And primed with A good bonding primer, The paint can last as long as it would on A sanded surface. Typically, A well-done color job without sanding can last several years. Using high-quality color And A protective topcoat or sealer further ensures the durability of the paint, Protecting it from wear And tear.
Can I Skip Priming When Paint Dresser Without Sanding?
Skipping priming when painting without sanding is not recommended. Primer serves as an intermediary layer that ensures better adhesion of color to the surface, Increases paint durability, And provides additional protection for the material beneath. Especially when sanding is not part of the prep process, A bonding primer is crucial as it compensates for the lack of mechanical adhesion that sanding provides. Some paints claim to be A color And primer in one; however, For the best results on A non-sanded surface, A separate primer is advisable.
What Are The Best Paint Brands For This Project?
Some of the best paint brands for painting A dresser without sanding include Annie Sloan Chalk Paint, General Finishes Milk Paint, And Fusion Mineral Paint. These brands are renowned for their superior adhesion, Ease of use, And durable finishes. They offer A wide range of colors And are specifically formulated for furniture projects, Ensuring A high-quality finish even without sanding.
Is It Possible To Repaint An Already-Painted Dresser?
Yes, You can repaint an already-painted dresser. The process is similar to painting over an unpainted dresser, With an emphasis on cleaning And preparing the surface. If the existing paint is in good condition (not peeling or chipping), You can simply clean, Degloss, And apply A primer before repainting. If the existing color is damaged, Some light sanding or scraping may be necessary before proceeding with the priming And painting steps. Using A quality primer is key to ensuring that the new paint adheres properly and looks great.