Closets are often the unsung heroes of our homes, quietly storing our belongings and keeping our living spaces organized. However, to maximize their utility, it’s essential to have well-designed shelving systems. Attach Closet Shelves To Wall can be a straightforward DIY project that significantly enhances your storage capacity and organization. In this guide, we’ll walk you through the process step by step, ensuring a sturdy and secure installation that meets your needs.
Understanding the Importance of Closet Shelves
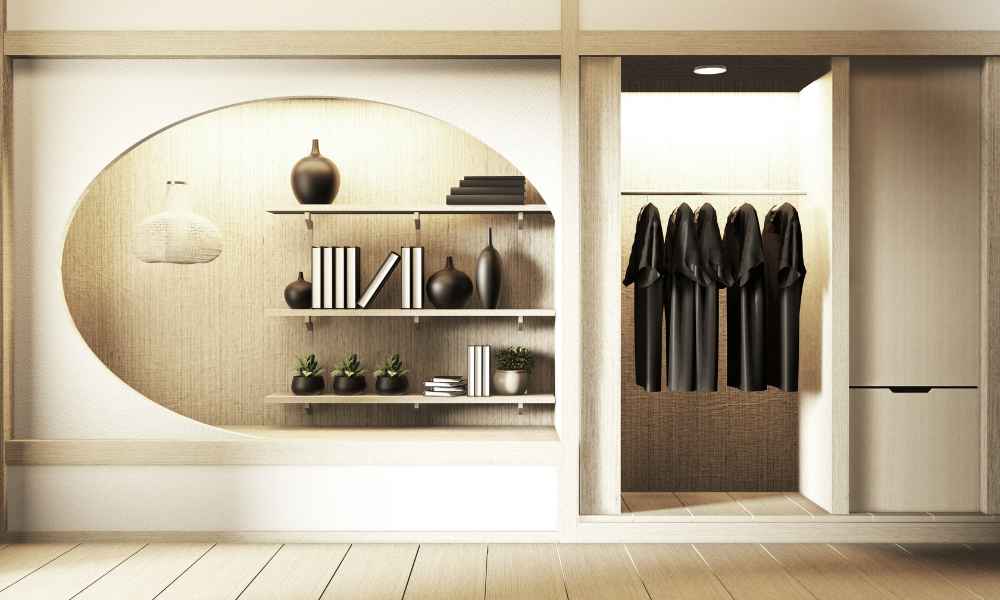
Closet shelves serve as the backbone of an efficient storage system. They provide a designated space for items of various sizes, from clothing and shoes to accessories and household essentials. By installing shelves, you can utilize vertical space effectively, making the most of your closet’s dimensions and ensuring easy access to your belongings.
Planning Your Closet Shelving Project
Before diving into the installation process, take the time to plan your project thoroughly. Begin by assessing your closet space to determine the optimal layout for shelving. Consider factors such as the height of your clothing rods, the depth of your shelves, and any special requirements based on the items you intend to store.
Once you have a clear vision of your shelving layout, mark the locations for shelf placement using a pencil and a level. This step will guide you during the installation process and ensure a balanced and aesthetically pleasing result.
Gathering Materials and Tools
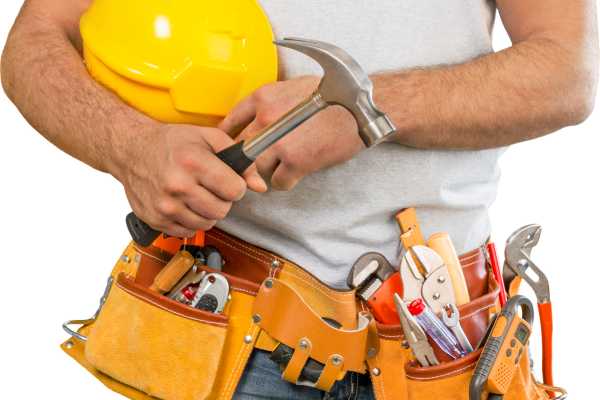
To attach closet shelves to the wall, you’ll need a few essential materials and tools. Depending on the specifics of your project, you may require:
- Shelving boards or pre-made shelves
- Shelf brackets
- Screws or nails
- Wall anchors (if not attaching shelves directly to studs)
- Drill
- Level
- Measuring tape
- Pencil
Before starting the installation, double-check that you have all the necessary supplies on hand to avoid interruptions during the process.
Preparing the Wall for Installation
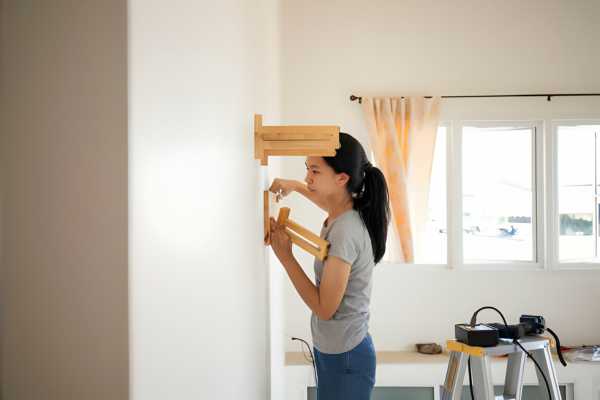
Before attaching shelves to the wall, it’s crucial to prepare the surface properly. Begin by locating the studs in your wall using a stud finder. Mark the stud locations with a pencil to serve as reference points for attaching your shelves securely. Once you’ve identified the stud positions, use a level to mark the desired height for your shelves. Use a measuring tape to ensure consistent spacing between shelves if installing multiple levels. Next, drill pilot holes at the marked locations to prevent the wall from splitting when inserting screws or nails. Be sure to use a drill bit that matches the size of your fasteners for a snug fit.
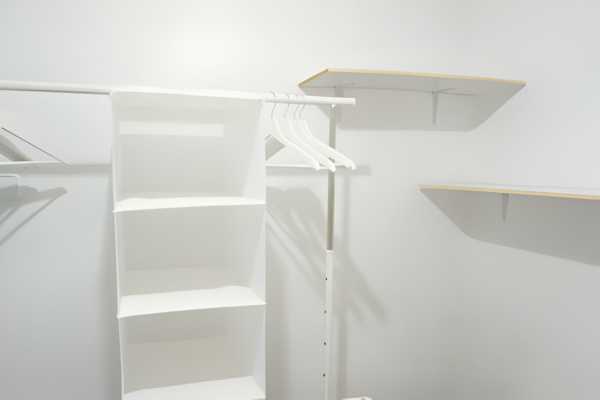
Attaching the Shelves to the Wall
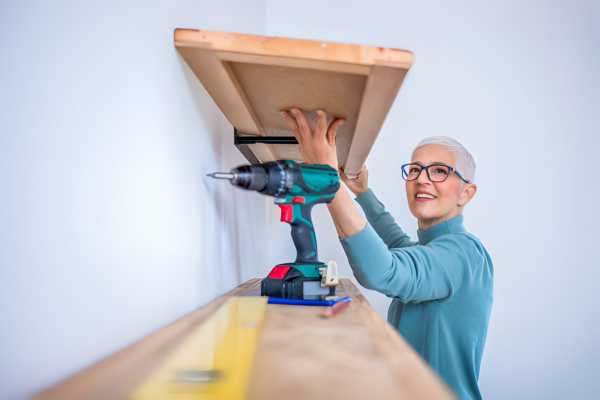
With the wall prepared, it’s time to attach the shelves. If you’re installing shelves directly into studs, simply position the shelf brackets and secure them in place using screws or nails. For added stability, consider using brackets with multiple attachment points. If your shelve needs to be mounted on drywall or a hollow wall, use wall anchors to provide additional support. Insert the anchors into the pilot holes, then attach the brackets using screws. Make sure the brackets are level and securely fastened to the wall before placing the shelves on top. Once the brackets are in place, carefully position the shelf on top of them, ensuring they’re level and evenly spaced. Use a level to double-check the alignment before securing the shelve to the brackets with screws or nails.
Tips for a Sturdy and Secure Installation
- Use sturdy materials: Opt for high-quality shelving boards and brackets to ensure durability and stability.
- Distribute weight evenly: Avoid overloading shelves with heavy items, and distribute weight evenly across multiple shelve to prevent sagging.
- Reinforce connections: Consider adding additional screws or brackets for extra support, especially for long or heavy shelve.
- Regular maintenance: Periodically check for loose screws or brackets and tighten them as needed to maintain the integrity of your shelving system.
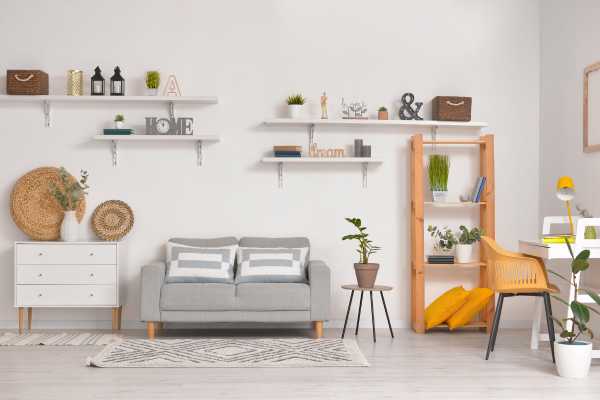
Decorating and Organizing Your Closet Shelves
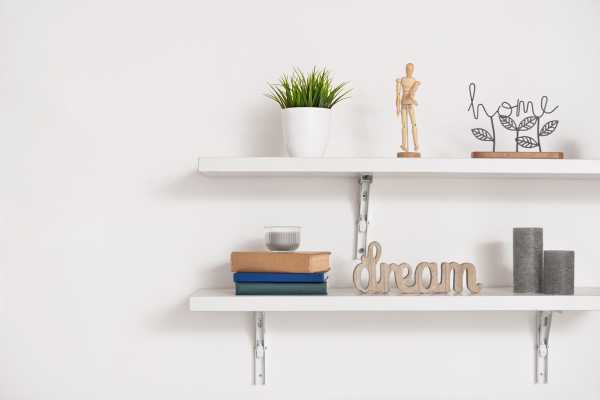
Once your shelves are securely installed, take the opportunity to personalize and organize your closet space. Use baskets, bins, and storage containers to corral smaller items and keep them neatly arranged. Experiment with different storage solutions to find what works best for your needs and lifestyle.
Maintenance and Troubleshooting
Regular maintenance is key to keeping your closet shelf in optimal condition. Periodically inspect the shelf and brackets for signs of wear or damage, and make any necessary repairs or replacements promptly. If you encounter any issues such as sagging or instability, address them immediately to prevent further damage to your shelving system.
Can I install closet shelves without drilling into the wall?
Considering how to attach shelf to the wall, many homeowners wonder if it’s possible to install them without drilling. While traditional methods typically involve drilling into the wall for stability, there are alternative options available for those who prefer to avoid drilling. Adhesive strips, tension rods, and freestanding shelving units are popular choices for those seeking a non-permanent solution. However, it’s essential to keep in mind that these alternatives may not offer the same level of stability and weight capacity as drilled-in shelves. Before opting for a no-drill approach, carefully assess your storage needs and consider the pros and cons of each mounting method.
How much weight can closet shelves support?
Understanding the weight capacity of the closet shelve is crucial for ensuring a safe and functional storage solution. The weight that shelves can support varies depending on factors such as the materials used, the shelf design, and the mounting method. Generally, well-constructed shelf made from durable materials like wood or metal can support significant weight. However, it’s essential to adhere to weight limits specified by the manufacturer and avoid overloading shelve to prevent sagging or damage. If you plan to store particularly heavy items, consider reinforcing the shelves with additional brackets or supports for added stability.
Do I need to hire a professional for closet shelving installation?
Many homeowners possess the DIY skills necessary to tackle closet shelving installation themselves. However, for those who lack experience or confidence in their abilities, hiring a professional may be a wise decision. Professional installers have the expertise and tools needed to ensure a precise and secure installation, minimizing the risk of errors or damage. Additionally, hiring a professional can save you time and effort, allowing you to focus on other aspects of home improvement or organization. Before making a decision, consider your level of comfort with DIY projects and weigh the potential benefits of professional installation.
Can I customize the size and design of my closet shelves?
One of the advantages of installing closet shelf is the ability to customize them to suit your specific needs and preferences. Many home improvement stores offer a variety of shelving options, including customizable solutions that allow you to adjust the size, design, and configuration to fit your closet space perfectly. Whether you require extra-wide shelves for bulky items or prefer a sleek, minimalist design, customization ensures that your shelve meet both your functional and aesthetic requirements. Take advantage of this flexibility to create a storage solution that enhances your organization and complements your home decor.
How can I maximize space in a small closet with shelves?
Maximizing space in a small closet with shelves requires strategic planning and organization. Start by decluttering and purging items you no longer need or use to create more space for essentials. Next, utilize vertical storage solutions such as stackable bins, hanging organizers, and slimline hangers to make the most of limited space. Consider installing shelve above clothing rods to store items like folded clothing, hats, or accessories. Additionally, maximize floor space by using under-shelf baskets or shoe racks to keep shoes and other items organized and easily accessible. With thoughtful planning and creative storage solutions, even the smallest closet can become a functional and organized space.
Conclusion
Attaching a closet shelf to the wall is a practical and rewarding DIY project that can enhance the functionality and aesthetics of your space. By following the steps outlined in this guide and paying attention to detail, you can create a sturdy and stylish storage solution that meets your needs and complements your home decor.