Build recessed wall shelves is an excellent way to add storage and display space to any room without encroaching on valuable floor area. These shelves blend seamlessly into the wall, creating a clean, minimalist look while being immensely functional. Whether you’re aiming to display books, collectibles, or need extra storage in a bathroom or kitchen, recessed shelves can be the perfect solution. This guide will walk you through the process of building recessed shelves, from selecting the ideal location to the final touches of measuring and marking.
Choosing the Right Location
The first step in building recessed wall shelves is to choose the right location. It’s essential to consider both the aesthetic and functional aspects of where your shelve will go. Look for a wall that doesn’t have electrical wiring or plumbing running through the proposed shelf area, as these can complicate the installation process. Additionally, think about how the shelve will be used and what will be stored on them. For example, if you’re planning to store heavier items, you’ll need to ensure the wall can support the weight. A good location is also one that enhances the room’s design and doesn’t interfere with the natural flow of space.
Gathering Necessary Tools and Materials
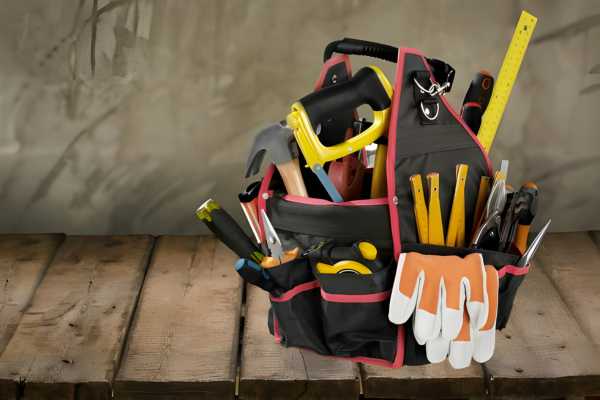
- Measuring Tape: A measuring tape is essential for accurately determining the dimensions of your shelve and marking the wall for installation.
- Level: A level will help you ensure that your shelves are installed straight and level, preventing them from tilting or sagging.
- Stud Finder: A stud finder is crucial for locating wall studs, which provide the necessary support for your shelve. This will help ensure that your shelves are securely anchored to the wall.
- Pencil: A pencil will be used for marking the wall and making precise measurements during the installation process.
- Drywall Saw or Reciprocating Saw: You’ll need either a drywall saw or a reciprocating saw to cut into the wall and create the recessed area for your shelve.
- Drill: A drill will be used to create pilot holes for screws and to attach framing material to the wall.
- Screwdriver: A screwdriver will be needed to drive screws into the wall studs and secure the shelves in place.
- Lumber for Framing: Depending on the size and configuration of your shelve, you’ll need lumber to create a sturdy frame within the recessed area.
- Shelf Material: Choose a suitable material for your shelve, such as plywood or medium-density fiberboard (MDF), based on your design preferences and budget.
- Screws: Select screws that are appropriate for the type of framing material you’re using and capable of supporting the weight of your shelve.
- Drywall Anchors: If your shelves will be installed in drywall without access to wall studs, you may need drywall anchors to provide additional support.
- Sandpaper: Sandpaper will be used to smooth any rough edges on the shelves and prepare them for finishing.
- Paint or Stain: Finally, choose a paint or stain to finish your shelve, matching them to your existing decor for a seamless integration into your space.
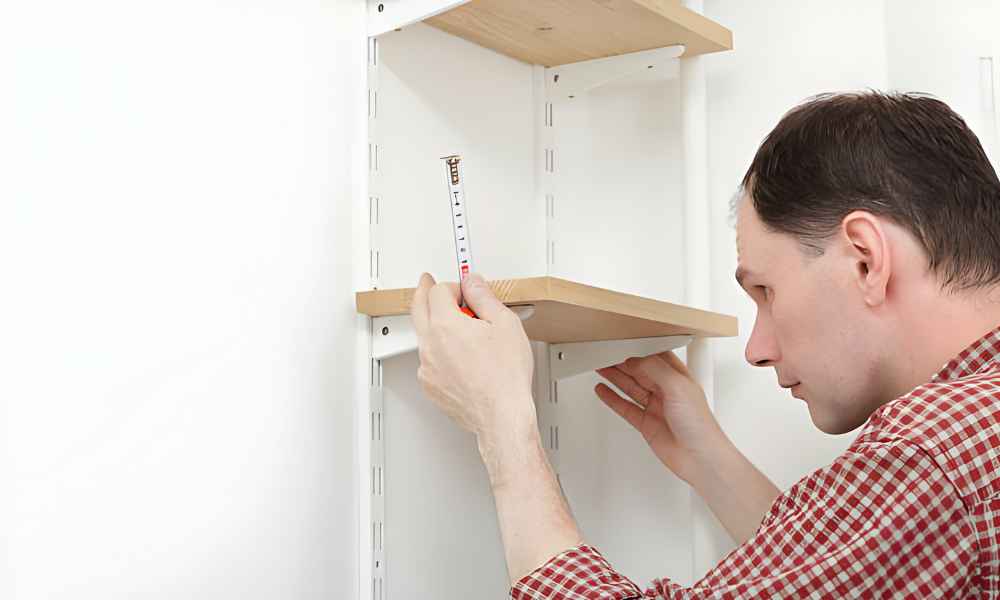
Measuring and Marking
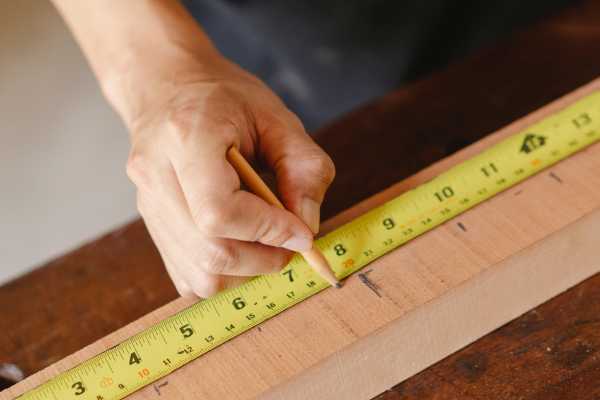
The key to a successful recessed shelf project is accurate measuring and marking. Start by using a stud finder to locate the studs in your chosen wall, as this will determine where you can safely cut into the drywall. Once you’ve mapped out the studs, decide on the dimensions of your shelves, including depth, width, and height. Use a level and tape measure to mark the outline of your shelving area on the wall. Ensuring that everything is perfectly level and square. This step is crucial, as any mistakes in measuring or marking can lead to uneven shelve or damage to your wall.
Cutting the Wall
Cutting into the wall is a critical step that requires precision and caution. Begin by double-checking the measurements and markings you’ve made to ensure accuracy. Using a drywall saw, carefully cut along the outlined area. Remember to wear safety goggles to protect your eyes from dust and debris. As you cut, be mindful of any electrical wires or plumbing that could be hidden within the walls. It’s recommended to cut shallowly at first to avoid damaging any unseen utilities. Once the cutout is complete, remove the section of drywall to reveal the cavity where the shelves will be installed.
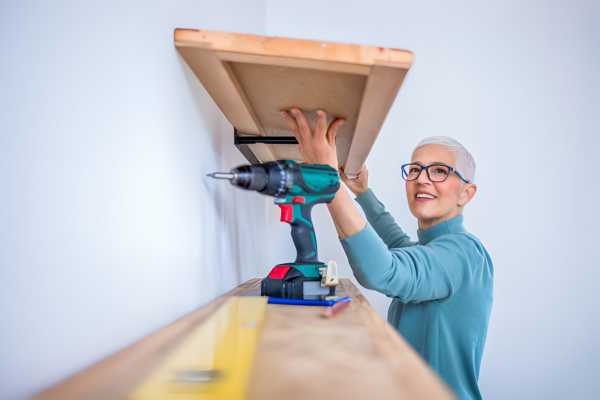
Framing and Support
With the wall cut open, the next step is to build a frame within the cavity to support the shelve. This is typically done with 2x4s or other structural lumber, depending on the size of your shelves and the weight they need to support. Measure and cut your lumber to fit snugly inside the cavity. Using screws to attach the frame securely to the studs surrounding the opening. This frame not only supports the shelves but also provides a structure to which the shelf backing and the drywall or other wall finishes can be attached.
Building the Shelves
With the frame in place, you can move on to building the shelves themselves. Depending on the material you’ve chosen (wood, glass, metal), the process will vary slightly. For wooden shelve, measure, cut, and finish the wood to fit your opening and desired shelf size. It’s crucial to ensure that each shelf is perfectly level and fits snugly within the frame without forcing it into place. If you’ve opted for glass or metal shelves. You may need to install shelf brackets or supports within the frame at this stage.
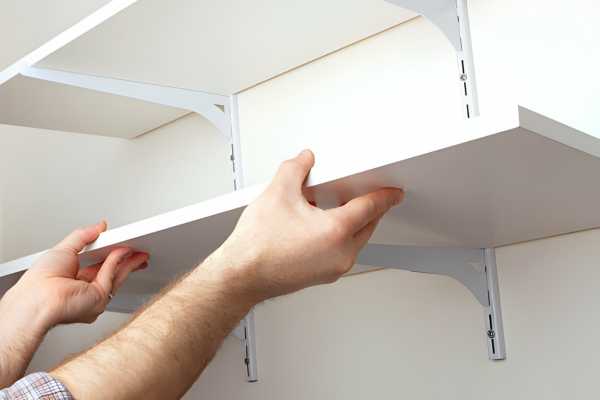
Installing the Shelves
The final step is to install the shelves into the framed cavity. If you’re working with wooden shelves, you might choose to secure them directly to the frame with screws or allow them to rest on shelf pins for adjustable shelving. For glass or metal shelve, carefully place them on the brackets or supports you’ve installed. Once the shelves are in place. Finish the project by patching any seams or gaps around the frame with drywall compound and painting or wallpapering to match the surrounding wall. This not only hides any evidence of cutting into the wall but also integrates your new recessed shelves seamlessly into the room.
Finishing Touches
The difference between a good project and a great one often lies in the finishing touches. Once your shelves are installed, consider how you can enhance their appearance and functionality. This might involve applying a coat of paint or stain that complements the room’s decor. Adding trim or molding around the shelf edges for a more polished look. Or installing lighting within the shelves to highlight displayed items. Ensure these final details are executed with care, as they contribute significantly to the overall aesthetic appeal of your recessed shelve.
Maintenance and Care
Recessed shelves are relatively low maintenance, but regular care will keep them looking their best and ensure their longevity. Dust them regularly to prevent buildup and wipe them down with a damp cloth if they become dirty. Be mindful of the weight limits of your shelves to avoid overloading, which can cause damage both to the shelve and the items displayed on them. For wooden shelve, consider reapplying a sealant or finish every few years to protect the wood from wear and moisture.
Safety Considerations
Safety should never be an afterthought when building and using recessed shelves. During construction, ensure you’re not cutting into any electrical wiring or plumbing, and always use the proper safety gear. Once installed, regularly check the shelve for any signs of weakness or damage, particularly if they are used to store heavy items. Ensure that the shelve and their contents do not pose a risk to those walking by, especially in areas of high traffic where items could potentially fall.
Common Mistakes to Avoid
Several common mistakes can undermine the success of your recessed wall shelf project. One of the most frequent errors is failing to locate and avoid cutting through studs, wiring, and plumbing during installation. Another mistake is not securing the frame and shelves adequately, leading to instability. Skipping the finishing touches or hastily completing them can result in a less appealing final product. Finally, overlooking the importance of accurate measuring and leveling during every step of the process can lead to misaligned or uneven shelve, detracting from their functionality and aesthetic appeal.
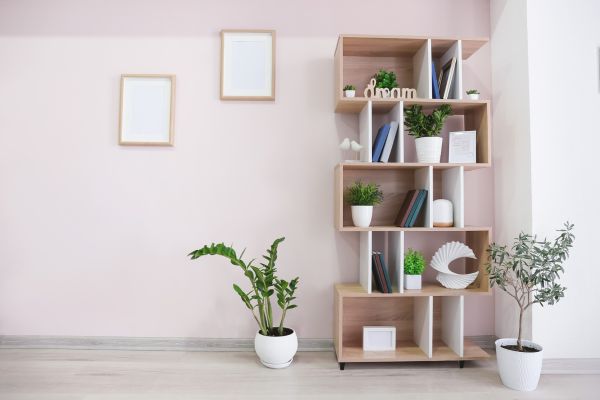
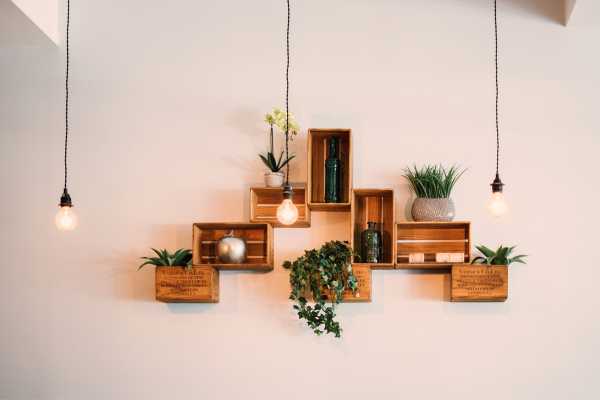
Creative Design Ideas
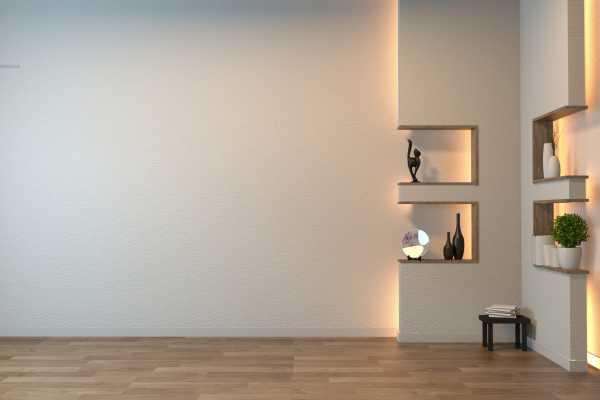
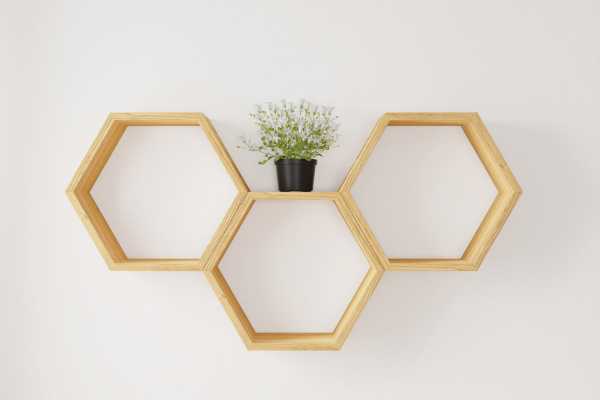
Recessed wall shelves offer endless possibilities for creative design. Consider the overall theme of your room and how the shelves can enhance this aesthetic. For a modern, minimalist look, clean lines and uniform shelf sizes work well. If you’re aiming for a more eclectic vibe, varying the depth and length of each shelf can add visual interest. Incorporating materials such as reclaimed wood, glass, or metal can also add texture and contrast. Lighting is another element that can dramatically enhance your shelve, whether it’s LED strips along the back or small. Recessed lights on each shelf to highlight displayed items. For a truly unique touch, consider painting the back wall of the shelve in a bold color or adding wallpaper to create a backdrop that pops.
Cost Considerations
The cost of building recessed shelves can vary widely based on several factors. Including the size of the project, materials used, and whether you plan to DIY or hire a professional. Basic materials like wood, screws, and paint are relatively inexpensive. But costs can rise with the addition of specialty finishes or custom elements like glass shelves or integrated lighting. Labor costs can significantly increase the project’s price if you’re not doing the work yourself. To keep costs down, plan your design carefully, choose materials wisely. And consider which parts of the project you can realistically tackle on your own. Remember, investing in quality materials and proper installation can save money in the long run by ensuring durability and avoiding future repairs.
How Much Weight Can Recessed Wall Shelves Support?
The weight capacity of recessed shelves depends on several factors, including the materials used for the shelve. The strength of the wall, and how well the shelves are anchored. Generally, shelve built into stud walls with proper support can hold a significant amount of weight — anywhere from 50 to 100 pounds (about 23 to 45 kilograms) per shelf. However, for heavier loads, additional reinforcement might be necessary. This can involve using stronger materials for the shelf itself, such as metal brackets or thicker wooden planks. And ensuring the shelf frame is securely attached to the wall studs. Consulting with a professional can provide guidance on maximizing weight capacity while maintaining safety and stability.
Can Recessed Wall Shelves Be Installed in Any Type of Wall?
Recessed wall shelves are versatile, but their installation feasibility varies depending on the wall type. They are most easily installed in walls with standard wood framing and drywall. As these materials are relatively easy to cut through and modify. However, walls that contain masonry, concrete, or are part of load-bearing structures require more expertise to modify due to their structural contributions and the difficulty of cutting through these materials. Additionally, walls with extensive plumbing, electrical wiring. Or HVAC components may not be suitable for recessed shelve without significant adjustments or professional input to navigate these complexities safely.
Are Recessed Wall Shelves Difficult to Install?
The difficulty level of installing recessed shelves largely depends on your DIY skills. The tools at your disposal, and the specific conditions of the wall you’re working with. For someone with basic carpentry skills and the right tools, the project can be straightforward. The process involves careful planning, precise measuring and cutting, and ensuring the structural integrity of the wall is maintained. For those less experienced, or if the wall presents unique challenges such as electrical wiring or is made of harder materials like brick or concrete, the installation can be quite complex. In such cases, seeking professional assistance is advisable to avoid potential issues.
Conclusion
Building recessed wall shelves is a rewarding project that can enhance the functionality and aesthetic appeal of your home. While these shelve can be installed in many types of walls, considerations regarding the wall’s material and internal structure are crucial for determining feasibility and approach. Although the installation process can vary in complexity, the key to success lies in thorough planning, having the right tools. And understanding the scope of the project. Whether you decide to take on this project yourself or enlist professional help. The addition of recessed wall shelve can offer a sleek, space-saving solution for storage and display. Adding both value and charm to your living space.