
Installing shelves on a wall can transform any space into a more organized, aesthetically pleasing environment. Whether it’s for displaying your favorite books, creating a space for your home office, or simply adding extra storage, the process is straightforward but requires attention to detail. This guide aims to equip you with the knowledge and steps necessary to successfully install shelves on your wall, ensuring they are both functional and complement your interior design.
Preparing for Installation
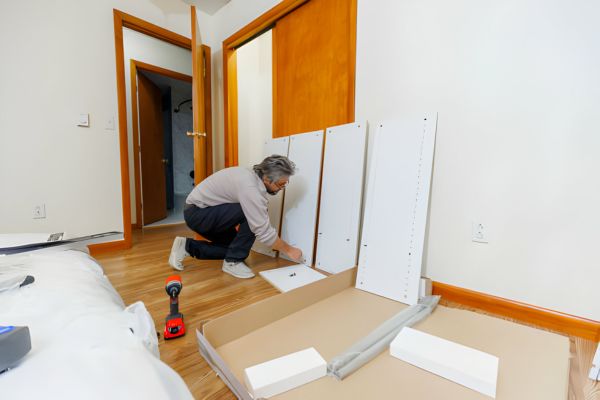
Before you embark on your shelving project, preparation is key. This includes gathering all necessary tools and materials, choosing the right location for your shelf, and deciding on the type of shelves that best suit your needs and the aesthetics of your room.
Tools and Materials Needed
To ensure a smooth installation process, start by collecting the following tools and materials:
- Drill: For making holes in the wall for screws or anchors.
- Level: Essential for ensuring your shelves are perfectly horizontal.
- Stud Finder: Useful for locating studs in the wall to securely anchor the shelf.
- Screws and Anchors: Select according to the type of wall (drywall, plaster, concrete) and the weight they need to support.
- Brackets: Depending on the shelf type, you may need brackets to support it.
- Tape Measure: For accurate spacing and alignment of your shelve.
- Pencil: To mark the wall where your shelf will be installed.
Choosing the Right Location
Selecting the perfect spot for your shelves involves more than just eyeing a vacant space on the wall. Consider the following:
- Functionality: What will you be using the shelf for? Ensure the location is accessible and practical for its intended use.
- Aesthetics: How will the shelve fit into the room’s overall design? Think about the visibility and how objects on the shelf will complement the room.
- Obstructions: Be mindful of any potential obstructions, such as doors, windows, or furniture, that could impact the placement or use of the shelve.
Types of Shelves
The type of shelves you choose should reflect both your storage needs and your personal style. Options include:
- Floating Shelves: Popular for their clean, minimalistic look, floating shelve attach directly to the wall with hidden brackets.
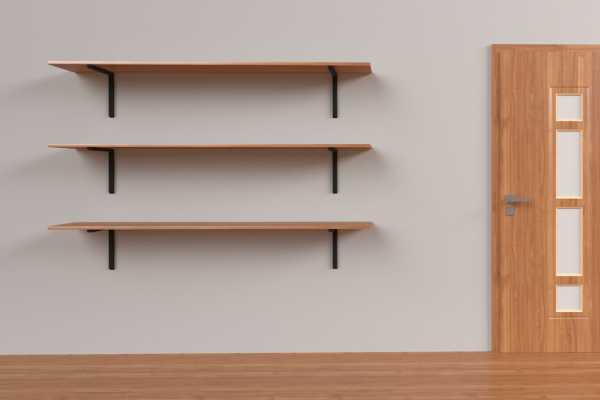
- Bracketed Shelves: These shelves are supported by visible brackets underneath, offering a traditional look and the ability to hold more weight.
- Corner Shelves: Perfect for utilizing otherwise wasted corner space, these shelve can add functionality and design to any room.
Step-by-Step Guide to Installation
Installing shelves on your wall not only enhances the functionality of your space but also contributes to its aesthetic appeal. Follow this detailed step-by-step guide to ensure your shelves are installed securely and beautifully.
Marking the Wall
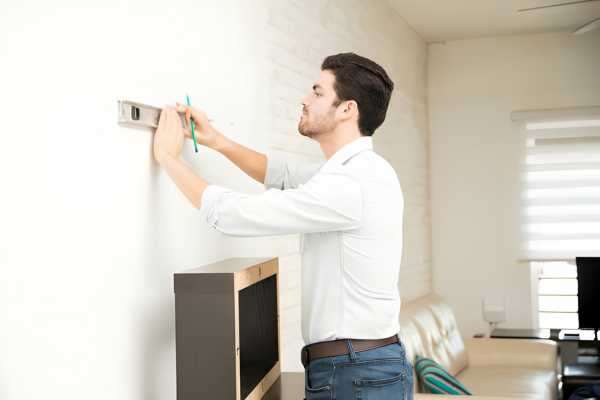
The first crucial step is marking your wall where the shelve will be installed. Begin by deciding on the height at which you want your shelf. Using a tape measure and a level, mark the wall lightly with a pencil to indicate where the brackets will be placed. It’s essential to use a level to ensure your markings are straight, as this will determine the final outcome of your shelf installation. If you’re installing multiple shelves, make sure to measure the distance between each shelf accurately to maintain uniform spacing.
Drilling and Anchoring
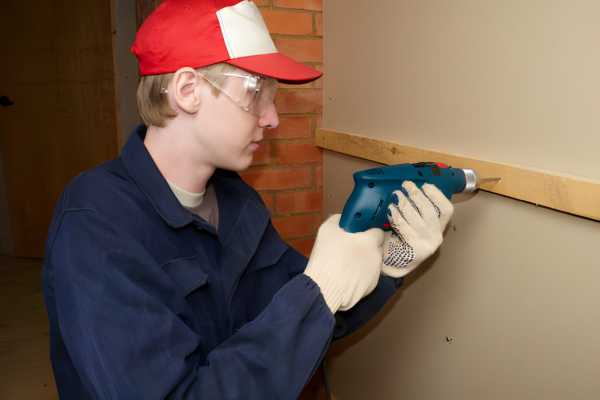
After marking the wall, it’s time to drill holes for the anchors. This step requires a drill and the right size drill bit. If you’re drilling into drywall and not into a stud, you’ll need to use wall anchors that can support the weight of the shelf and the items you plan to place on it. Carefully drill holes at the marks you’ve made, ensuring they are the correct depth for your anchors. Once the holes are drilled, insert the anchors by gently tapping them into place with a hammer.
Securing the Bracket
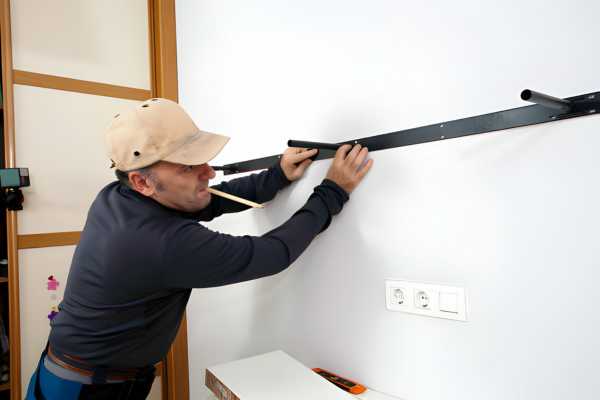
With the holes drilled and the anchors in place, you can now attach the shelf brackets. Position the bracket over the hole and use a screwdriver to secure the bracket with screws into the anchors. Make sure the brackets are tightly fixed to the wall and check again with a level to ensure they are perfectly horizontal. This step is critical as the brackets will bear the weight of the shelf and its contents.
Placing the Shelf
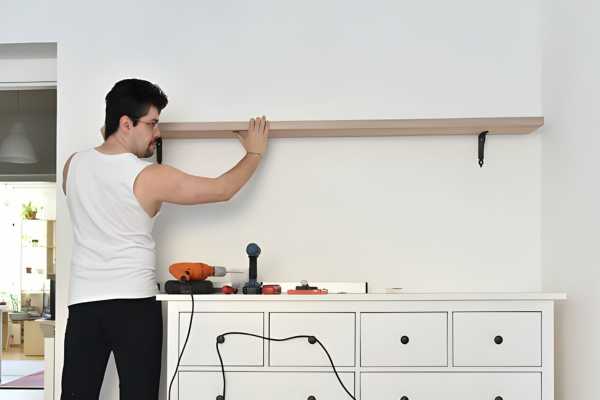
Once the brackets are securely attached to the wall, you can place the shelf on top of the brackets. Depending on the type of shelf and brackets you have, this step may involve simply laying the shelf on top of the brackets or securing it with screws. If your shelf needs to be screwed onto the brackets, mark the screw points, pre-drill holes into the shelf, and then fasten the shelf to the brackets using screws.
Additional Tips for a Perfect Installation
Leveling Your Shelves
Ensuring your shelves are level is crucial for both aesthetic and practical reasons. Always use a level when marking the wall for bracket placement and again when installing the brackets. A shelf that’s even slightly off can be noticeable and may cause items to slide off.
Dealing with Common Issues
Even with careful planning, you might encounter issues such as drilling into a stud when you didn’t intend to, or discovering electrical wiring or plumbing behind your drilling site. If you hit a stud, consider using a stud finder in the planning stage to avoid this issue. For wiring or plumbing, always drill carefully and stop if you feel unexpected resistance. In these cases, it may be best to consult with a professional to avoid causing damage.
Maintaining Your Wall Shelves
Once your shelves are securely installed, maintaining them is crucial to ensure they remain both functional and visually appealing for years to come. Here are some tips for maintaining your wall shelve:
Regular Cleaning
Keeping your shelves clean is essential for maintaining the appearance and hygiene of your space. Dust can accumulate quickly, not just on the items displayed but also on the shelf itself, which can detract from the overall look of the room. Use a soft cloth or duster to gently remove dust from the surface of the shelf and the items on display. For deeper cleaning, use a mild cleaner suitable for the shelf material, ensuring it won’t damage the finish or the wall. Regular cleaning also gives you the opportunity to inspect the shelf and brackets for any signs of wear or loose fittings that need tightening.
Weight Distribution
Proper weight distribution is vital to prevent shelves from sagging or becoming unstable. Be mindful of the weight capacity of your shelve and distribute items evenly across the surface. Heavy items should be placed closer to the wall brackets where the shelf can provide better support. Avoid overloading the shelve, as this can lead to damage to both the shelf and the wall, and could pose a safety hazard if the shelf were to fall. Periodically check and adjust the arrangement of items on your shelf to ensure even weight distribution and to refresh the look of your display.
Can I install shelves on any type of wall?
Yes, you can install shelves on most types of walls, including drywall, plaster, and even masonry or concrete walls. However, the installation process and the hardware required (such as anchors or screws) will vary depending on the wall material. For example, installing shelve on drywall may require the use of drywall anchors to provide additional support, whereas drilling into a concrete wall might require a hammer drill and special concrete anchors. Always ensure you’re using the correct tools and hardware for your specific wall type to secure the shelf properly.
How do I choose the right type of shelf for my space?
Choosing the right type of shelf for your space depends on several factors, including the intended use of the shelves, the weight of the items you plan to place on them, and your aesthetic preferences. Consider the following:
- Purpose: Determine what you will be storing on the shelve. If you need to store heavy items, look for sturdy shelves that can support the weight, such as solid wood shelve with strong brackets.
- Space: Assess the space where you plan to install the shelves. Floating shelves are great for a clean, minimalist look, whereas bracketed shelves might be better for heavier loads. Corner shelve can maximize space in small areas.
- Style: Think about the style of your room and what type of shelving would complement it. Wooden shelves might suit a traditional or rustic decor, while metal or glass shelves could fit well in a modern setting.
How do I ensure my shelves are level during installation?
Ensuring that your shelves are level during installation is paramount for both aesthetic appeal and functionality. A shelf that’s not level can lead to items sliding off, uneven weight distribution, and it can be visually unappealing. To guarantee levelness, always use a spirit level during the installation process. Begin by marking your wall where the brackets will be installed, then place the level against the wall to ensure your marks are aligned correctly. When securing the brackets and placing the shelf, check the levelness again before finalizing the installation. For shelves that span a long distance, checking for levelness across multiple points is crucial to accommodate any wall irregularities.
Can installing shelves damage my walls?
The concern that installing shelves might damage walls is valid, especially for renters or those new to DIY home projects. While it’s true that drilling holes into walls can leave marks, using the correct tools and hardware minimizes the risk of significant damage. Employing wall anchors suitable for your wall type (drywall, plaster, concrete, etc.) ensures that the weight is distributed properly, reducing the risk of the shelve pulling out from the wall and causing damage. When it’s time to remove the shelve, filling in the holes with spackle or wall filler can easily repair any minor damage, leaving your walls looking as good as new.
Conclusion
Installing shelves on a wall is a straightforward DIY project that not only adds functional storage space but can also enhance the aesthetic appeal of your home. By following a step-by-step guide, maintaining your shelf, and addressing common concerns and questions, you can ensure a successful installation. Remember to measure carefully, use the right tools, and choose the appropriate hardware for your wall type. Taking the time to install your shelve correctly will provide you with a sturdy and stylish storage solution that complements your living space. Whether you’re a seasoned DIY enthusiast or a first-timer, the satisfaction of having installed your shelve is rewarding, making this project well worth the effort.