Ever been faced with the unsightly issue of chipped paint on your wall, You know how it can detract from the overall appearance of your home. There’s no need to let this blemish linger, As it’s A problem that can be addressed with A bit of time, Effort, And the right guidance. In this guide, We will explore the step-by-step process of how to fix chipped paint on A wall, Restoring its aesthetic appeal And protecting it from further deterioration. Whether you’re A seasoned DIY enthusiast or A novice looking to tackle A home improvement project, This comprehensive guide will walk you through the process in A clear And accessible manner. Say goodbye to that chipped paint eyesore And welcome back the charm of your wall.
What Causes Chipped Paint On Walls?
Chipped paint on walls can result from several factors. One common cause is poor surface preparation, Where paint is applied to dirty, Oily, Or uneven surfaces. Moisture And humidity can also lead to color chipping, As water can penetrate the color film And cause it to peel. Temperature fluctuations And aging color can contribute to chipping. High-traffic areas are more prone to damage, As are walls subject to impacts or abrasion. To prevent chipped color, It’s crucial to properly prepare surfaces, Choose the right paint, And maintain A controlled environment. Regular maintenance And touch-ups can also extend the life of your wall paint.
Why Is Paint Chipping A Concern?
Paint chipping is A concern for several reasons. Firstly, It diminishes the aesthetic appeal of surfaces, Making them look worn And unkempt. Chipped color can also be A sign of underlying issues, Such as moisture intrusion or substrate damage, Which, If left unaddressed, Can lead to more significant And costly repairs. Furthermore, Chipped color can pose health risks if the color contains lead, Which is especially hazardous when it deteriorates into dust. In homes built before 1978, There’s A higher likelihood of lead-based color, Making the issue even more critical. Ultimately, Addressing color chipping is not only about maintaining the appearance of A space but also ensuring the safety And longevity of the painted surfaces And the health of those inhabiting the space.
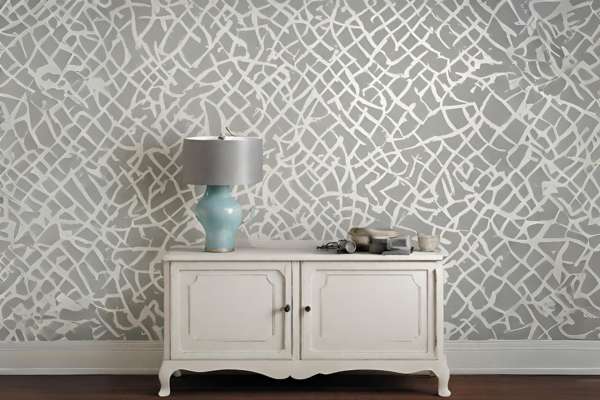
Importance Of Maintaining A Well-Painted Wall
Maintaining A well-painted wall is A crucial aspect of home care, And it offers A multitude of advantages that extend beyond mere aesthetics. Here, We delve into the significance of upkeeping your painted surfaces, Touching on various aspects that underscore the importance of this practice.
Protection From Moisture
One of the primary benefits of maintaining A well-painted wall is its ability to protect your interior spaces from moisture. A properly painted wall acts as A barrier, Preventing water from seeping into the built wall cabinets for the living room substrate. Moisture can lead to structural damage, Mold growth, And A host of other problems. By keeping your walls in good condition, You are effectively safeguarding your home against these potential issues.
Enhanced Durability
Well-maintained color not only adds to the aesthetic appeal but also contributes to the structural integrity of your walls. Paint provides A protective layer, Shielding the underlying materials from wear And tear. This enhanced durability means that your walls can withstand daily activities, Like cleaning, And remain in good shape for A longer period, Reducing the need for frequent And costly repairs.
Improved Indoor Air Quality
Your wall paint choice And its condition can significantly impact indoor air quality. High-quality paints with low or no VOC (volatile organic compounds) emit fewer harmful fumes, Contributing to healthier indoor air. Proper maintenance of your color ensures that it continues to serve as A protective coating, Preventing the absorption of pollutants And contaminants into the wall material, Which could otherwise affect the air quality within your home.
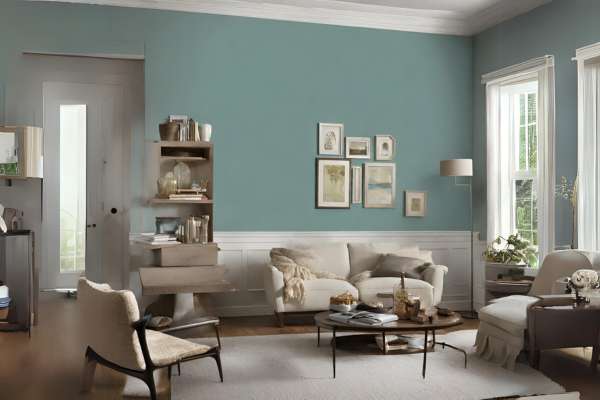
Preservation Of Aesthetic Appeal
The color And finish of your walls can reflect your personal style And contribute to the overall atmosphere of your home. Regular touch-ups And maintenance help to preserve this appeal, Preventing issues like chipping, Fading, Or discoloration, Which can detract from the visual appeal of your interiors.
Property Value And Curb Appeal
A well-painted exterior enhances curb appeal, Making your home more attractive to potential buyers or passersby. When it comes to selling your home, A well-maintained interior with fresh color can be A selling point, As it implies that the property has been cared for And is less likely to have underlying issues. In essence, Maintaining well-painted walls can directly influence your property’s market value And desirability.
Here Are Some Ideas How To Fix Chipped Paint On Wall
Gather Supplies
Before you begin, It’s essential to gather the necessary supplies. You’ll need A putty knife or scraper, Sandpaper, Primer, Paint in the matching color, A paintbrush or roller, Drop cloths, And A dust mask for safety. Ensuring you have all the tools And materials at your disposal will make the process smoother And more efficient.
Clean The Area
The first step in addressing chipped paint is to clean the affected area. Use A mild detergent And water to remove any dirt, Dust, Or debris. A clean surface allows the new color to adhere better And ensures A smoother finish. Be sure to let the area dry completely before moving on to the next step.
Scrape Loose Paint
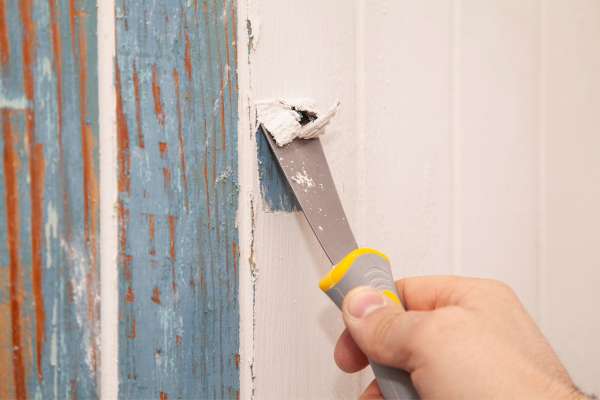
With your putty knife or scraper, Gently remove any loose or peeling color from the chipped area. It’s important to be thorough but careful to avoid damaging the underlying wall surface. This step prepares the surface for the next phase of the repair.
Sand The Edges
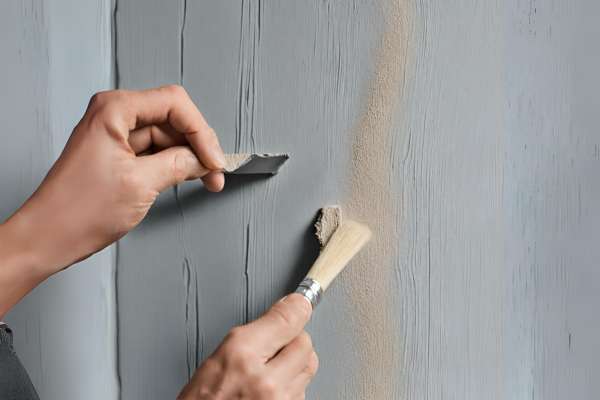
After scraping off loose paint, Use sandpaper to feather the edges of the chipped area. This will help create A smooth transition between the remaining color And the wall, Preventing noticeable ridges. Be sure to sand the edges until they are flush with the rest of the wall.
Prime The Area
Once you’ve cleaned And prepared the chipped area, It’s time to apply A primer. The primer helps the new paint adhere securely to the surface And ensures A consistent finish. Use A brush or roller to apply A thin, even coat of primer over the chipped area, And allow it to dry according to the manufacturer’s instructions.
Select Matching Paint
The next crucial step is to choose A paint that matches the color And finish off the existing wall. If you have the original color can or know the paint color code, That’s ideal. If not, You can take A sample of the old color to A hardware store to get an A color match. Once you have the matching paint, Ensure it is well mixed before use to achieve A consistent color And texture.
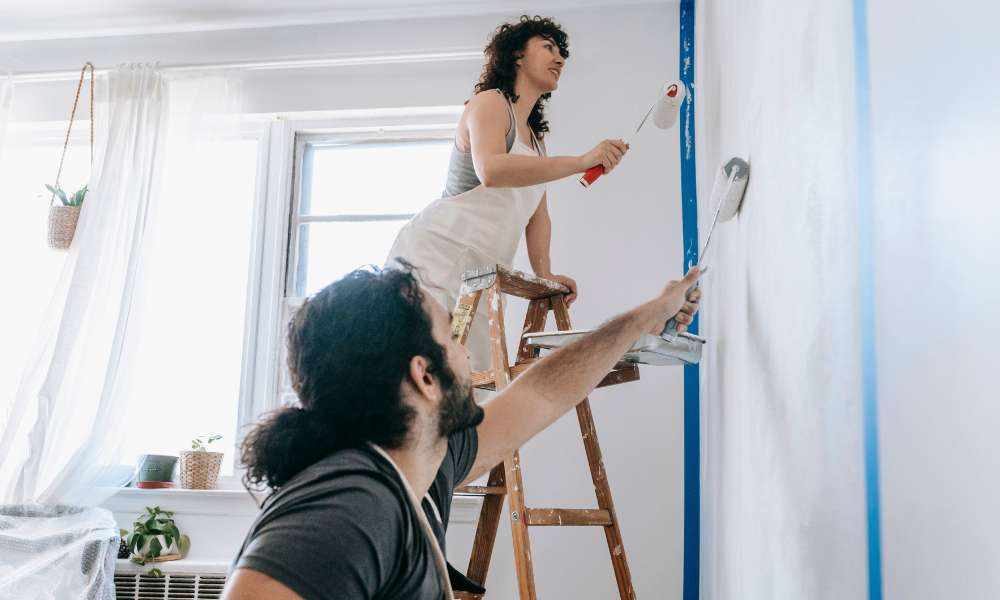
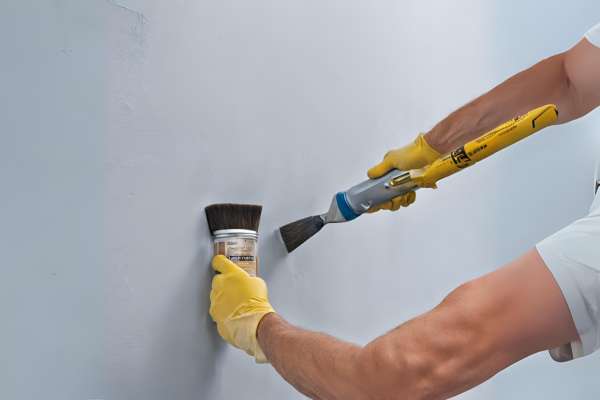
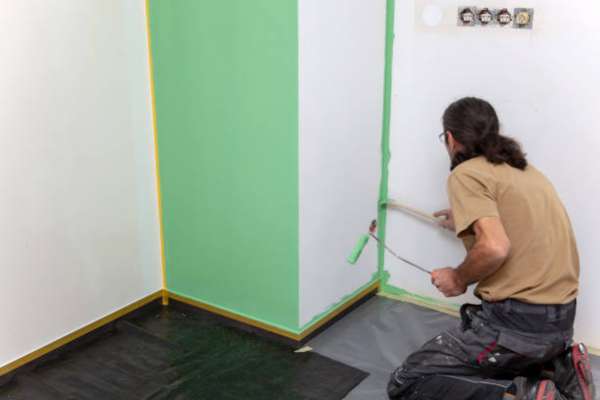
Paint With A Brush

Using A brush, Carefully apply the matching paint over the primed area. It’s important to feather the color outwards from the chipped region, Blending it with the surrounding wall. Apply several thin coats rather than A single thick one for A more seamless finish. Allow each coat to dry before applying the next, Following the paint’s drying time recommendations.
Use A Paint Pen

If the chipped area is relatively small And precise, A paint pen can be A handy tool. These pens are especially useful for touching up small blemishes And chips. Ensure the color pen color matches the wall, And carefully fill in the chipped area. Feather the edges to blend with the surrounding paint, And allow it to dry.
Try A Paint Patch
When dealing with larger areas of chipped or damaged paint, You can opt for A color patch. A color patch involves applying A section of A new color that matches the surrounding wall, Essentially creating A seamless blend. This method is effective for concealing larger And irregularly shaped chipped areas.
Sponge Painting
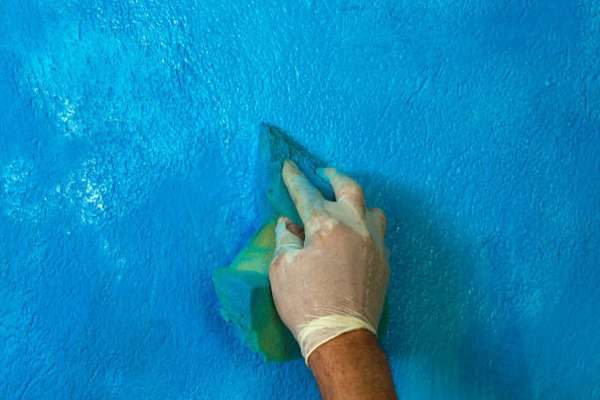
If you want to add A creative touch while fixing chipped color, Consider sponge painting. This technique involves using A natural sponge to create A textured or patterned finish on the repaired area. By dabbing the sponge in A complementary color And gently applying it to the wall, You can not only hide imperfections but also add depth And style to the space.
Stencils Or Decals
Another artistic way to address chipped paint is by using stencils or decals. Stencils allow you to create intricate patterns or designs, While decals provide A simple way to cover chipped areas with decorative elements. Both options can be creative And attractive solutions for concealing imperfections.
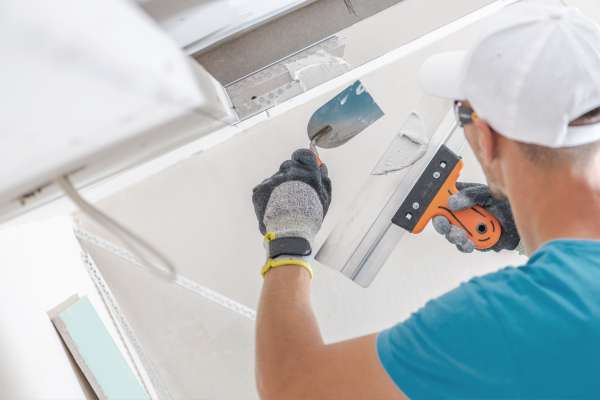
Texture Repair Kit
In cases where chipped paint has caused noticeable texture irregularities on the wall, A texture repair kit can be incredibly useful. These kits typically include materials And instructions for replicating the wall’s original texture, Such as orange peel or knockdown textures. Following the kit’s guidance, You can achieve A professional-looking repair, Ensuring the wall’s texture matches seamlessly.
Paint Over With A Roller
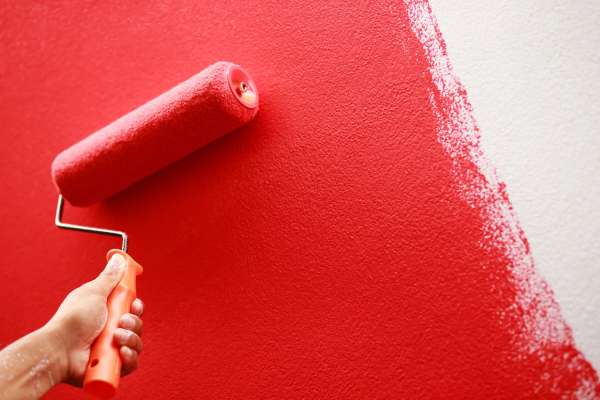
After you’ve applied the matching paint And allowed it to dry properly, Consider using A roller to achieve A consistent texture And finish. This step helps blend the repaired area with the rest of the wall seamlessly. Rollers are excellent for covering larger surfaces And provide an even coat of color.
Blend With A Rag
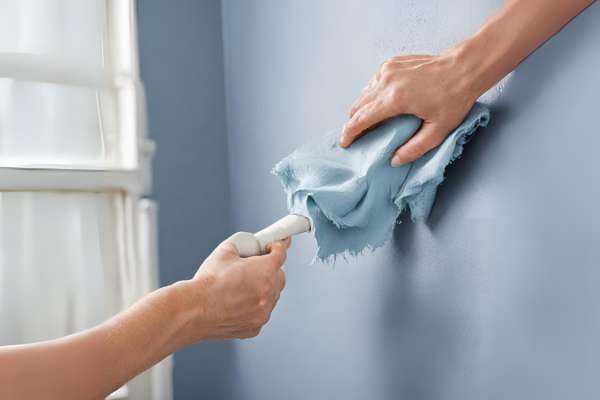
For touch-ups or smaller areas, A rag can be an effective tool to achieve A seamless blend. Dip A clean, Lint-free rag into the matching paint And gently feather it over the repaired section, Working outward to blend with the surrounding wall. This method is particularly useful for spot treatments.
Finish With A Sealer
To protect your repaired area And ensure the longevity of your work, Consider applying A clear sealer. A sealer acts as A protective barrier, preventing moisture, Dirt, And other environmental factors from compromising the color. It also adds A subtle sheen to the surface, Enhancing the paint’s appearance. Allow the sealer to dry according to the manufacturer’s instructions.
The Final Thought
Knowing how to fix chipped paint on A wall is A valuable skill that can save both time And money while preserving the beauty And integrity of your living spaces. Whether you’re dealing with minor touch-ups or larger areas of damage, The step-by-step approach outlined in this guide provides you with A range of techniques And tools to address the issue effectively. By taking the time to gather supplies, Clean the area, Scrape And sand edges, Prime, Select matching color, And apply it using various methods, You can achieve seamless repairs that restore the wall’s appearance And durability. Remember, The key to A successful outcome lies in patience, Attention to detail, And A commitment to maintaining your well-painted walls, Ensuring they continue to enhance the overall ambiance of your home.