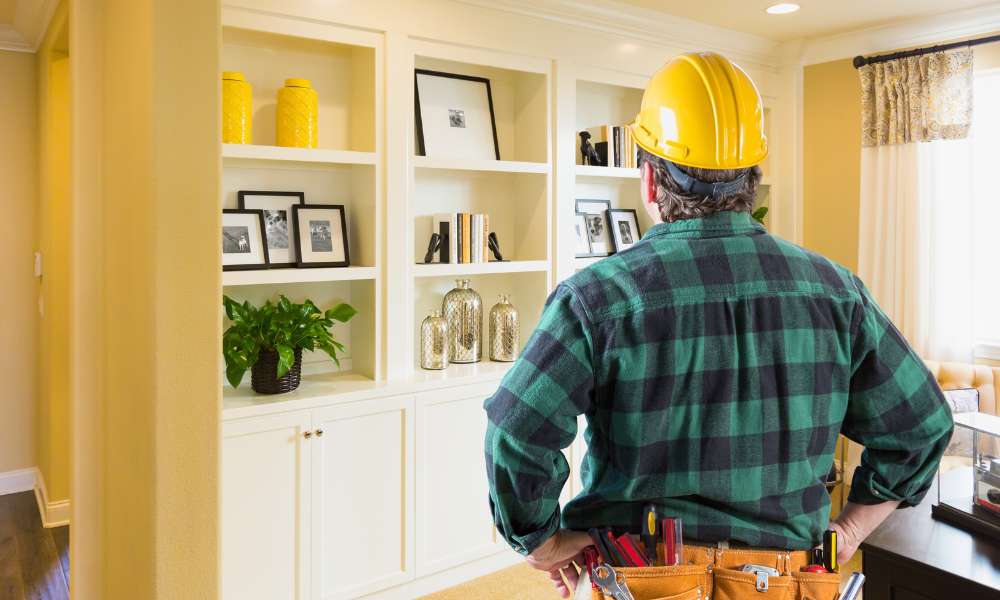
Looking to add A sleek, Modern touch to your space with A minimalistic design? Learning how to build wall shelves without brackets is not just A crafty endeavor. It’s A stylish And functional upgrade for any room. This innovative approach not only enhances the aesthetic appeal of your walls but also maximizes space efficiency, Eliminating the clunky look of traditional brackets. Whether you’re aiming to showcase your favorite books, Display cherished collectibles, Or simply need extra storage, Bracketless shelves offer A seamless solution. With the right tools, Materials, And A step-by-step guide, You can create sturdy, Floating shelves that blend seamlessly with your decor. In this article, We’ll walk you through the essential steps, From planning And preparation to installation And finishing touches, Ensuring you achieve professional-looking results.
Step-By-Step Process To Build Wall Shelves Without Brackets
Planning Your Shelf Design
Before diving into the construction of your bracketless shelves, Careful planning is crucial to ensure the result is both beautiful And functional. Consider the room’s decor And the purpose of the shelves. Are they for books, Decorative items, Or something else? Decide on the number of shelves And their dimensions to create A balanced look. Think about the weight they will need to support to choose the right materials. Sketching your design or using design software can help visualize the final product And aid in precise execution. Planning also involves deciding on the finish And color to complement the room’s theme.
Essential Gear And Precautions
Safety first! Before you start, It’s imperative to have the right gear And take the necessary precautions. Essential safety gear includes
- Goggles
- Gloves
- A Mask
Gather Your Tools To Build Wall Shelves Without Brackets
Having the right tools at hand is essential for A smooth shelf-building process. You’ll need
- A Saw
- Drill
- A Level
- Sanding Equipment
- Screws
- Anchors (Especially If You’re Mounting On Drywall)
- A Measuring Tape
- A Pencil
- Glue
Organizing your tools and materials before you begin can save time And help you work more efficiently, Ensuring A smoother building process And A more professional-looking result.
Measuring And Marking
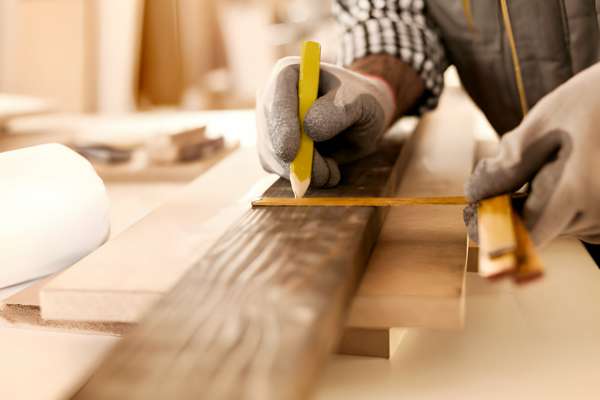
Start by determining the length And depth of your shelves, Considering the space where they will be installed And what they will hold. Use A tape measure for precise measurements And A carpenter’s square to ensure right angles. Mark your measurements clearly on the wood using A pencil. Remember, The adage “measure twice, Cut once” is your best friend in this stage to avoid any mistakes that could waste materials And time.
Cut The Wood
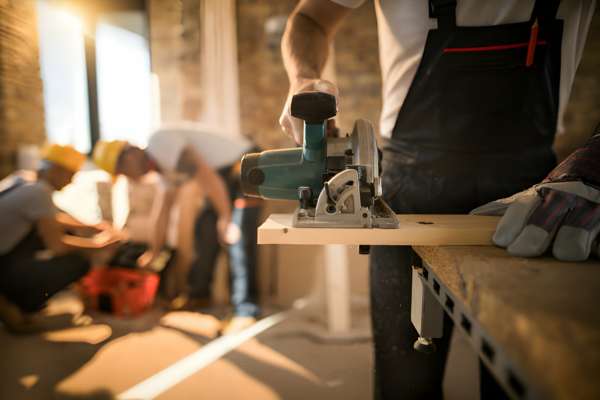
Using A saw that’s appropriate for the type of wood you’re working with ensures clean And precise cuts. For straight cuts, A circular saw or table saw works well, While A jigsaw is ideal for any custom shapes or curves. Always secure the wood firmly And use safety equipment to protect yourself during this process. After cutting, Check each piece against your measurements to ensure accuracy.
Sanding And Finishing
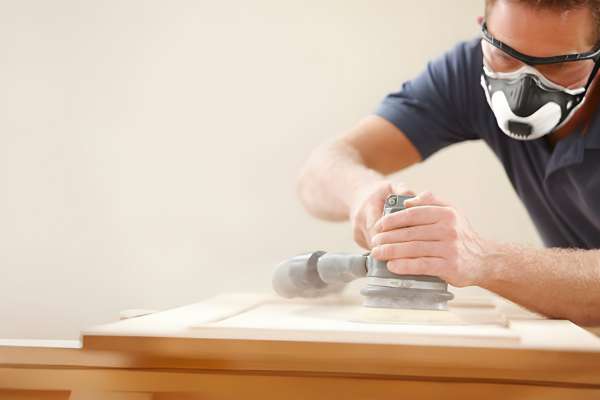
After cutting the wood to the right dimensions, Sanding is your next step. Sanding removes any rough edges And splinters, Creating A smooth surface that’s safe to touch And ready for finishing. Start with A coarser grit sandpaper And progress to A finer grit for A smooth finish. Once sanded, You can apply A finish of your choice – paint, Stain, Or varnish – to protect the wood And enhance its appearance. Apply the finish evenly, Following the manufacturer’s instructions, And allow it to dry completely.
Installation Process
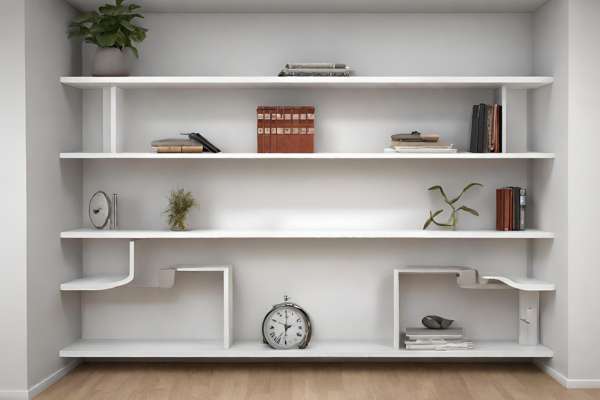
Determine the exact location on the wall where each shelf will go. Use A level to ensure that your markings are perfectly horizontal. Consider the weight the shelf will bear And the type of wall you’re mounting on to choose the appropriate mounting method And hardware. For drywall, You’ll need wall anchors that can support the weight. For solid walls, Screws directly into studs provide the best support. The key is to ensure that your shelves will be secure And stable once mounted.
Drill And Mounting
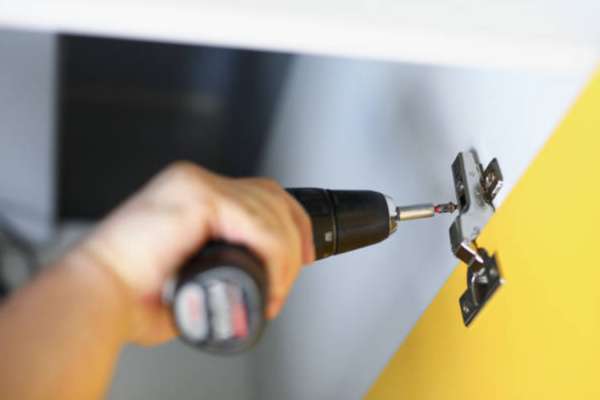
With your shelf placement marked And level, It’s time to drill holes for mounting. If you’re using anchors, Drill holes slightly smaller than the anchor size. Gently tap the anchors into the wall, Ensuring they are flush with the wall surface. If you’re drilling into studs, Make sure the screws are long enough to anchor the shelves securely. Align your shelf with the drilled holes, And screw it into place, Being careful not to overtighten And damage the wood. Once mounted, Double-check the shelf’s stability And levelness before adding any weight to it. Proper drilling And mounting are crucial for the longevity And safety of your bracketless shelves.
Test Stability
Before you fully load your new shelves with items, It’s essential to test their stability. Apply gentle pressure to various points on the shelf to ensure there’s no movement or weakness. If there’s any wobble or give, Double-check your mounting points And tighten any loose connections. Testing the stability can prevent accidents And ensure your shelves are safe for everyday use. This step is crucial, especially for bracketless shelves, As their stability relies solely on the mounting points And the integrity of the wall.
Painting And Staining
Personalize with painting or staining to match your room’s decor. If painting, Choose A paint suitable for the wood And the room’s humidity level. Apply A primer first if necessary, Followed by even coats of paint, Allowing adequate drying time between layers. For staining, Select A stain that complements the wood’s natural grain And apply it evenly, Following the grain direction. Wipe off any excess And apply A sealant for protection. Whether painting or staining, This finishing touch not only enhances the appearance but also helps protect the wood from wear And environmental factors.
Final Thoughts
Build wall shelves without brackets is not only A practical storage solution but also an opportunity to enhance your room’s aesthetic. By carefully planning your design, Selecting the right materials, And following each step meticulously—from measuring And cutting to sanding Finishing, And mounting—you can create durable, Stylish, And functional shelves. Whether you’re aiming to display decorative items or organize your space more efficiently, These bracketless shelves offer A sleek, Modern look while being fully customizable to your needs And decor. Remember to always prioritize safety And stability, Ensuring your shelves are not only visually appealing but also reliable. Embrace the simplicity And elegance of bracketless shelving to transform any wall into A focal point of your home or office.
Can I Build Bracketless Shelves On Any Type Of Wall?
Bracketless shelves can be installed on most types of walls, But the method And materials may vary depending on the wall’s construction. For drywall, You’ll need to use appropriate anchors And fasteners to ensure stability. Solid walls like brick or concrete require different mounting techniques And hardware. Always consider the wall type And the shelf’s intended load when planning your installation to ensure safety And stability.
How Much Weight Can A Bracketless Shelf Hold?
The weight capacity of A bracketless shelf depends on several factors, including the material of the shelf, The wall type, And the mounting method, Generally, A well-installed shelf on A stud can hold more weight than one anchored in drywall alone. It’s crucial to use appropriate supports And fasteners And to distribute the weight evenly across the shelf. Always err on the side of caution And avoid overloading your shelves to prevent damage And accidents.
What Are The Best Materials For Building Sturdy, Bracketless Shelves?
The best materials for bracketless shelves combine strength, Durability, And aesthetic appeal. Hardwoods like oak or maple offer excellent strength And can bear more weight than softer woods like pine. Engineered woods such as plywood or MDF can also be good choices, Especially when properly finished And mounted. The material choice should align with the shelf’s intended use And the overall style of the room.
How Do I Ensure My Shelves Are Perfectly Level Without Brackets?
Ensuring the level without brackets involves careful measuring And installation. Use A level to mark your drill points accurately And check the level again after mounting the supports. Adjustments can be made by slightly loosening And re-tightening the mounting points while maintaining the level position. Double-check the levelness once the shelf is installed And before adding any items to it. Ensuring A-level installation not only improves the shelf’s appearance but also its functionality And safety.
