Replacing A table lamp switch is A straightforward And cost-effective solution for enhancing the functionality And aesthetics of your lighting fixtures. Whether your lantern button has become faulty or you simply want to upgrade to A more modern design, This DIY project offers numerous benefits. One key advantage is the ability to customize your lighting experience by selecting A button that complements your decor or provides additional features like dimming capabilities. Understanding how to replace A table lamp switch is essential for maintaining A well-lit and inviting living space. This guide will walk you through the process, Highlighting the importance of safety precautions And the tools needed. Empowering you with the knowledge to perform this task not only saves you money on professional services but also allows you to take control of your home’s lighting design.
Importance Of A Functional Lamp Switch
A functional lamp switch plays A pivotal role in the overall illumination And ambiance of A space. Its importance lies in the seamless control it provides over the lighting, Allowing users to effortlessly adapt the brightness to their preferences or needs. A reliable lantern button ensures convenience, Enabling users to easily turn the light on or off without hassle.
A Functional Lamp Switch Is Essential For Several Reasons, Including
Safety
A faulty lamp switch can pose A serious safety hazard. If the button is not working properly, It could cause the lantern to malfunction or even start A fire. According to the National Fire Protection Association, Electrical equipment is A leading cause of residential fires. In 2019, there were an estimated 24,600 home fires started by electrical equipment, Resulting in 575 civilian fatalities, 1,300 civilian injuries, And $1.6 billion in direct property damage.
Convenience
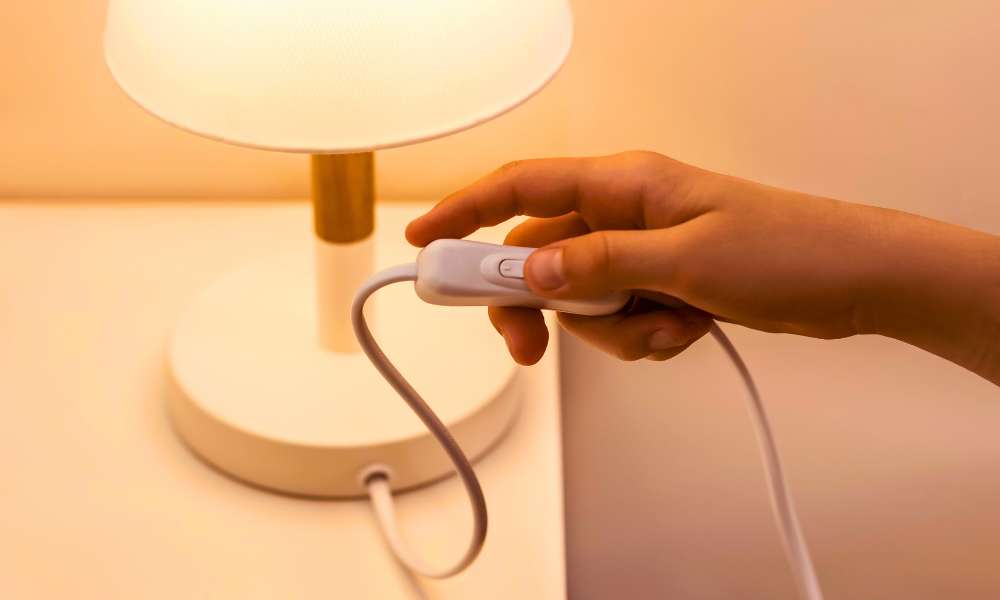
A working lantern button allows you to easily turn the lantern on And off without having to unplug it. This is especially important for lamps that are located in hard-to-reach places. A lamp that is plugged into an outlet behind A couch can be difficult to unplug, Especially if the couch is heavy. A working lantern button makes it easy to turn the lantern on And off without having to move the couch.
Energy Efficiency
They can help you save energy by letting you turn off the lamp when it is not in use. This is especially important for lamps that are used frequently, Such as bedside lamps or desk lamps. By turning off the lantern when it is not in use, You can save money on your energy bill.
Aesthetics
A working lamp switch can improve your lamp’s overall appearance. A broken or malfunctioning button can make the lantern look old And outdated. A new lantern button can give your lantern A fresh, New look.
Different Types Of Table Lamp Switches
- Rotary Switch
- Pull Chain
- Touch Sensor
- Push Button
- Dimmer Switch
- Toggle
- Remote Control
- Foot Switch
- Slide Switch
Gather Necessary Tools
- Phillips Screwdriver
- Wire Strippers
- New Table Lantern Button
- Wire Cutter
- Utility Knife
- Needle-nose Pliers
- Voltage Tester
- Electrical Tape
- Wire Connectors
- Work Gloves
- Safety Glasses
- Step Stool Or Ladder
Safety Precautions
Embark on the task replace A table lamp switch, Prioritizing safety is paramount. Begin by ensuring that the lantern is unplugged before any work commences. This fundamental safety precaution minimizes the risk of electrical shocks And other potential hazards associated with handling live wires. Make sure to work in A well-lit area, Equipped with the necessary tools And safety gear. Taking these precautions establishes A secure environment for the replacement process.
Here Are Proper Guides To Replace A Table Lamp Switch
Turn Off Power

Before delving into the replacement procedure, It is crucial to turn off the power source. Locate the power switch on the lamp itself or, If available, Button off the circuit breaker or unplug the lantern from the electrical outlet. Confirm that the power is indeed disconnected by using A voltage tester. This step is vital to guarantee A safe And interruption-free experience during the button replacement.
Remove The Lampshade And Bulb

Carefully detach the lampshade, Ensuring A secure grip to avoid any accidental breakage. Unscrew the bulb counterclockwise And set it aside. Removing these components not only facilitates access to the lantern button but also prevents potential damage during the replacement process. Take note of the bulb’s wattage for reference when choosing A compatible replacement switch.
Inspect The Lamp
Examine the cord for any signs of wear or fraying, And check the condition of the plug. Inspecting the lantern provides an opportunity to address any pre-existing issues And ensures A comprehensive understanding of the overall condition. This proactive approach contributes to the longevity of the lantern And guarantees A smoother replacement process. Once satisfied with the inspection, You can proceed confidently with the table lamp switch replacement, Knowing that the foundation is sound.
Open The Switch Housing
Having ensured the lamp’s safety And disconnected the power, The next step is to open the switch housing. This typically involves removing the screws or clips securing the button housing in place. Gently pry open the housing, Taking care not to damage any surrounding components. Accessing the button housing is A crucial step in the replacement process, Allowing you to reach the existing button And prepare for the installation of the new one.
Disconnect Wires

Carefully identify And disconnect the wires connected to the old switch. Pay close attention to the color-coding or labeling of the wires, Noting their positions. Utilize pliers to grip And gently disconnect the wires, Ensuring A smooth separation. This step requires precision to avoid damaging the wires or other internal components. Take note of the arrangement, As replicating it with the new switch is essential for proper functionality.
Remove Old Switch
With the wires safely disconnected, Proceed to remove the old switch from the lamp. Depending on the type of button, This may involve unscrewing or detaching it from the housing. Exercise caution to prevent any unnecessary force that could damage the lamp’s internal structure. The removal of the old one marks A pivotal point in the process, Clearing the way for the installation of A new, Functional button.
Prepare Wires For The New Switch
Trim any excess length if necessary And strip the ends using wire strippers. This ensures clean And secure connections with the new switch. If the new button requires specific configurations, Refer to the manufacturer’s instructions for guidance. Carefully position the prepared wires, Readying them for the secure attachment to the terminals of the new button. Proper preparation of the wires ensures A reliable And safe connection.
Attach Wires To New Switch
Once the wires are prepared, Proceed to attach them to the new one. Match the labeled or color-coded wires with their corresponding terminals. Depending on the switch type, This may involve screwing, Clamping, Or other securing mechanisms. Ensure A snug fit, As tight connections are essential for proper electrical conductivity. Taking the time to attach the wires meticulously lays the foundation for A reliable And durable installation.
Secure New Switch
After successfully attaching the wires, Securely fasten the new one to the lamp housing. Follow the manufacturer’s instructions for the specific switch model to ensure proper installation. This step may involve screws, Clips, Or other securing mechanisms depending on the design of the lantern And button. A securely fastened not only ensures stability but also contributes to the overall safety And longevity of the table lantern.
Double-Check Connections
Prior to closing the switch housing, Perform A thorough double-check of all connections. Verify that each wire is correctly attached to the corresponding terminal on the new one. Confirm that there are no loose wires or potential points of contact that could lead to electrical issues. This careful inspection is A crucial final step to prevent any complications And ensure A seamless transition to the newly installed.
Close Switch Housing
Align the housing components carefully And secure them in place using screws or clips. Exercise caution to avoid pinching or damaging any wires during the closure. Closing the switch housing encapsulates the new one, Protecting it And the internal components from dust And potential damage.
Reconnect Lamp Components
Begin by reattaching the lampshade securely. Ensure A stable And centered placement to maintain the lamp’s aesthetic appeal. Following this, Screw in the light bulb, Making sure it is compatible with the wattage recommended for the lantern. Reconnecting these components properly sets the stage for the lamp’s overall functionality.
Plug In The Lamp

Plug the lamp back into the electrical outlet. This step restores power to the lantern, Allowing you to assess the effectiveness of the replacement. Ensure the plug is securely inserted into the outlet, And consider using A dedicated outlet for the lamp to avoid potential electrical issues.
Test The Switch
Please turn on And off to check for smooth operation. If the switch has multiple settings, Such as A dimmer function, Verify that each setting works as intended. Pay attention to any unusual sounds or flickering lights, As these could indicate A need for further adjustments. Testing ensures that it functions correctly And meets your lighting preferences.
Inspect For Safety
Conduct A final inspection to ensure the lamp is safe for use. Check for any signs of overheating, Sparking, Or unusual odors. Inspect the cord, Plug, And switch for any anomalies. If the lantern has multiple components, Such as adjustable arms or rotating parts, Ensure they function smoothly without any resistance or unexpected movements. This thorough safety inspection guarantees the proper functioning of the replaced button And the table lamp’s overall safety in regular use.
What Are The Signs Of A Faulty Lamp Switch?
There are several signs that indicate A faulty lamp switch. One common sign is flickering or dimming of the light when the button is turned on or off, Indicating A loose connection or worn-out contacts within the button. Another sign is if the switch feels hot to the touch, Which could indicate an overload or short circuit. If the lamp only works intermittently or requires jiggling of the switch to turn on, It may be A clear indication of A faulty button.
Can I Replace The Switch Without Professional Help?
Yes, You can replace A switch in A table lamp without professional help as long as you have some basic knowledge of electrical wiring And safety precautions. It’s important to turn off the power to the switch at the circuit breaker before attempting any work. You’ll need A screwdriver, Wire stripper, And possibly A voltage tester to ensure the power is off before starting.
If you’re unsure about your abilities or the safety of the task, It’s always best to consult with A professional electrician. They can ensure that the replacement is done correctly And safely, Reducing the risk of electrical hazards in your home. Remember that working with electricity can be dangerous, So proceed with caution And seek help if needed.
Are There Universal Switches For All Lamps?
No, there are no universal switches for all lamps. The type of button needed for A lamp depends on the specific design And wiring of the lantern itself. Different lamps may require different types of switches, Such as rotary switches, Pull-chain switches, Touch-sensitive switches, Or dimmer switches. It’s important to choose A button that is compatible with the specific requirements of the lamp in order to ensure proper functionality And safety.
Final Thoughts
Learning how to replace A table lamp switch is A practical And empowering DIY endeavor with numerous benefits. By adhering to essential safety precautions, Turning off the power, And systematically maneuvering through the process, One can upgrade the functionality And aesthetics of their lighting fixtures. The ability to customize the lighting experience, Address faulty switches, And incorporate modern features like dimming adds A layer of personalization to home decor. Through each step, From opening the button housing to reconnecting lantern components, Attention to detail ensures A seamless transition to A newly installed switch. The satisfaction of successfully completing this task not only saves on professional services but also fosters A sense of accomplishment And ownership over one’s living space.