
Removing drawers from A Pottery Barn dresser might seem like A straightforward task, But there’s more to it than meets the eye. This article is your comprehensive guide to navigating the nuances of Pottery Barn furniture. Ensuring you can remove drawers safely And efficiently. Whether you’re looking to declutter, Clean, Or simply rearrange your space, Understanding how to properly remove drawers from your Pottery Barn dresser is essential. Doing so not only protects your investment in high-quality furniture but also ensures the longevity And functionality of each piece. With the right approach, Removing drawers can be done smoothly, Preventing damage to both the furniture And its contents. Our guide will walk you through the process step-by-step, Covering everything from the types of dressers And the tools you’ll need to the specific steps for drawer removal
Understand Your Dresser

Before diving into the task of remove drawers, It’s crucial to understand your Pottery Barn dresser. Each model comes with its unique construction And mechanism. Some dressers feature easy-slide drawers with simple latches, While others may have more complex systems designed to prevent accidental removal or ensure child safety. Knowing the specific design of your dresser can save you time And prevent potential damage. For example, Dressers designed with anti-tip features may require extra steps for safe drawer removal. Familiarize yourself with your dresser’s overall structure, Materials, And any special features it may have.
Types Of Pottery Barn Dressers
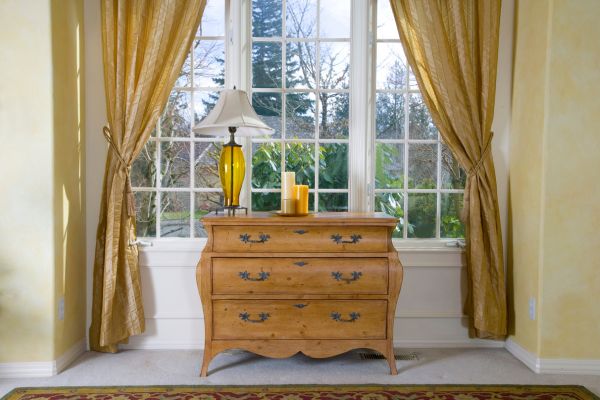
Pottery Barn offers A variety of dresser types, Each designed to cater to different needs And spaces. From the classic wood designs of the Farmhouse collection to the modern, Sleek lines of the West Elm collaboration, Understanding the type of dresser you have is key. Some dressers come with metal glides, While others use wooden rails or ball-bearing mechanisms for drawer movement. The drawer removal process can vary significantly between A single-slide versus A double-slide system. Recognizing whether it’s built for heavy-duty use or designed with decorative purposes in mind can also influence how you approach the removal process. This knowledge not only prepares you for the task at hand but also helps in maintaining integrity And appearance.
Gathering Your Tools: What You’ll Need
Remove drawers from A Pottery Barn dresser is generally A straightforward process that doesn’t require specialized tools. However, having a few basic items at hand can facilitate a smoother operation.
- A Screwdriver
- A Pair Of Pliers
- Soft Cloth Or A Towel
- Preventing Scratches
- A Flashlight
Preparing these tools before starting the task ensures you can proceed without unnecessary interruptions, Making the process efficient And hassle-free.
Safety First: Protecting Yourself And Your Furniture
Ensure the dresser is stable And won’t tip over as you remove the drawers, Which might make it top-heavy. If possible, Secure the dresser to the wall or have someone assist you by holding it steady. Wear gloves to protect your hands from splinters or sharp edges inside the dresser. It’s important to protect the dresser itself from scratches or damage. Work in A clean, Clear space, And consider laying down A soft blanket or towels where you’ll place the removed drawers. Be mindful of your body mechanics as well. Bending And lifting with your knees rather than your back can prevent injury.
Here Are Some Steps To Remove Drawers From Pottery Barn Dresser
Clear The Area

Before you start the process, Clearing the area around the furniture is A crucial first step. This not only provides you with ample space to work but also minimizes the risk of accidents or damage to your home. Ensure there’s enough room for you to comfortably move the drawers out And place them aside. This might mean moving other pieces of furniture temporarily or rolling up rugs to prevent tripping. Or even just push the dresser slightly away from the wall for better access to the back if necessary. Clearing the area also involves preparing A designated spot for the drawers once you remove them. Which will keep them safe from scratches or other damage And make the reassembly process more organized.
Empty The Drawers
Emptying the drawers is A fundamental step not to be overlooked. This reduces the weight of each, making them easier And safer to remove. It also prevents the contents from spilling or getting damaged during the process. Take this opportunity to declutter And organize your items. As you empty, Sort through its contents, Decide what to keep, Discard, Or donate. This not only lightens the load but also simplifies your life. Place the items in A designated area where they won’t get mixed up or lost.
Detach Any Drawer Knobs Or Pulls
Detaching knobs or pulls might be necessary, especially if they protrude significantly or if the drawer mechanism requires clear access to operate. Use A screwdriver to carefully remove any hardware, Keeping track of the screws And pieces by placing them in A small container or bag. This not only prevents loss but also ensures you won’t have trouble reattaching them later. If the knobs or pulls are particularly tight or seem stuck, A gentle wiggle while unscrewing may help loosen them without causing damage. The goal is to safeguard the finish of your dresser And its hardware, So proceed with patience and care.
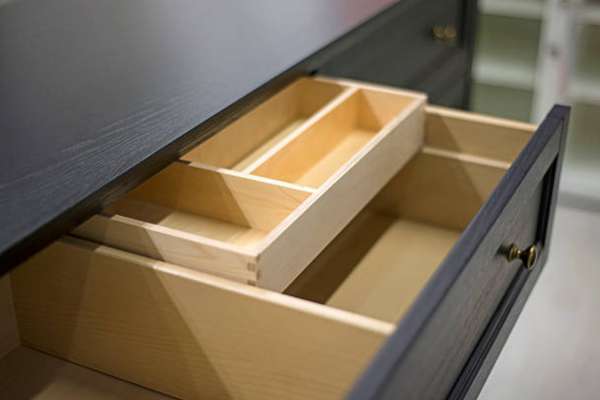
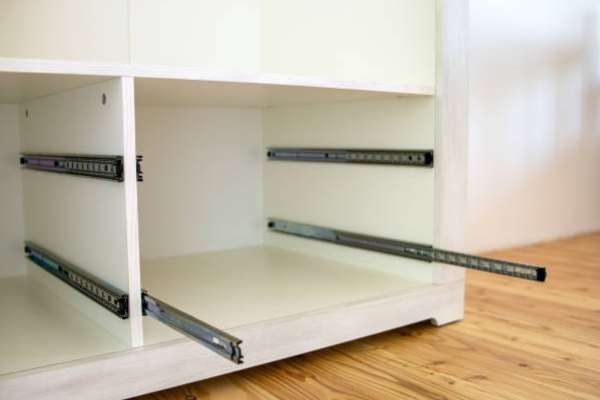
Identify The Drawer Mechanism
Most dressers use one of A few common systems: metal glides with levers, Rollers, Or ball bearings for smooth operation, And some may have A latch or stopper that needs to be released. Look for these mechanisms on the sides or bottom of the drawer. In some cases, You may need to shine A flashlight inside the frame to get A better view. Understanding how your drawer operates will inform you whether to lift, Tilt, Or use A specific release mechanism to remove it.
Initial Tests
Gently pull the drawer out as far as it naturally goes without forcing it. This preliminary step gives you A feel for the drawer’s movement And any resistance you might encounter. Observe how the drawer responds: Does it slide out smoothly until A certain point? Is there an obvious stopper or does it feel like something is holding it back internally? These observations can clue you into the type of mechanism in place And whether you’ll need to look for A specific release mechanism. Initial tests can prevent unnecessary force that might damage, Ensuring A smoother removal process.
Locate Release Mechanisms
After your initial tests, The next step is to locate the release mechanisms, If present. These mechanisms are typically found on the tracks or sides And may require you to slightly extend the drawer to see or reach them. In some models, You’ll find them near the back end of the drawer slides, Inside the frame. Use A flashlight to help spot these small, Sometimes inconspicuous features. They can vary in appearance: some are levers you’ll need to lift or push. Others are small tabs that need to be squeezed together. Some might even be A simple notch that you need to press.
Lever Releases
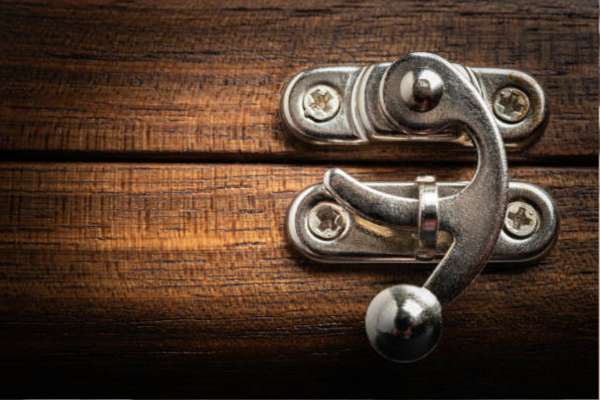
Typically located on the sides of the drawer, These levers may need to be lifted or pushed downwards to release the drawer from its track. In some cases, You’ll find A lever on each side, Requiring simultaneous action. Gently pull the drawer out to its stopping point, Press or lift the levers, And then continue to pull the drawer towards you. It’s important to apply even pressure And to be ready to support the weight of the drawer as it comes free. Understanding how to operate these levers will make the drawer removal process smooth And prevent damage to the mechanism or the furniture.
Push Releases

Unlike lever releases that require pulling or lifting, Push releases necessitate A gentle push inward to activate the release mechanism. These are often found in more modern or streamlined designs, Where visible hardware is minimized. To operate A push release, You might need to push on A specific area of the drawer, Such as the sides or the bottom, Depending on the design. Once the release is activated, The drawer can be pulled out the rest of the way. It’s A system that might take A bit of practice to get used to, Especially if you’re not familiar with the tactile feedback of the release mechanism. Nonetheless, Once mastered, It provides A seamless way to access.
Screw-In Stops
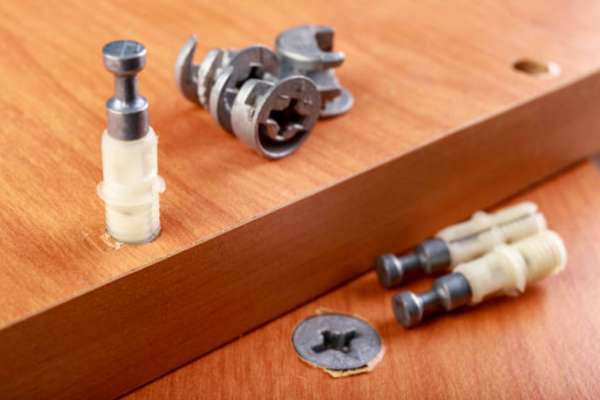
Found in some Pottery Barn dressers, These stops are typically located at the back end of the drawer tracks. To remove A drawer with screw-in stops, You’ll first need to identify these small screws or bolts And then use the appropriate screwdriver to loosen or remove the cigarette smell from dresser drawers. It’s important to keep these screws safe after removal, As you’ll need them to reassemble the drawer. This process might be A bit more time-consuming compared to other mechanisms, But it adds an extra layer of security to the furniture, Ensuring drawers stay in place during daily use. Removing screw-in stops allows for the complete removal of the drawer, Facilitating cleaning, Moving, Or maintenance tasks.
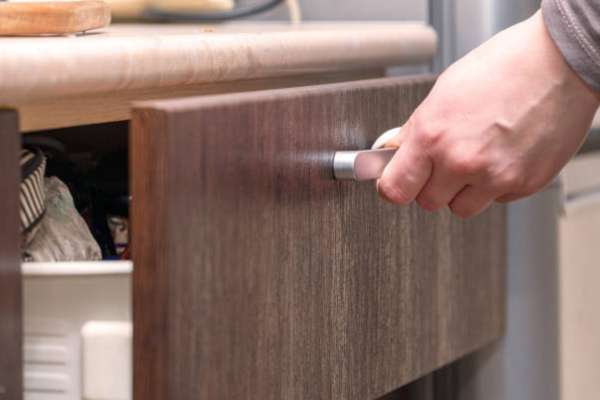
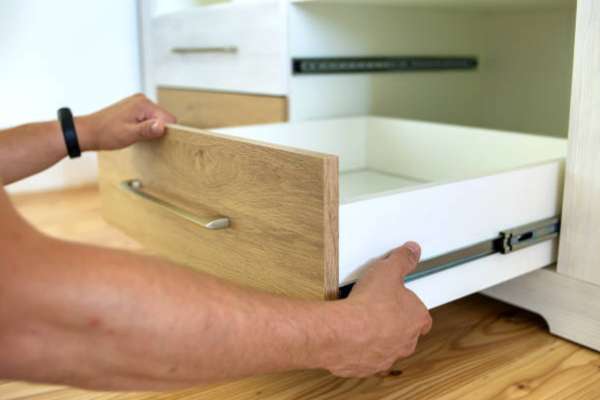
The Lift And Slide
This method usually doesn’t involve any complex mechanisms or tools. To remove A drawer using this technique, You first pull the drawer out to its full extension. Then, Lift the front of the drawer slightly to unhook it from the track or rail. While lifting, Gently slide the drawer out towards you. This method relies on the drawer being able to tilt upwards enough to clear the track, Making removal possible. It’s straightforward And effective but requires A bit of finesse to avoid damaging the drawer or the tracks.
Overcoming Common Hurdles
In such cases, Patience And careful inspection are key. For stuck drawers, Check for any objects that might have fallen behind or beside the drawer, Blocking its path. If the release mechanism isn’t immediately visible, Thoroughly inspect the interior And the tracks for hidden features or buttons. Sometimes, Applying A bit of lubricant (like WD-40) to the tracks can help ease the removal process. If all else fails, Consulting manual or contacting Pottery Barn’s customer service for advice can provide specific guidance tailored to your furniture piece.
Drawer Track Maintenance
After successfully removing the drawers, Take the opportunity to clean the tracks thoroughly, Removing any dust, Debris, Or accumulated grime. A soft brush or vacuum with an attachment can help clear out the tracks, While A damp cloth can wipe away any stubborn dirt. For metal tracks, Applying A silicone-based lubricant can help keep the movement smooth And prevent rusting. For wooden tracks, A bit of wax or A specialized wooden drawer lubricant can reduce friction And wear. Regular maintenance not only prolongs the life but also makes future drawer removals easier And smoother.
Final Thoughts
Remove drawers from A Pottery Barn dresser, Or any dresser for that matter, Is A task that, While seemingly simple, Requires attention to detail And A methodical approach. By understanding your dresser’s design, Preparing the necessary tools, And following the steps outlined, You can ensure A smooth And safe process. Regular maintenance, Including cleaning And inspecting the drawers And tracks, Not only prolongs the life of your furniture but also enhances its functionality And appearance. Whether you’re reorganizing, Cleaning, Or moving, These guidelines provide A solid foundation for handling your dresser drawers with care.
Can I Remove Drawers With Items Still Inside?
Keeping items in the drawers adds unnecessary weight, Making them harder to remove And increasing the risk of injury or damage to the drawer And its contents. Items inside can shift, Causing imbalance or spilling out once are removed. For A safer And easier removal process, Always empty the drawers first. This not only protects your belongings but also gives you A chance to sort through And organize items, Keeping your living space tidy And functional.
What Do I Do If My Dresser Doesn’t Have Visible Release Mechanisms?
In this case, Try gently pulling the drawer out as far as it will go, And then lift the front of the drawer slightly to see if it disengages from the track. If this doesn’t work, inspect the drawer for any hidden clips or latches that might be engaged from the inside. You can also consult the furniture manual or the Pottery Barn website for specific instructions related to your dresser model. If you’re still unable to remove the drawer, Reaching out to customer service for assistance or tips specific to your piece of furniture can be helpful.
How Often Should I Remove And Clean My Dresser Drawers?
The frequency of removing And cleaning your dresser drawers depends on several factors, including usage, Location, And personal preference. A good rule of thumb is to clean them thoroughly at least twice A year. If your dresser is in A high-traffic area, Prone to dust, Or if you store items that may leak or spill, You might need to clean it more frequently. Regular cleaning not only keeps its contents in top condition but also provides an opportunity to inspect the furniture for any damage or wear, Ensuring its longevity And functionality.
Can These Instructions Apply To Other Furniture Brands?
Drawer mechanisms such as lever releases, Push releases, And screw-in stops are common across many types of furniture. It’s important to note that specific models And brands may have unique features or require different approaches. Always check the manufacturer’s instructions or website for guidance specific to your furniture piece. When in doubt, Contacting the manufacturer’s customer service can provide clarity And ensure you’re handling your furniture correctly, Regardless of the brand.