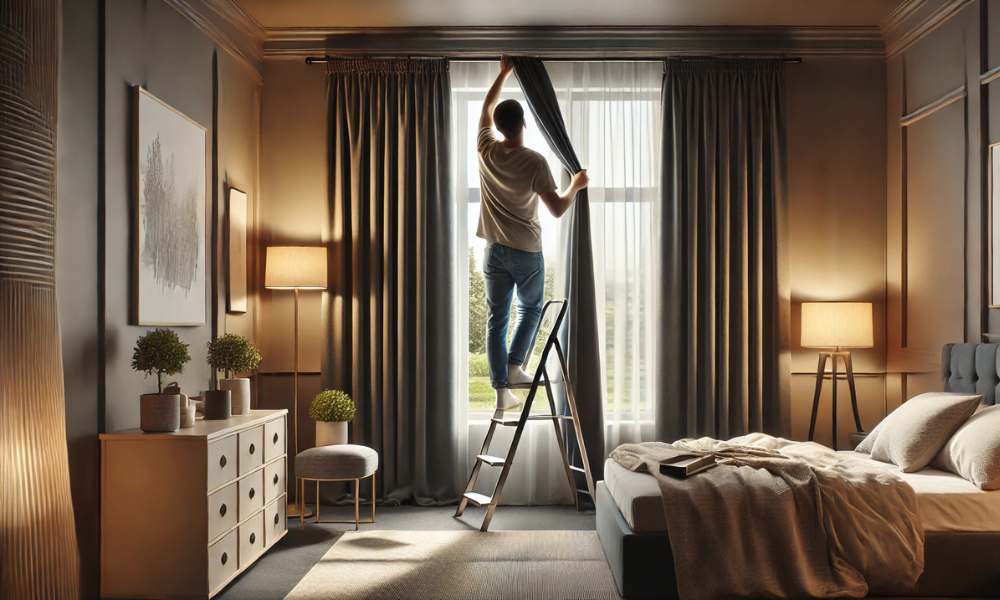
Installing blackout curtains can rework any room by way of improving privateness, decreasing light, and enhancing strength efficiency. If you’re wondering how to put up blackout curtains, the process is easier than it seems. With the right tools and a bit of patience, you can achieve a polished, professional look in no time. Whether you’re looking to darken your bedroom for better sleep or create a cozy, quiet atmosphere in your living room, these simple steps will guide you through installing your blackout curtain effectively. By following our expert recommendations, you may make a continuing set up and experience the advantages of progressed comfort and style.
Understanding Blackout Curtains
Blackout curtains are specially designed to prevent light from seeping into a room. Unlike typical drapes, these curtain are constructed from dense, thick materials such as velvet or polyester and often come with a blackout lining. While some curtains are marketed as “light filtering,” true blackout curtain block out nearly all light—up to 99%—which makes them perfect for spaces that demand complete darkness, like bedrooms or media rooms.
Blackout Curtains And Their Benefits

The advantages of blackout curtains extend a ways past, virtually keeping the mild at bay. They assist hold a snug indoor weather with the aid of offering insulation towards heat inside the summer season and maintaining warmth within the winter. This temperature law can reduce down on energy payments. Furthermore, clean blackout curtain act as a legitimate buffer, reducing external noise and developing a quieter, greater non violent surroundings. Lastly, their thick cloth complements privateness, preventing prying eyes from searching in—ideal for ground-ground rooms or town flats.
Choosing The Right Blackout Curtains For Your Room

Selecting the right curtains involves more than just picking a color. First, think about the ambiance you want to create. Do you prefer something subtle? Choose neutral tones that blend seamlessly with your décor. For a bolder statement, go for rich, vibrant colors or dramatic patterns. Size matters, too. Ensure your curtain are wide enough to cover the entire window, with a few extra inches on each side to prevent light leaks. The length should be long enough to either graze the floor or fall just above the window sill, depending on the effect you want.
Preparing To Hang Blackout Curtains

Before you dive into installation, preparation is key. Start by measuring your window and deciding where you want the curtain to hang. You can place the rod directly above the window frame for a standard look, or opt to mount it closer to the ceiling to create the illusion of a larger, more open space.
Tools And Supplies You’ll Need

Here’s a list of what you’ll need to hang your curtain:
- Measuring tape
- Pencil or chalk for marking
- Level for accuracy
- Drill and screws (if installing brackets)
- Curtain rod and brackets
- Screwdriver
- Curtain rings (optional)
- Step ladder (if installing high windows)
Gathering these items beforehand will help the process go smoothly and efficiently.
How To Choose The Right Curtain Rod

Choosing the right curtain rod is just as important as selecting the right curtain. Make sure the rod is sturdy enough to support the weight of the blackout fabric. Heavier curtains demand more durable rods. If you’re unsure about the size, go for adjustable rods—they offer flexibility in both length and style. A rod that extends beyond the window frame allows the curtain to cover the window completely, eliminating light leakage from the sides.
Step-By-Step Guide to Putting Up Blackout Curtains
Step 1: Measure And Mark The Placement Of Your Curtain Rod
Start by measuring the width of your window and adding a few extra inches on each side. This ensures your curtains can completely cover the window. For height, install the rod a few inches above the window frame. This creates the illusion of taller windows. Use a pencil to mark the spots where the brackets will go, ensuring they’re level.
Step 2: Install The Curtain Rod Brackets With Precision
Using a drill, secure the curtain rod brackets at the marked spots. If you’re drilling into drywall, make sure to use wall anchors for extra support. Double-check that everything is level before tightening the screws. The brackets should be spaced evenly, usually 4–6 inches from the window frame, depending on the size of your curtain.
Step 3: How To Hang Blackout Curtains On The Rod
Once the rod is in place, it’s time to hang your curtains. If your curtain have grommets, simply slide them onto the rod. If they use rings or hooks, attach them to the rod and arrange the fabric evenly. Adjust the folds so they hang symmetrically, creating a balanced, polished look.
Step 4: Adjust And Even Out The Folds For A Perfect Finish
Take a moment to smooth out the folds of the curtains. They should fall evenly from top to bottom. Pay attention to any creases or puckering. Use a steamer if necessary to get rid of wrinkles and achieve a sleek, professional finish.
Step 5: Securing The Curtains And Final Touches
Once the curtains are hung, make sure all the rings or hooks are securely in place. You might also want to add decorative tiebacks to keep the curtain open during the day. Step back and take a final look, ensuring that the curtain are straight and aligned with your room’s décor.
Decorating Around Your Blackout Curtains

Blackout curtains can be more than just a practical choice—they can elevate your room’s design. Pair them with complementary elements like pillows, rugs, or artwork to create a cohesive look. Neutral curtain blend effortlessly into any space, while bold, patterned curtain can become a statement piece in your room. Whatever style you choose, ensure the curtains enhance, rather than overpower, your room’s décor.
Mounting Options For Blackout Curtains

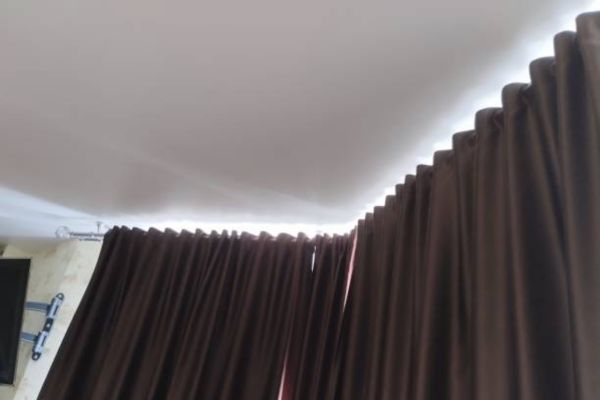
There are several mounting options to consider. Some people opt for ceiling-mounted curtain tracks, which can give a sleek, modern look, especially in rooms with high ceilings or large windows. Alternatively, traditional side-mounting with brackets remains a popular choice, offering flexibility and a more classic appearance.
Maintaining And Cleaning Blackout Curtains
To keep your blackout curtains looking fresh, regular maintenance is key. Many blackout curtain are machine washable, but always check the label for specific care instructions. For stubborn stains or deep cleaning, spot cleaning with a mild detergent is recommended. Don’t forget to vacuum the curtain regularly with a brush attachment to keep dust at bay.
Frequently Asked Questions
1. Can I Install Blackout Curtain Without Drilling?
Yes! For those who don’t want to drill into their walls, adhesive or tension rods are a great alternative. These options are easy to install and remove, making them ideal for renters or temporary setups. However, they may not support heavy curtain as well as traditional rods.
2. What’s the Best Way to Measure for Blackout Curtain?
Start by measuring the width and height of your window. For width, add 6–12 inches on each side to ensure full coverage. For height, measure from the top of the window frame to where you want the curtain to fall—whether just above the sill or down to the floor for a more dramatic effect.
Final Thoughts
Knowing how to put up blackout curtains is a simple yet effective way to enhance your home’s comfort and energy efficiency. With the right tools, careful measurement, and a few steps, you can easily install a blackout curtain to block out light and noise. Whether you’re improving your bedroom’s sleep quality or reducing energy costs, following the proper installation methods ensures lasting results. By getting to know how to position blackout curtains, you could create a comfy, non-public space in your private home, tailor-made in your specific wishes.