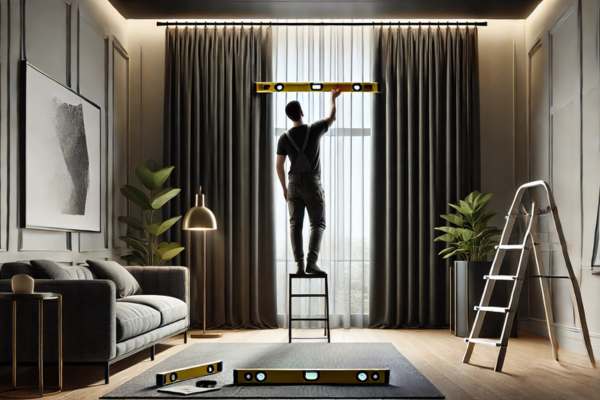
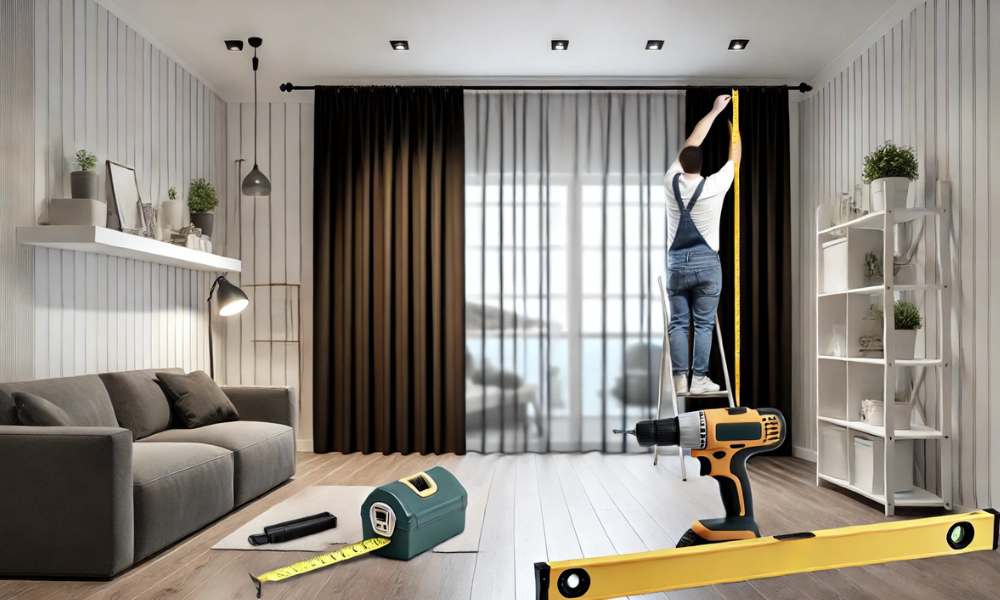
Installing blackout curtains can significantly enhance the functionality and style of your space. Whether you’re aiming to block intrusive sunlight for a better night’s sleep, reduce energy bills, or add a touch of elegance to your room, learning how to install blackout curtains is a practical skill. These curtains not only provide complete light control but also improve privacy and insulation. From choosing the right style to measuring and mounting, the installation process is straightforward yet impactful. With the right tools and techniques, you may easily gain an elegant appearance that elevates your dwelling place. This manual covers every vital detail, ensuring you’re prepared to put in blackout curtains effortlessly and confidence. Transform your home into a cozy, functional retreat by mastering this simple yet valuable process.
Understanding the Benefits of Blackout Curtains

Blackout curtains transcend mere aesthetics, serving as versatile tools of comfort and utility:
- Restorative Sleep: By banishing intrusive sunlight, they pave the way for restful nights, especially for light-sensitive individuals or those on irregular schedules.
- Thermal Insulation: Acting as a barrier against the elements, these curtain slash heating and cooling costs, marrying style with sustainability.
- Acoustic Shielding: The dense fabric stifles external clamor, enveloping your space in a cocoon of quietude—a rare luxury in bustling cities.
- Privacy Maximized: With blackout curtains, your private realm remains just that—impenetrable to prying eyes, even under the brightest streetlights.
Choosing the Right Blackout Curtains for Your Room

Selecting the perfect blackout curtains isn’t merely about aesthetics; it’s a balance of practicality and design:
- Fabric Density: Prioritize materials like triple-weave polyester for unrivaled light-blocking capabilities.
- Palette Considerations: While darker hues amplify blackout effects, light shades with proper linings provide a balance between brightness and functionality.
- Purposeful Design: Decide between full darkness or muted light diffusion to suit your room’s needs.
- Dimensional Accuracy: Opt for curtain that extend several inches beyond your window frame, ensuring comprehensive coverage.
Selecting the Right Curtain Rod for Blackout Curtains

The curtain rod, often overlooked, is a cornerstone of successful installation:
- Durability: Choose a rod capable of withstanding the substantial weight of blackout curtain.
- Extended Reach: Ensure the rod stretches beyond the frame to mitigate light seepage.
- Aesthetic Harmony: Match the rod’s style—sleek, industrial, or ornate—to complement the curtain’s visual appeal.
Types of Blackout Curtains: Discovering Your Ideal Match

Explore diverse styles that cater to both functionality and flair:
- Grommet Panels: Contemporary and user-friendly, featuring metal rings for effortless sliding.
- Rod Pocket Curtains: Timeless classics exuding understated elegance.
- Tab Tops: Casual yet chic, these curtains are perfect for relaxed spaces.
- Detachable Liners: A modular approach to augment existing curtain with blackout properties.
What Tools Do You Need to Install Blackout Curtains?

Preparation is the prelude to perfection. Arm yourself with:
- Measuring tape
- Pencil or chalk for precise markings
- Level for alignment
- Drill, screws, and anchors for a sturdy setup
- Screwdriver for fine adjustments
- Step ladder to reach elevated spaces
- Curtain rod brackets for secure mounting
Preparing Your Window Space for Installation

A clutter-free workspace is a recipe for smooth execution. Strip away existing treatments, clean the area, and verify that no obstructions impede the process. Mark the bracket positions meticulously—measured precision will save you from future headaches.
Measure Where to Install the Curtain Rod

Accurate placement is pivotal for both function and flair:
- Height: Mount the rod several inches above the frame, drawing the eye upward and creating an illusion of grandeur.
- Width: Extend the rod 3–6 inches beyond the window on either side to eliminate peripheral light intrusion.
Hanging Your Blackout Curtains: Step-by-Step Precision

- Bracket Installation: Drill into your pre-marked points, insert anchors if necessary, and affix the brackets securely.
- Curtain Preparation: Thread the curtain onto the rod, ensuring balanced distribution.
- Mounting the Rod: Gently place the rod into the brackets and lock it in place.
- Stability Check: Apply light pressure to confirm the entire assembly is robust.
How to Ensure Your Curtains Hang Evenly

Uneven curtain betray the meticulous effort of installation. Remedy this by:
- Using a level during bracket placement.
- Adjusting the fabric consistently across the rod.
- Smoothing creases for a flawless finish.
Adjusting Curtain Length and Width for a Perfect Fit
Achieving visual symmetry often requires fine-tuning:
- Excess Length: Hem overly long curtains or let them pool artistically for a dramatic touch.
- Adequate Width: Ensure sufficient fabric width to form graceful folds when drawn closed.
Maintaining and Cleaning Your Blackout Curtains
Longevity lies in diligent care:
- Dust Elimination: Use a handheld vacuum with a soft brush attachment.
- Stain Management: Spot clean with a gentle detergent and damp cloth.
- Machine Washing: Follow care instructions meticulously, opting for gentle cycles and air drying when applicable.
Common Mistakes to Avoid When Installing Blackout Curtains
Forewarned is forearmed:
- Skewed Measurements: Even a fraction of an inch can create glaring light gaps.
- Weak Hardware: Underestimating curtain weight can lead to structural failures.
- Skipping Anchors: Inadequate support compromises stability, particularly on drywall.
FAQs
1. Can I Install Blackout Curtains Without Drilling?
Yes, you can install blackout curtains without drilling by using tension rods, adhesive hooks, or clip-on curtain rods. These methods work well for lightweight blackout curtain and are ideal for renters or those who want to avoid wall damage. However, they may not support heavier curtains as effectively as traditional mounting brackets.
2. Can I Wash My Blackout Curtains in the Machine?
Most blackout curtain can be machine-washed, but it’s essential to check the care label first. Use a gentle cycle with cold water and mild detergent to prevent damage to the blackout lining. Air drying is recommended to maintain the fabric’s integrity and light-blocking properties.
3. How Do I Measure for Blackout Curtain?
To measure for blackout curtain, start by measuring the width of the window and add 6–12 inches on both sides for full coverage. For the height, measure from a few inches above the window frame to just below the sill or floor, depending on your preferred length. This ensures optimal light blocking and a polished appearance.
Conclusion
Installing blackout curtains can raise your area with stepped forward functionality, privacy, and style. By expertise in the technique, from deciding on the right materials to proper installation, you make sure a continuing transformation of your room. Measuring appropriately, deciding on robust rods, and making ready your window area cautiously are key steps to achieving expert results. Whether you’re blocking daylight for restful sleep or improving energy performance, blackout curtain are a precious addition.Avoid common mistakes like poor measurements or weak hardware to maximize their benefits. Now that you know how to install blackout curtains, take the next step and create a cozy, light-controlled environment in your home.
