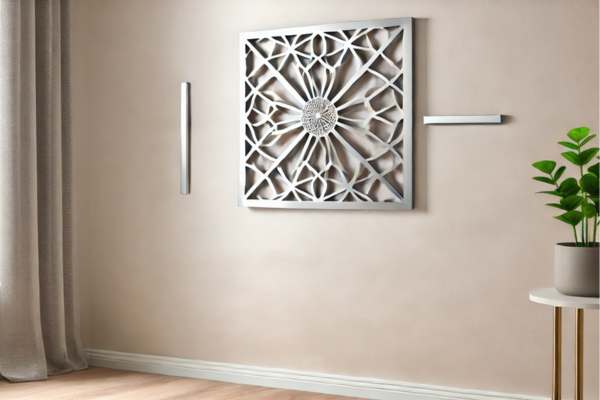
Hanging metal wall art can instantly elevate any space, adding a sleek, modern touch without the hassle of nails. For renters or those wanting to avoid wall damage, learning how to hang metal wall art without nails is essential. This nail-free approach not only protects your walls but offers flexibility, allowing you to rearrange or change pieces effortlessly. With options like adhesive strips, industrial tapes, and hook-and-loop fasteners, displaying your favorite metal artwork becomes both simple and secure. This guide will walk you through the best techniques and tools, helping you create a stunning, nail-free gallery in any room. Get ready to transform your space with ease, creativity, and without leaving a single mark.
Choosing The Right Metal Art For Nail-Free Hanging

Before embarking on the no-nail route, consider the specific piece of metal art you want to hang. Weight, surface texture, and the art’s overall design will influence the best approach. Heavy, substantial pieces demand high-strength adhesives, while delicate or lightweight designs may hold with simpler solutions. Look for pieces with a flat, broad backside—this area is critical for secure adhesion. Avoid excessively intricate or uneven structures, as they create less surface for adhesives to grip onto.
Choosing the right art form not only ensures stability but adds longevity to your installation.
Overview Of Tools And Materials Needed For Nail-Free Hanging

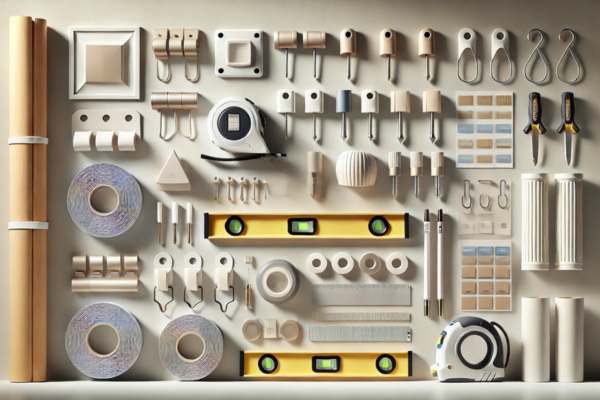
To hang metal art without nails, having the right materials is essential for a hassle-free installation:
– Adhesive Strips: Ideal for lightweight to medium-weight art, they provide decent hold and clean removal.
– Double-Sided Tape: Suitable for lighter pieces; however, it lacks the staying power needed for heavy artsy.
– Industrial Adhesive Tape: These robust tapes are built for high-capacity loads, perfect for heavier pieces.
– Rubbing Alcohol: Essential for pre-installation cleaning, ensuring adhesives bond well.
– Measuring Tape and Level: Key for precise placement and alignment.
These materials make the setup process smooth, helping to create a lasting display.
Preparing Your Wall For Nail-Free Art Installation

Preparation is fundamental. Begin by cleansing the wall area with rubbing alcohol to eliminate dust, grease, or residue. Any dirt can compromise adhesive strength, leading to premature falls. Freshly painted walls need extra time to cure—ideally two weeks—since adhesives may struggle on fresh paint. Once your surface is clean and dry, your setup is ready to go.
Benefits Of Hanging Wall Art Without Nails

Hanging wall art without nails has advantages that go beyond preserving the wall’s surface. No-nail methods allow for flexibility, letting you rearrange, relocate, or switch pieces at will. Nail-free solutions are particularly advantageous for renters, allowing hang metal canvas wall art without nails to be displayed without violating lease terms. Plus, they eliminate the need for tools like hammers or drills, making the setup time-efficient and convenient.
Choosing The Right Spot For Your Metal Wall Art

Selecting the optimal spot can elevate the entire room’s aesthetic. Identify areas where your metal artsy will catch the eye without exposure to humidity or direct sunlight, which can weaken adhesive strength over time. Choose a place that complements the room’s layout—above the sofa, along a hallway, or as a striking entryway feature.
Exploring Nail-Free Hanging Options For Metal Art

Numerous no-nail hanging options cater to different needs:
– Adhesive Strips: Best for medium-weight items and designed for easy removal.
– Hook-and-Loop Fasteners: These are suitable for lighter pieces, with added flexibility for repositioning.
– Double-Sided Tape: A quick solution for light items, but it’s temporary.
– Industrial-Grade Adhesive Tapes: These provide the highest strength for heavy artwork, ideal for longer-term setups.
Understanding these options lets you select the best fit for your unique piece.
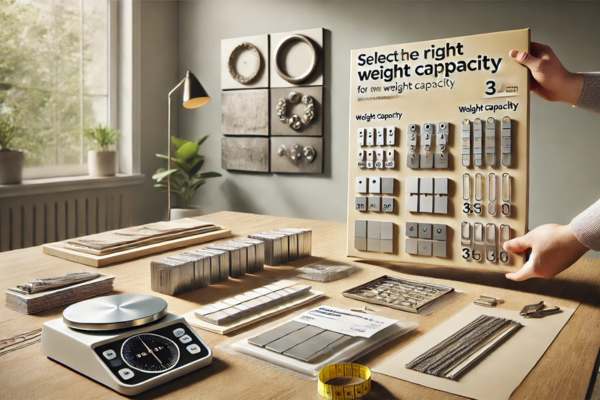
Choosing The Right Weight Capacity For Adhesive Strips

Adhesive strips have weight ratings, an essential consideration when hanging art. Knowing your metal piece’s weight, choose a strip with a slightly higher weight rating for additional security. Heavy-duty options support up to 16 pounds, while lighter strips work for pieces under five pounds. For larger artsy, using multiple strips across the back helps distribute weight evenly and prevent sagging.
Step-By-Step Guide To Hanging Metal Wall Art Without Nails
Here’s your step-by-step guide to hanging metal wall artsy without nails:
1. Clean the Surface: Wipe down the wall and the metal art’s back with rubbing alcohol.
2. Measure and Mark: Use a measuring tape and level for exact placement.
3. Attach Adhesive Strips: Apply strips or fasteners to the back of the art, pressing firmly.
4. Position and Press: Position the artsy and press down to activate the adhesive.
5. Check the Hold: Let the adhesive set before testing the hold, usually a few hours.
Following these steps ensures a solid, damage-free setup.
Proper Placement Of Strips On Metal Art

Placement is key to a successful, secure hang. Avoid placing adhesive strips too close to the edges, where they’re prone to peel. Position them toward the center or evenly spaced across the back to ensure a balanced distribution of weight. For heavier items, more strips mean greater stability, so feel free to add extra if needed.
Double-Sided Tape As A Quick Solution For Light Metal Art
Double-sided tape can work wonders for ultra-lightweight metal art. It’s easy to apply and can be removed quickly. However, it’s not as strong as other options, so limit its use to lighter pieces. For best results, ensure the wall is clean and the tape’s adhesive has bonded fully before stepping back to admire your handiwork.
Choosing Industrial-Grade Double-Sided Tape
For weightier metal art pieces, industrial-grade double-sided tape offers strong, reliable support. This tape is specially formulated for demanding tasks, able to support significant weight without losing hold. Be sure to look for products marked for wall use to ensure they won’t slip over time or damage surfaces.
Correct Placement And Application Techniques
With double-sided tape, correct placement is crucial. Measure the tape length precisely and apply it firmly along the back of the metal art. Press the artsy against the wall, applying even pressure across the surface to activate the adhesive thoroughly. Properly applied, the tape will provide a seamless, enduring hold.
Tips To Prevent Tape Damage On Wall And Art
To remove tape without damaging walls or artsy, opt for removable adhesive products. When removal is necessary, gently pull the tape downward—this reduces the risk of peeling paint or leaving residue. To ease the adhesive’s grip, try using a hair dryer to warm it before pulling; this helps the tape release without strain.
Maintaining And Cleaning Metal Art On A Nail-Free Setup
Metal art requires occasional cleaning to maintain its shine and charm. Light dusting with a soft cloth keeps it pristine. If the art accumulates grime, a damp cloth will suffice—avoid excessive moisture, as it can weaken adhesive bonds over time. Check adhesive stability periodically, especially in high-humidity areas, to ensure the artsy remains secure.
Frequently Asked Questions
What are the best adhesive options for hanging metal wall artsy?
The most reliable adhesive choices include heavy-duty adhesive strips, industrial-grade double-sided tape, and hook-and-loop fasteners. Choose based on the metal art’s weight and backing surface, with heavier pieces needing stronger adhesives.
Final Thoughts
Knowing how to hang metal wall art without nails offers a flexible, wall-friendly solution for showcasing your decor without permanent damage. By choosing the right adhesive options and following simple preparation steps, you can achieve a secure and stylish display. This approach is ideal for renters, decorators, or anyone who values flexibility in their home decor. With nail-free methods, it’s easy to change or reposition art as desired, all while preserving your walls. Explore adhesive strips, hook-and-loop fasteners, or industrial-grade tapes to suit your art’s weight and design. Enjoy your beautiful, seamless wall art without the hassle of nails.
