Hanging artwork on a wall is an effective manner to infuse persona, beauty, and creativity into any space. Whether you’re working with a single statement piece or creating an entire gallery wall, knowing how to hang art on a wall can make all the difference. From deciding on the best spot and securing the right equipment to information on the fine techniques for special wall types, each detail contributes to a cohesive and putting show. When done thoughtfully, hanging art not only enhances the room’s ambiance but also showcases personal style. With only some realistic pointers, you could transform any wall into a visible masterpiece that resonates with attraction and character.
Choosing The Right Art For Your Wall

The art you display should resonate with your taste and align with the atmosphere you want to create. Bold, colorful works inject energy and dynamism into a room, while calm, subdued pieces invite a sense of peace. When deciding on artwork, consider the room’s existing color scheme and function. Vibrant, compelling art thrives in active spaces like the living room or kitchen, while softer, tranquil pieces are ideal for relaxation areas, such as bedrooms. Art that complements a space doesn’t just fill it—it completes it, blending seamlessly with the room’s ambiance.
Preparing To Hang Art On Your Wall

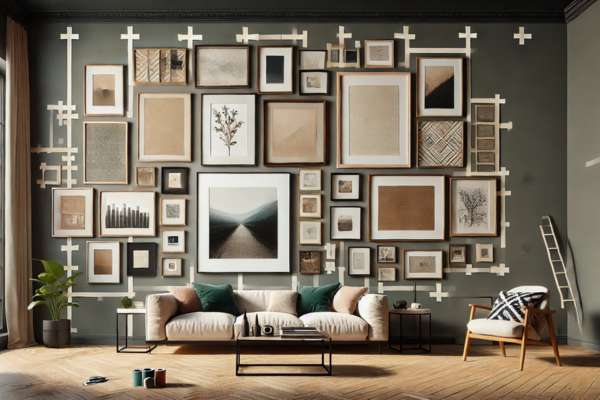
Preparation is the cornerstone of a flawless art display. Start by gathering necessary tools: a level, pencil, tape measure, and possibly adhesive strips if you’re renting. Decide whether you’ll use temporary or permanent solutions. Temporary adhesive strips suit lightweight or temporary pieces, while nails and wall anchors offer more permanence for heavier artwork. Planning is also essential—measure both the wall and art dimensions. Visualize the layout by placing painter’s tape on the wall or arranging pieces on the floor first. This extra care prevents accidents and guarantees a balanced presentation.
Understanding Wall Types Drywall, Brick, And Plaster

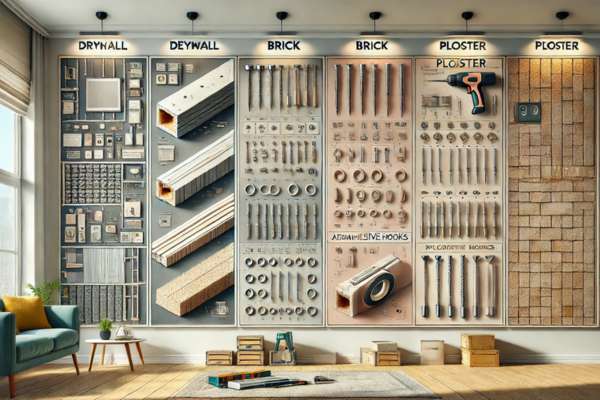
The type of wall can dictate your hanging strategy. Drywall, commonly found in most homes, can handle lightweight art with minimal hardware but often requires anchors for larger pieces. Brick walls offer robustness but require masonry bits and anchors for drilling. Plaster, an older and more delicate wall material, demands gentle handling, as it can chip easily; plaster hooks or adhesive options are ideal here. Identifying your wall type is essential in choosing the right tools, reducing the risk of damage, and ensuring art stability.
Essential Tools For Hanging Art

Successful art hanging relies on precise tools. A hammer, level, measuring tape, and pencil are your foundational items. For larger pieces, stud finders, wall anchors, and masonry bits come into play. Painter’s tape and templates are invaluable for more complex arrangements, helping you visualize the layout before making permanent marks. High-quality hooks and hangers suited to the wall type secure the artwork, preserving the integrity of both your hang arrange art on wall and the artsy itself.
Ensuring Proper Lighting To Highlight Your Artwork

Lighting serves as an unseen artist, casting emphasis on the subtle details of each piece. Natural light is invaluable, but for a controlled display, accent lighting—such as picture lights, spotlights, or LED strips—can highlight artwork beautifully. Adjustable picture lights are ideal for framing single pieces, creating a focused, even illumination. In spaces lacking natural light, well-placed artificial lighting can mimic similar effects, keeping your artsy in the spotlight and enhancing its visual impact, regardless of time or day.
Deciding On The Perfect Placement

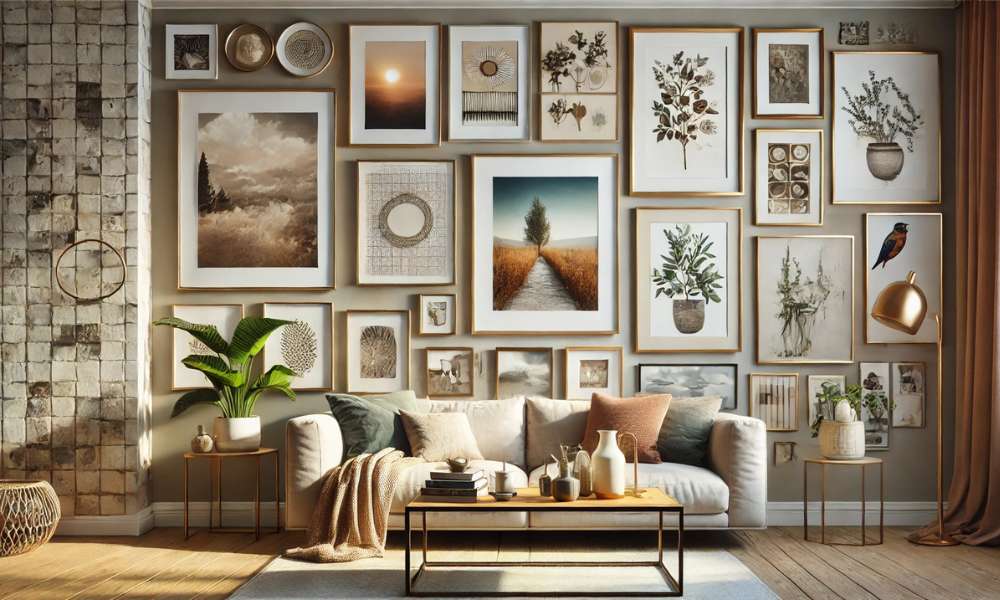
Placement can make or break an art display. Eye level, typically around 57–60 inches from the floor to the artwork’s center, offers the most comfortable viewing angle. When hanging art above furniture like a sofa or console, maintain a distance of 6–12 inches to create a natural visual connection between the art and furniture. Striking a balanced height ensures viewers can appreciate the artwork’s details without craning their necks, lending harmony to the room’s overall design.
Arranging Multiple Art Pieces On A Wall

When displaying multiple pieces, the arrangement itself becomes an artsy. Grouping similar themes or colors brings a sense of unity, while mixing sizes and frame styles creates a more eclectic, curated look. Common arrangements include symmetrical grids, linear layouts, or organically clustered styles. Maintain equal spacing between pieces—usually about 2–4 inches—to foster visual consistency. Painter’s tape allows you to outline placements on the wall first, offering a glimpse of how each piece will complement the others.
Creating A Gallery Wall Tips For Layouts And Arrangements

A gallery wall can redefine a space, adding layers and personality. Start by choosing pieces with a unifying theme, color palette, or frame style. Place the largest piece as the focal anchor, then build around it with smaller pieces, balancing the shapes and sizes. Use painter’s tape to outline the layout on the wall, mapping out the arrangement before you commit. Mixing frame styles can create a collected, layered look, while using similar colors ties the display together, enhancing its cohesiveness.
Choosing The Right Hanging Method
Different hanging methods suit different needs. For lightweight items, adhesive strips work well without damaging walls. Heavier items require sturdier solutions like picture hooks or wall anchors. For particularly large or valuable artwork, a hanging wire or rail system is ideal, offering adjustability and reducing walls damage. Selecting the proper hanging method ensures the security of your art yand preserves the integrity of your hang art on wall.
Step-By-Step Guide To Hanging Art On The Wall
– Measure and Mark: First, measure your wall and art to find the optimal height. Mark the spot lightly with a pencil.
– Position the Hooks or Nails: Using your measurements, place hooks or nails at marked points. For larger art, use two hooks for extra stability.
– Use a Level: After hanging, check with a level to make sure the piece is straight.
– Adjust as Needed: Minor adjustments may be necessary to align the artsy with furniture or other decor elements nearby.
Hanging Art On Different Wall Types
Drywall, brick, and plaster all require unique hanging methods. On drywall, lightweight pieces need only a nail or picture hook, while heavier items require wall anchors. For brick or concrete walls, masonry screws and drill bits are essential. Plaster walls, being fragile, respond best to plaster hooks or adhesive strips for smaller pieces. Using the right technique based on walls type keeps the artwork secure and the wall intact.
Tips For Hanging Large Or Heavy Art Pieces
Heavier pieces require special attention to avoid mishaps. Always hang from wall studs when possible for extra support, and use heavy-duty walls anchors rated for the artwork’s weight. For particularly large items, a cleat or French cleat system is effective, distributing the weight evenly and providing extra stability. Double-check the weight rating on your hanging materials to ensure they’re suited for the artsy.
Choosing Proper Wall Anchors For Heavy Art
Wall anchors are essential for heavy art on drywall. Options range from plastic expansion anchors to sturdy metal toggles, each supporting different weight capacities. Toggle bolts, in particular, provide substantial holding power by distributing the load behind the walls. For medium-weight pieces, screw-in drywall anchors work well, while molly bolts are reliable for heavier loads. Match the anchor’s weight rating to the artwork’s weight to ensure it stays firmly in place.
Adding Personal Touches To Your Art Display
Your art display is a reflection of your style. Add dimension with small decorative objects—mirrors, plants, or plates—to give depth to the display. Mixing frames or adding unique hanging details, such as ribbons or hooks, can bring out your personality. Transforming the artsy arrangement into a storytelling piece turns a static display into a unique expression of your creativity.
Maintaining And Updating Your Art Display
An art display can evolve with time, adapting to your changing tastes or new additions. Regularly dust frames and clean the glass to keep each piece looking its best. Seasonally rotating artwork or rearranging pieces offers a refreshing change without new purchases. Small adjustments or frame updates can renew a room’s look, keeping the display vibrant and engaging.
FAQs
1. How High Should Artsy Be Hung Above Furniture?*
Art should typically be placed 6–12 inches above furniture like sofas or consoles, connecting it visually with the furniture below and creating a harmonious look that’s easy to appreciate.
2. What’s the Best Way to Hang Artsy Without Damaging Walls?*
For lightweight art, removable adhesive strips or hooks are excellent options. These damage-free solutions are renter-friendly and hold small-to-medium frames without nails, but ensure they’re suitable for your art’s weight.
Final Thoughts
Learning how to hang art on a wall is both a practical skill and a creative journey. Each step, from selecting artsy to arranging and hanging, contributes to the ambiance and character of your home. With thoughtful placement, secure hanging methods, and personalized touches, your walls will become more than just surfaces—they’ll be canvases showcasing your unique style and personality. Whether you’re creating a minimalist show or a colorful gallery walls, the proper technique ensures that each piece is both stable and fantastically supplied, remodeling your area right into a reflection of who you’re.
