
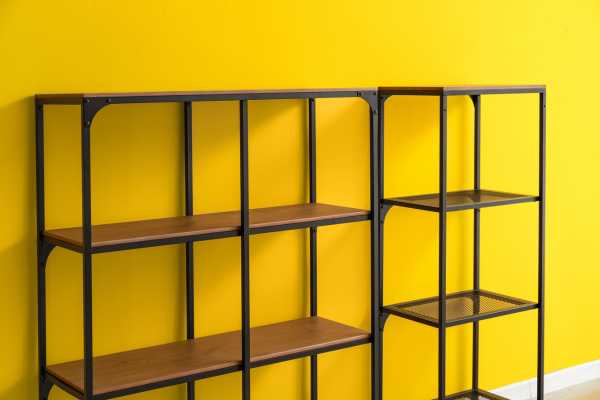
In the realm of DIY home improvement, Learning how to build free-standing wall shelves presents A fantastic opportunity to enhance your living space’s aesthetics And functionality. This guide embarks on A detailed journey, Explaining the process of creating sturdy, Stylish shelves from scratch. Free-standing wall shelves not only offer A practical solution for storage woes but also serve as A canvas for displaying cherished mementos And decor. Whether you’re A seasoned woodworker or A novice eager to tackle your first project, This guide ensures you can easily navigate the process. The benefits of undertaking such A project are manifold: from customizing dimensions to suit specific needs, To selecting materials that complement your home’s decor, The personalization possibilities are endless.
Essential Tools For The Job
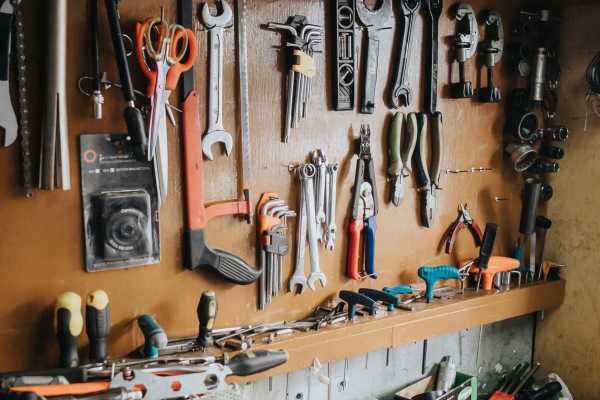
- Measuring Tape
- Pencil
- Saw
- Drill
- Screws And Nails
- Level
- Screwdriver
- Hammer
- Sandpaper Or A Sander
- Safety Gear
- Square
- Stud Finder
Safety Gear And Practices

- Safety Glasses
- Hearing Protection
- Dust Mask Or Respirator
- Work Gloves
- Sturdy Footwear
- Keep A First Aid Kit Nearby
- Proper Ventilation
- Avoid Loose Clothing And Jewelry
- Know Your Tools
- Maintain A Clean Workspace
Here Are Step-By-Step Guides To Build Free Standing Wall Shelves
Plan Your Project

Begin by determining the purpose of your shelves. Are they for decorative items, Books, Or to organize clutter? Knowing their function will influence the design And materials. Next, Establish A budget. Consider the cost of materials, Tools (if you need to purchase or rent any), And any additional decorations or finishes. Set A realistic timeline. Account for preparation, Construction, And finishing stages. Allow flexibility for learning curves or unexpected challenges. Proper planning ensures A smooth process, Minimizes stress, And increases the likelihood of successful project completion.
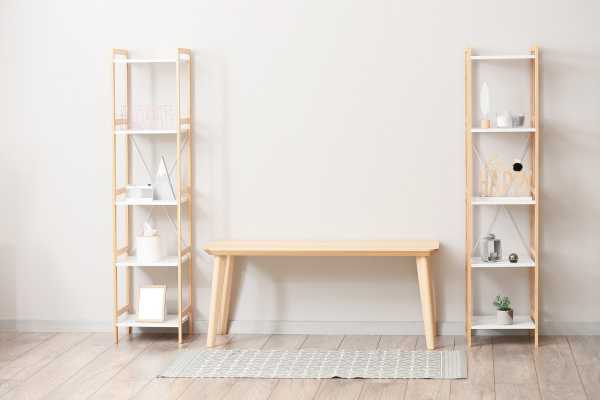
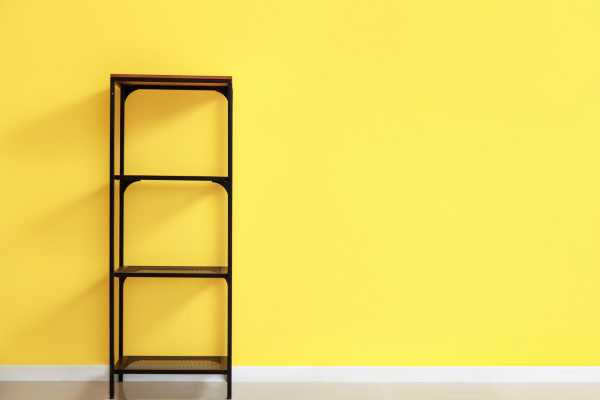
Choose The Right Style For Your Space
Consider the room’s current theme And color scheme. For A modern, minimalist look, Clean lines And A monochromatic color palette are key. If your space leans towards rustic or industrial, Materials like reclaimed wood or metal can add character And warmth. Think about the items you plan to display. Heavier items require sturdier materials And construction. Consider the shelf’s visibility And access. Shelves that blend seamlessly with the room create A cohesive look, While bold, Contrasting designs can serve as A focal point.
Material Selection
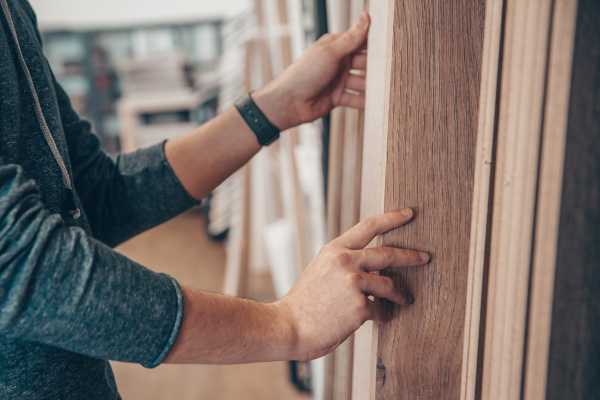
Material selection is A pivotal aspect, Directly impacting their durability, Appearance, And cost. Wood is A popular choice for its versatility, Warmth, And ease of customization. Hardwoods like oak And maple are durable And resistant to wear, making them ideal for shelves meant to hold heavier items. Softwoods, Such as pine, Offer A more affordable option but might not withstand heavy loads as well. For A modern, Industrial look, Metals like steel or aluminum can be used, Providing strength And durability but may require additional tools And skills to work with. Consider environmental conditions such as humidity, Which can affect material longevity. Your choice should balance aesthetics, Functionality, Budget, And the practicality of working with the material.
Dimensions And Weight Capacity
Start by assessing the items you plan to store or display. This will guide the shelf depth And spacing between shelves. Standard bookshelves typically have A depth of 10 to 12 inches, But you may adjust based on your specific needs. Height between shelves varies based on item size; however, Ensuring at least 12-15 inches between each shelf accommodates A variety of items. The overall height And width of the unit should be scaled to the room size to maintain balance And proportion. Weight capacity is critical; shelves need to support the weight of the items without sagging.
Create A Design Sketch
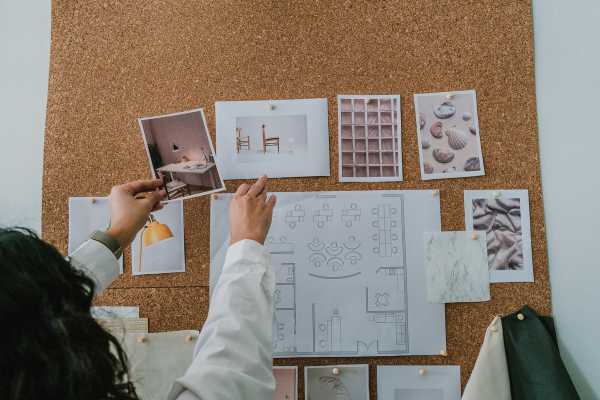
This visual representation allows you to experiment with different styles, Configurations, And dimensions before committing to materials And construction. Start by drawing A basic outline of the shelves, including the number of shelves, Their spacing, And any decorative elements or unique features you wish to include. Use graph paper or A digital design tool for precise measurements And A proportional layout. Consider the load each shelf will bear, Ensuring the design accommodates the necessary support. A well-thought-out sketch helps in visualizing the final product, Making adjustments easier before the build begins.
Choose The Perfect Location

Consider both the practical And aesthetic aspects of the potential locations. Look for A spot where the shelves will be both functional And visually appealing. Evaluate the room’s layout: shelves should not obstruct pathways or natural light sources but should complement the room’s flow. Consider the purpose of the shelves—are they for display, storage, Or both? This decision will influence their height And placement. Ensure the location supports the weight of the unit, especially if anchoring to A wall is necessary for additional stability.
Prepare The Area
Start by clearing the space of any furniture, Decorations, Or other obstacles. Clean the floor And walls thoroughly to ensure A safe And clean work environment. If you plan to anchor the shelves to the wall, Locate the studs using A stud finder And mark them. This is also A good time to make any necessary repairs to the wall or floor to ensure they’re in good condition before the shelves are installed. Consider laying down A drop cloth or old newspapers to protect the floor from any dust or debris that might be generated during the cutting or assembly process.
Cut Materials To Size
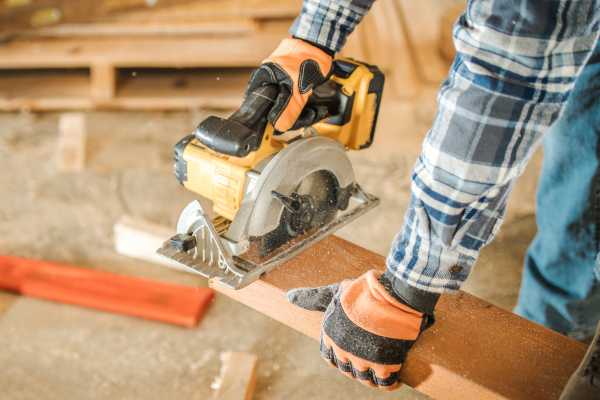
Cutting your materials to size is A critical step. With your design sketch And dimensions in hand, Carefully measure And mark the materials for cutting. Use A straightedge or carpenter’s square to ensure precise lines. For wood, A circular saw, Table saw, Or hand saw can be used depending on the thickness And type of wood. Metal materials might require A hacksaw or A metal cutting saw. Always double-check measurements before cutting to avoid mistakes And wasted materials. Wear safety gear, Such as goggles And gloves, To protect yourself during this process. Accurate cuts are essential for ensuring that all pieces fit together correctly And the final structure is stable And aesthetically pleasing.
Assemble The Frame

Begin by laying out all the cut pieces according to your design sketch. If your design includes sides, Top, And bottom pieces, Start by securing the sides to the bottom piece using screws or nails, Ensuring they are perfectly perpendicular. Use A carpenter’s square to check the angles. If your frame includes A back, Wait to attach it until after the shelves are in place to provide additional access during assembly. Joining the pieces securely is crucial for the overall stability of the shelves. Consider using wood glue in conjunction with screws or nails for A stronger bond.
Attach Shelves And Backing
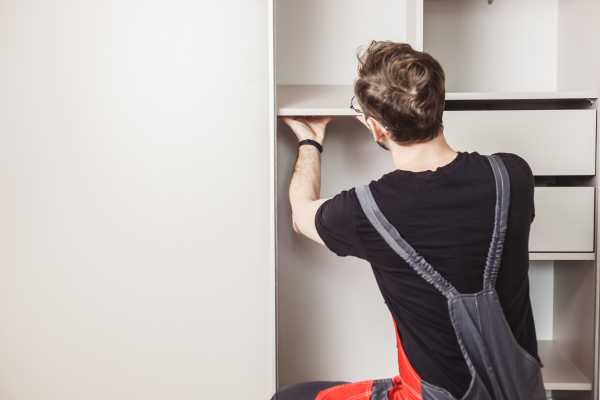
Start with positioning them at your predetermined heights And ensuring they are level before securing them to the sides of the frame. Depending on the design, You may choose to screw the shelves from the outside of the frame or use shelf brackets for A cleaner look. After all shelves are securely in place, Attach the backing. A backing panel not only adds stability but also prevents items from falling off the back of the shelves. Cut the backing material to size, And affix it to the frame with nails or screws, Making sure it’s flush And tight against the back of the shelves.
Add Support And Stability
Consider incorporating additional support brackets underneath each shelf or reinforcing the frame with cross-bracing at the back or sides. These measures prevent sagging And ensure the unit can bear the intended load. For taller or wider shelves, Securing the unit to A wall adds another layer of stability, Preventing tipping. Use appropriate wall anchors And brackets for this purpose, Especially in households with children or pets. Assess the overall structure for any weak points And reinforce as necessary.
Sanding The Whole Shelves
Start with coarse grit sandpaper to remove any rough spots, Splinters, Or glue residue. Progress to finer grits to achieve A smooth finish. Pay special attention to edges And corners, Rounding them slightly to remove any sharpness for A more polished look And safer use. Sanding prepares the surface for painting, Staining, Or sealing, Ensuring that finishes apply evenly And adhere properly. It also enhances the aesthetic appeal of the shelves, Giving them A professional-quality finish. Take your time with this step, As thorough sanding significantly impacts the final appearance. After sanding, Wipe down with A damp cloth to remove dust And prepare them for finishing.
Position And Leveling
Carefully move the unit into place, Taking care not to damage the floor or the bottom. Use A spirit level to check the levelness of the top surface And adjust the position of the shelves as necessary. If your floor is uneven, You may need to add shims under the base of the shelves to achieve A level position. Ensuring level is crucial for both aesthetic reasons And to prevent items from sliding off. This step requires patience And precision, As proper positioning And leveling are key to functionality And appearance.
Secure To The Wall
Once it is positioned And leveled, Locate the wall studs using A stud finder. Mark the stud positions on the wall aligned with the height of your shelving unit. Attach heavy-duty brackets or L-brackets to the top of the unit And the wall studs using appropriate screws. If wall studs are not available in the desired location, Use wall anchors designed for the weight of the shelving unit And its contents.
Final Checks And Adjustments
After securing the wall, Conduct A final series of checks And adjustments. Go over every screw And joint to ensure they are tight And the structure is solid. Check the levelness again, As adjustments or the process of securing the unit to the wall may have caused slight shifts. Load the shelves with items gradually, Observe any signs of strain or sagging, And make any necessary reinforcements. This is also the time to step back And admire your work, Making sure meets your expectations in terms of design, Functionality, And placement.
Final Thoughts
Build free-standing wall shelves is A rewarding DIY project that not only enhances your living space but also allows for A high degree of customization And personal expression. By carefully planning your project, Selecting the right materials, And following step-by-step construction And safety guidelines, Even those without prior woodworking experience can successfully create beautiful And functional shelves. The key to A successful project lies in meticulous preparation, From choosing the perfect location And ensuring stability to customizing the shelves to fit your unique style And needs. Whether securing them for added safety or making them child-proof, These shelves can be A practical And stylish addition to any room.
Can I Build Free-Standing Wall Shelves Without Prior Woodworking Experience?
Yes, You can build free-standing wall shelves without prior woodworking experience. The key is to start with A clear, Simple design And thoroughly plan each step of the process. Choose materials that are easy to work with, Such as softwood or pre-cut shelving boards, And invest in basic but essential tools. Many resources are available, including online tutorials, How-to guides, And DIY workshops, To help you gain the necessary skills And confidence. Start with A small, Manageable project to build your understanding And comfort with the tools And techniques.
How Do I Choose The Best Shelf Material Based On The Room’s Humidity?
Choosing the best shelf material for environments with varying humidity levels involves considering materials that are resistant to moisture And warping. In humid rooms, Like bathrooms or kitchens, Composite materials like MDF coated with A waterproof veneer, Stainless steel, Or treated wood are ideal choices. These materials can withstand moisture without deteriorating or losing their shape. For less humid areas, Solid wood might be A preferable aesthetic choice but always ensure it’s properly sealed or painted to resist occasional moisture exposure.
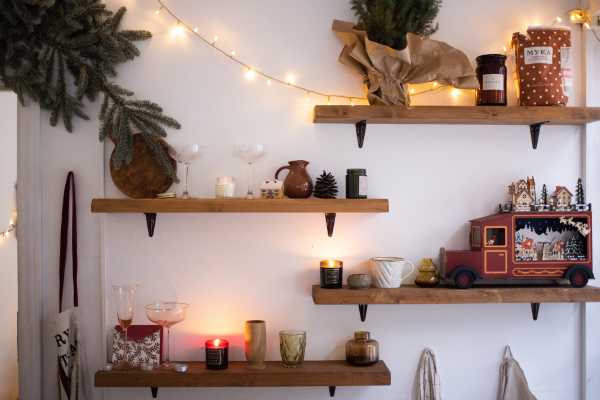
What Are Some Creative Ways To Customize The Look Of My Shelves?
Consider painting or staining the wood in colors that complement your room’s decor. Adding decorative brackets or hardware can enhance the shelves’ style And add A unique touch. For A more personalized look, Use stencils or decals to add patterns or motifs to the shelf surfaces or edges. Incorporating lighting, Such as LED strips under the shelves, Can highlight displayed items And add ambiance to the room. Mix And Match shelf materials or use unconventional materials like reclaimed wood or pipes for A custom, Eclectic look that reflects your style.
How Can I Ensure The Shelves Are Child-Proof And Safe?
Securely anchor the shelves to the wall to prevent tipping. Use rounded corners And smooth edges to minimize injury risk from sharp points. For lower shelves accessible to children, Avoid placing heavy or breakable items on them. Consider using safety straps or locks for doors or drawers incorporated into the shelving unit. Regularly check the unit for loose screws or wear And tear that could pose risks. Child-proofing your shelves not only makes them safer for the youngest members of your household but also helps protect your belongings.
Is It Necessary To Anchor Free-Standing Shelves To The Wall?
While not always necessary, Anchoring free-standing shelves to the wall is highly recommended for added safety And stability, Especially in homes with children, And pets, Or in areas with seismic activity. Anchoring prevents the shelves from tipping over if they are climbed on or bumped into, Reducing the risk of injury or damage to your belongings. If you choose not to anchor your shelves, Ensure they are placed in A low-traffic area, Evenly distribute weight across the shelves, And avoid placing heavy items on top.