Building a bookshelf is a rewarding and practical DIY project that not only enhances your woodworking skills but also provides a customized storage solution for your home. Whether you’re a seasoned woodworker or a novice looking to start a new hobby, learning how to build a bookshelf can be a fulfilling experience. A well-constructed bookshelf can bring order to your living space, showcase your literary collection, and add a touch of personalized style to your décor. In this guide, we’ll walk you through the essential steps, tools, and materials needed to build a bookshelf, emphasizing the importance of planning, precision, and patience. With the right approach, you can create a functional and beautiful piece of furniture that will stand the test of time.
How Much Time Does It Typically Take To Build A Bookshelf?
The time it typically takes to build a bookshelf can vary depending on the complexity of the design, your skill level, and the tools you have available. For a simple bookshelf with basic materials, it could take anywhere from a few hours to a full day to complete. If you are using more intricate designs or customizing the bookshelf with additional features like drawers or cabinets, it may take several days or even weeks to finish.
Can I Use Reclaimed Wood For My Bookshelf Project?
Yes, you can definitely use reclaimed wood for your bookshelf project. Reclaimed wood is a sustainable and eco-friendly option that adds character and uniqueness to your furniture. It can give your bookshelf a rustic or vintage look, depending on the type of wood and its previous use.
Planning Your Project
Before you start building a bookshelf, careful planning is crucial to ensure a smooth and successful project. Begin by deciding on the dimensions and style of your bookshelf, taking into account the available space and your storage needs. Sketch a detailed plan, including measurements and the type of wood you will use. Make a list of all the tools and materials required, such as screws, brackets, and wood glue. Proper planning not only saves time but also minimizes mistakes and material waste. By organizing your project beforehand, you set a solid foundation for building a book rack that meets your expectations and fits perfectly in your home.
Cutting Your Wood
Once your project plan is in place, the next step in building a bookshelf is cutting your wood. Accurate measurements are vital to ensure that all parts fit together seamlessly. Use a high-quality saw to make precise cuts according to your blueprint. Label each piece to avoid confusion during assembly. If you’re using hardwood, be mindful of the grain direction to maintain the wood’s strength and aesthetic appeal. Sand the edges of each cut piece to smooth out any roughness, which will help when assembling the frame. Proper cutting not only enhances the bookshelf’s appearance but also ensures its structural integrity.
Assembling The Frame

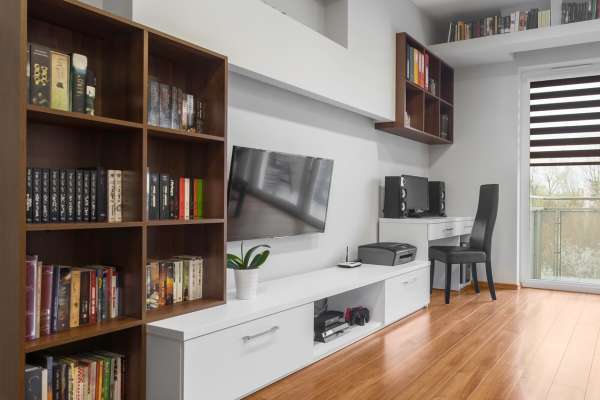
To assemble the frame for mounting a TV to a stand, precision and attention to detail are key. Start by carefully laying out all the components and ensuring you have the necessary tools handy. Take your time to align each piece correctly before tightening any screws or bolts. This will help prevent any misalignment issues down the line.
Securing The Back Panel
Securing the back panel is a key step in building a bookshelf that ensures its structural integrity. Cut the back panel to fit snugly within the frame, and use wood glue to attach it. Follow up by nailing or screwing the panel into place, focusing on even spacing for a secure hold. The back panel not only adds strength to the book rack but also prevents the shelves from sagging over time. This step is crucial for maintaining the bookshelf’s shape and ensuring it can safely hold a variety of items, from books to decorative pieces.
Adding Shelves And Backing
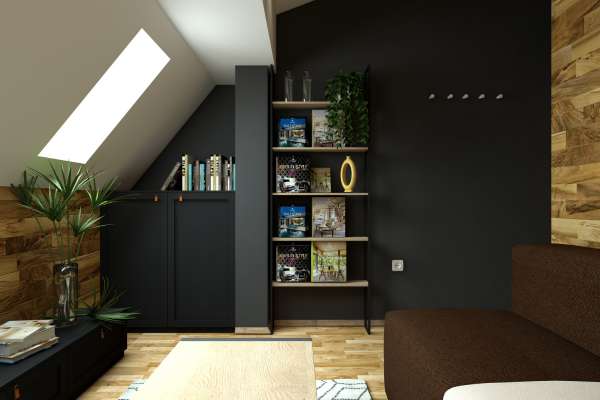
Adding shelves and backing to your bookshelf is where it truly starts to take shape and serve its purpose. Measure and mark the positions for your shelves, ensuring they are evenly spaced. Use shelf brackets or dado cuts to support each shelf securely. Once the shelves are in place, you can add additional backing if desired, to enhance the bookshelf’s sturdiness and appearance. This final step in building a book rack allows you to customize the number and spacing of shelves to fit your specific needs, creating a functional and attractive piece of furniture that perfectly suits your space.
Sanding And Smoothing
Once the frame is assembled, the next step in building a book rack is sanding and smoothing the surfaces. Sanding is vital to achieve a polished and professional finish. Start with a coarse-grit sandpaper to remove any rough edges or splinters, then gradually move to finer grits for a smoother finish. Pay special attention to corners and edges, ensuring they are rounded and free of sharpness. This process not only improves the appearance but also prepares the wood for painting or staining. A well-sanded surface ensures that the paint or stain adheres evenly, enhancing the bookshelf’s aesthetic appeal.
Attaching The Sides
Attaching the sides is a critical part of learning how to build a bookshelf. Begin by marking the locations where the shelves will be positioned on the side panels. Pre-drill holes to avoid splitting the wood when inserting screws. Align the shelves with the marked positions and secure them using screws or brackets for added support. Ensure that each shelf is level before tightening the screws completely. This step requires precision to ensure that the shelves are evenly spaced and securely attached. By carefully attaching the sides, you ensure the structural integrity of your book rack, allowing it to hold the weight of your books and decorative items without sagging.
Securing To The Wall

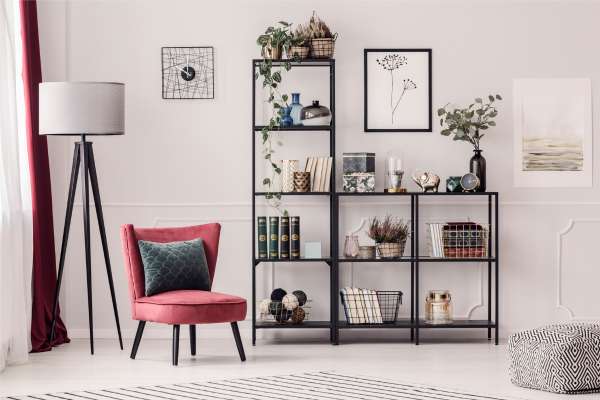
For those looking for a more seamless approach, incorporating hidden brackets into the design of your bookshelf can offer security while also maintaining a sleek aesthetic. These concealed supports provide stability without compromising on style, giving your shelves a floating appearance while keeping them firmly anchored to the wall. By carefully selecting and implementing these methods, you can create a safe and visually appealing storage solution for all your beloved books.
The Final Thought
Building your own bookshelf can be a rewarding and satisfying project that allows you to create a custom piece of furniture tailored to your needs. By following the steps outlined in this article, you can confidently tackle this DIY endeavor and showcase your woodworking skills. Remember to carefully measure, cut, and assemble each component with precision to ensure a sturdy and functional book rack. Don’t forget to personalize your creation with decorative touches or a fresh coat of paint to match your style.