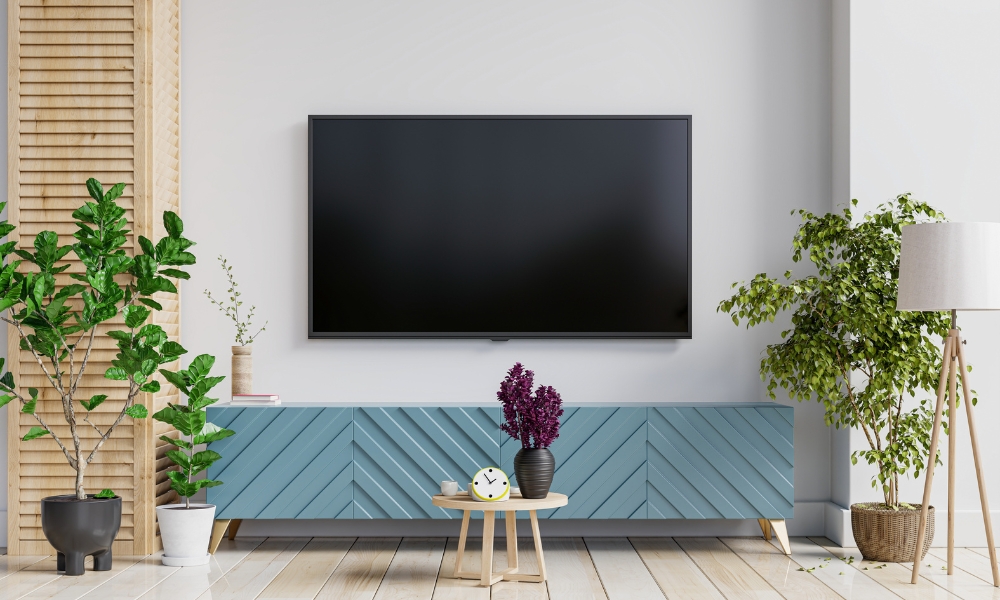
Building your own TV stand can be a rewarding and cost-effective project that allows you to customize the perfect piece of furniture for your living space. Learning how to build a TV stand is not only a great way to add a personal touch to your home decor but also an opportunity to develop your DIY skills. Whether you’re a seasoned woodworker or a novice looking to tackle your first project, this guide will provide you with the essential steps and tips to create a sturdy and stylish TV stands. By following this comprehensive tutorial, you’ll discover that building a TV stand can be a fun and fulfilling experience.
Importance of a TV Stand
A TV stand is more than just a piece of furniture; it’s a crucial element in creating an organized and aesthetically pleasing living room. It serves as the central hub for your entertainment system, providing a stable and secure platform for your television. A well-designed TV stands not only enhances the viewing experience by positioning your TV at the optimal height but also offers storage solutions for other electronic devices, cables, and accessories. Understanding how to build a TV stands allows you to create a custom piece that perfectly fits your space and meets your specific needs. This personalized touch can significantly improve the overall functionality and appearance of your living area.
Benefits of Building Your Own TV Stand
Building your own TV stand for comes with a host of benefits that go beyond mere functionality. One of the primary advantages is the ability to customize the design, size, and materials to match your personal style and the decor of your home. This level of customization ensures that your TV stands is unique and perfectly suited to your space. Additionally, taking on a DIY project like this can be cost-effective, saving you money compared to purchasing a ready-made stands. It also provides a sense of accomplishment and pride, as you can showcase a piece of furniture that you crafted with your own hands. Moreover, building a TV stand allows you to ensure the quality and durability of the materials used, resulting in a sturdy and long-lasting piece of furniture. By learning how to build a TV stand, you gain valuable skills and the satisfaction of creating something both beautiful and functional for your home.
Materials Needed
- Measuring Tape
- Saw (Circular Or Table Saw)
- Drill And Drill Bits
- Screws And Nails
- Hammer
- Sandpaper Or Electric Sander
- Paint Or Wood Stain
- Paintbrushes
- Safety Goggles And Gloves
Designing Your Tv Stand
1. Cutting The Wood
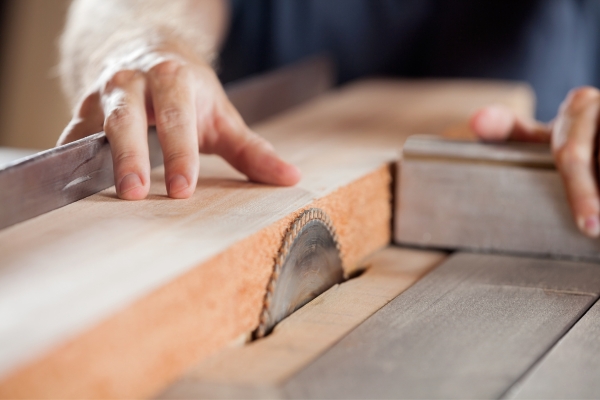
The first step in building your TV stands is cutting the wood to the correct dimensions. Measure twice and cut once to ensure all pieces are accurately sized. Using high-quality wood will ensure durability and a polished finish. This stage is crucial as precise cuts will make assembly easier and result in a sturdier structure.
2. Assembling The Frame
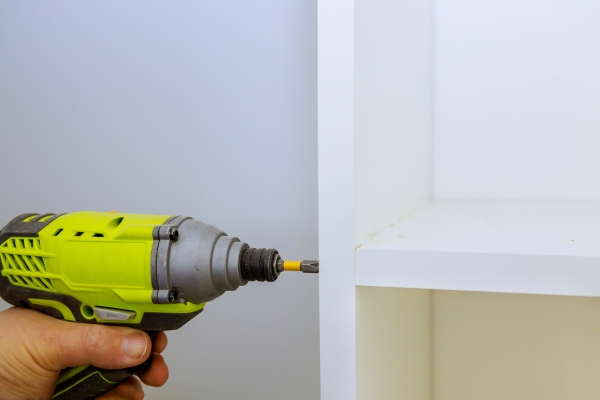
Once you have all your wood pieces cut, the next step is to assemble the frame. This involves joining the sides, top, and bottom of the stands using screws or nails. Make sure to use clamps to hold the pieces together while you fasten them, ensuring a tight and secure fit. A well-assembled frame is the backbone of your TV stand, providing the necessary support for the entire structure.
3. Adding Shelves And Dividers

After the frame is complete, it’s time to add shelves and dividers. These components will provide space for your electronics, such as gaming consoles, DVD players, and storage for DVDs and other items. Ensure that the shelves are level and securely fastened. This step allows you to customize the storage options to fit your specific needs.
4. Finishing Touches
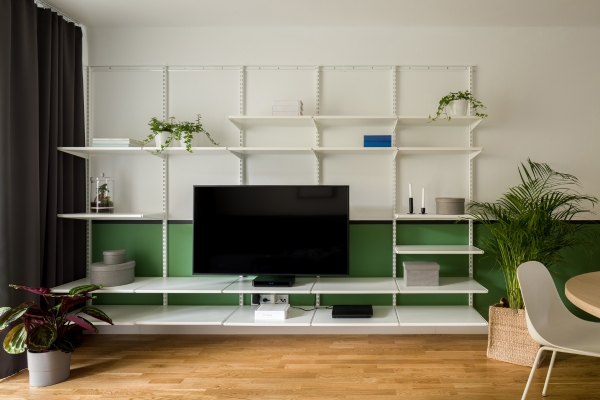
The finishing touches can make a significant difference in the overall look of your TV stand. Sand all surfaces to smooth out any rough edges and apply a finish, such as paint, stain, or varnish, to protect the wood and enhance its appearance. This step gives your TV stands a professional look and feel.
5. Adding Hardware
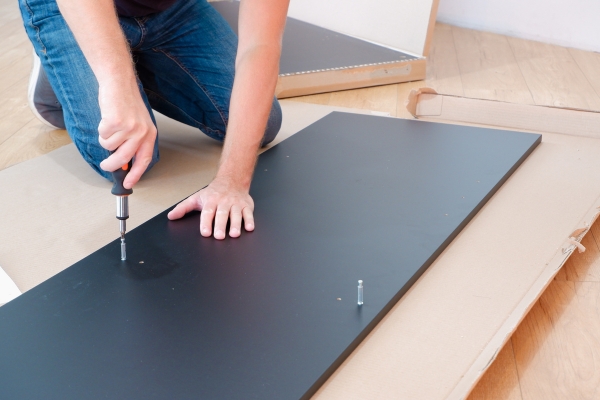
Adding hardware, such as handles, hinges, and drawer slides, enhances both the functionality and aesthetic of your TV stand. Choose hardware that complements the style of your stands and install it carefully to ensure smooth operation and a polished look.
6. Final Assembly
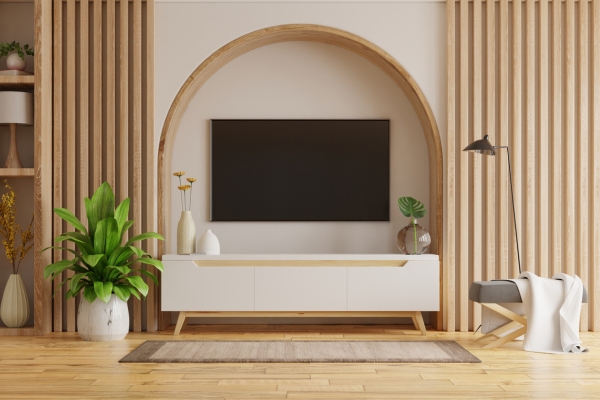
In the final assembly stage, put all the components together. This includes attaching the shelves and dividers to the frame, installing any doors or drawers, and ensuring that all parts are securely fastened. Double-check all connections to make sure everything is tight and stable.
7. Testing Stability
Once your TV stand is fully assembled, it’s important to test its stability. Place your TV and other electronic devices on the stands to ensure it can support their weight. Check for any wobbling or instability and make any necessary adjustments. A stable TV stand ensures the safety of your electronics and provides peace of mind.
Conclusion
Building your own TV stand is a rewarding project that allows you to create a custom piece of furniture tailored to your needs and style. By following these steps, from cutting the wood to testing stability, you can design and construct a TV stands that is both functional and aesthetically pleasing. Not only will you gain valuable skills and a sense of accomplishment, but you will also have a unique piece that enhances your living space.
